

━━━━━━━━━━━━━━━━━━━━
RELEGATED TO SHED 20-SOME YEARS
JUST USED FOR YARDS AND GARDENS
A POSTERITY POST SO I DONT' FORGET!
━━━━━━━━━━━━━━━━━━━━
A quick cleanup proves that even the hardest-working tool in the shed deserves a little attention now and then.
I'm just an average guy - normal (?) and typical. As such, because I have sacrificial tools, I assume others do too! If not - call me crazy, abnormal, atypical. Of course, by now you're probably wondering what the heck I'm talking about. Well, after building a shed lo these many years ago, I populated it with some basic tools (aside from garden and outdoor tools) that were occasionally needed, and certainly weren't of the quality of my "everyday" tools. This post is about just such a tool - the shed hammer.

It isn't valuable. It isn't rare. In fact, if it disappeared tomorrow, replacing it wouldn't cost much at all. But after spending more than twenty years doing every dirty job around House 173, I figured it had earned a few minutes of attention. Not every tool restoration has to be about saving a collectible, sometimes it's simply about taking care of something that's faithfully taken care of you.
The Shed Hammer
As you probably know by now, I have a nice little collection of hammers here at 173. Seriously, it's a little collection, but it's fun restoring old hammers, so the collection seems to be growing.
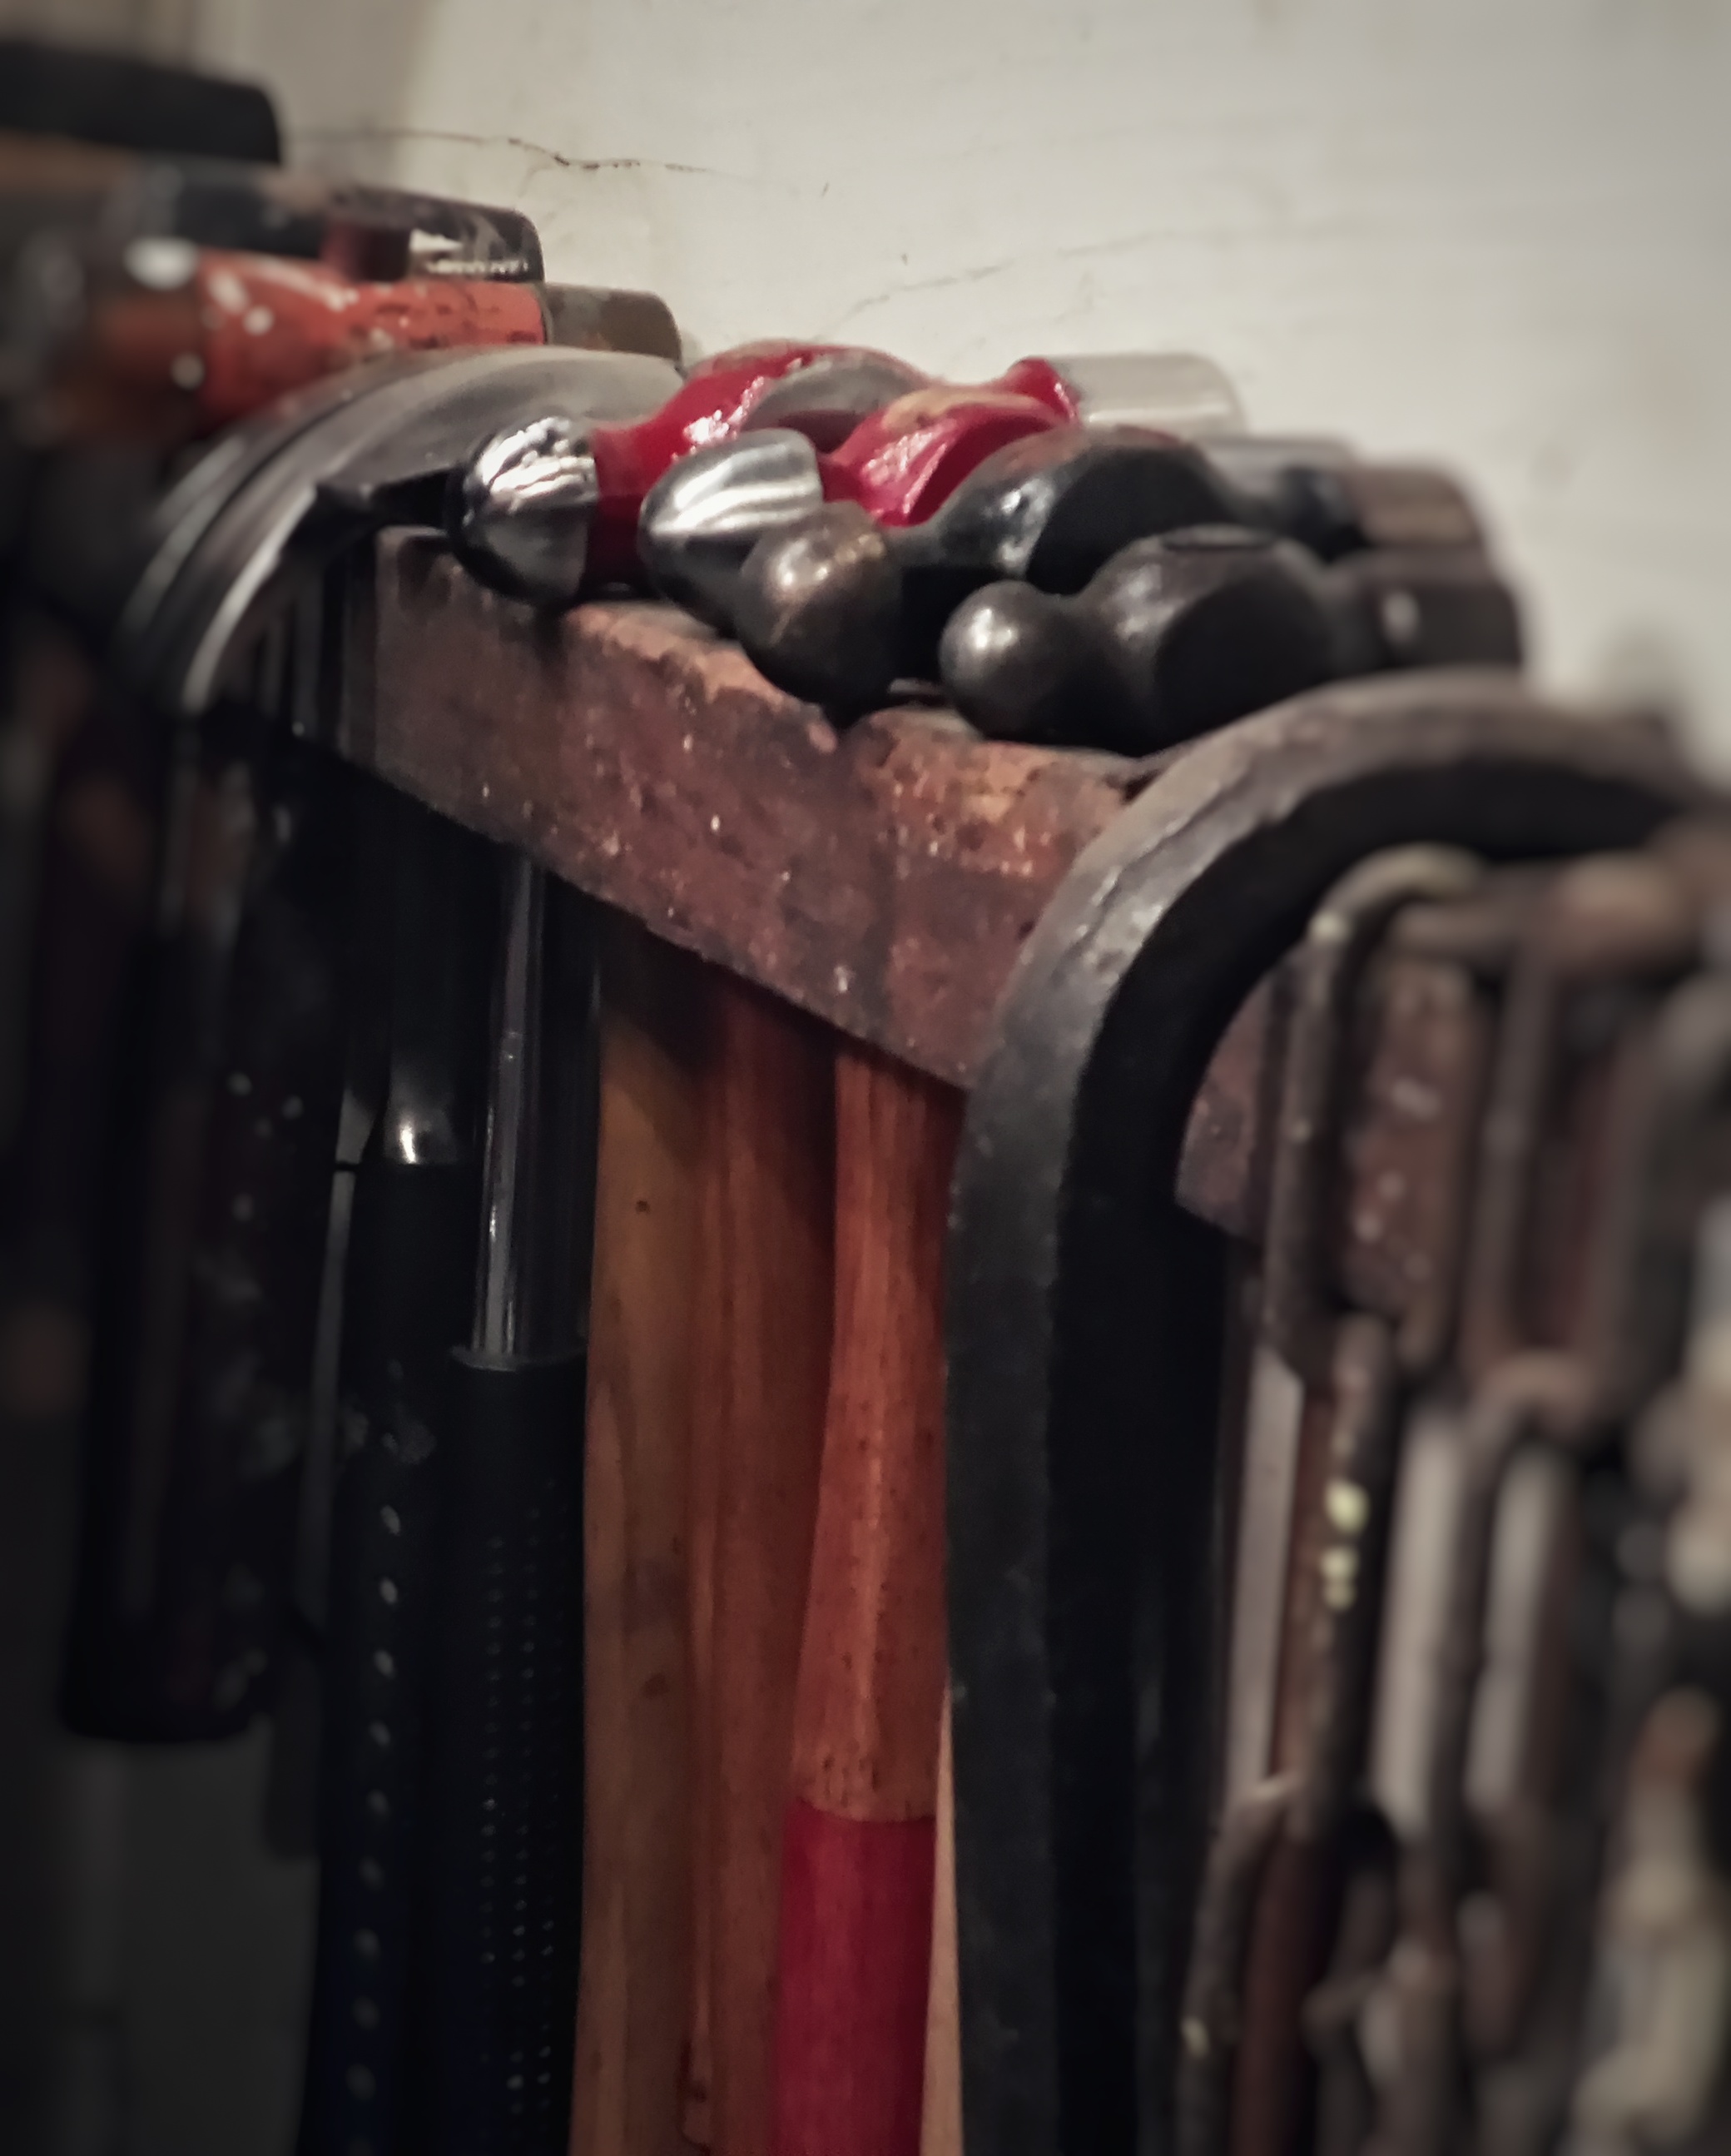
But, as much as I like my hammers, there's one that I have absolutely no sentimental attachment to - good grief, who (besides me) gets sentimentally attached to a hammer? It's not that there's anything wrong with this hammer. I mean, it's a hunk of steel mounted to a chunk of wood...like hammers for centuries.
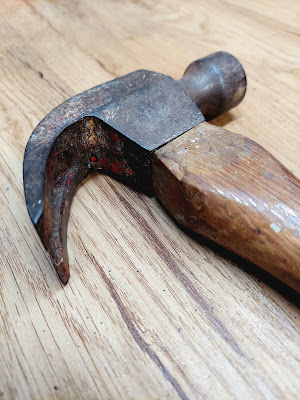
But, it is rather ugly...cheaply made in China, a fine patina of rust on the head, and splatters of paint on the handle.
The Hammer Head Cleanup
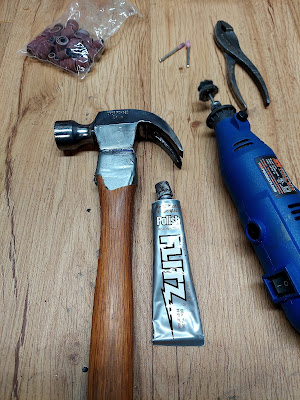
Cleanup was as simple as the tool itself. Back when I restored my old paring chisel, to protect the wood handle while polishing the ferrule, I had cut some strips of aluminum from a soda can...

After I finished the chisel I had a few aluminum strips left over so, of course I kept them in case I needed them again, and voila here we are! This time, to protect the wood handle while working on the head, I taped a piece of aluminum, right at the top of the handle...
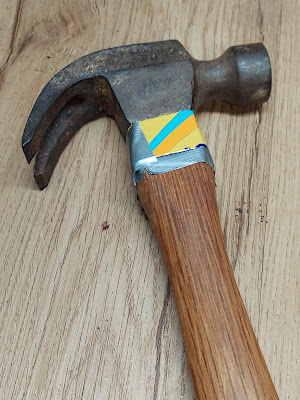
It only took a couple minutes at the wire wheel and a couple more with some Flitz polish to bring the business-end of the hammer to a respectable shine.
Some Hammer Posts at 173:
∙ Tubular Steel Hammer Cleanup - May 2021
∙ Making a Workbench Hammer - August 2021
∙ Powr-Kraft Ball Peen Hammer Resto - October 2021
∙ A Study in Hammers - February 2021
⎯⎯⎯⎯⎯⎯⎯⎯⎯⎯⎯⎯⎯⎯⎯⎯⎯⎯⎯⎯⎯⎯⎯
You might also like the $1 Great Neck Backsaw Resto
The Handle
The hammer head now in pretty decent shape, it was time to move onto the handle. I have no idea what kind of wood the handle is made of, but it has a nice grain so I thought it had the potential to come out good.

As you can see, the handle really needed to be cleaned up. As I mentioned, this hammer has been in the shed for more than twenty years. It's used for whatever it needs to be used for - driving stakes in the ground, repairing a fence, closing paint cans, and even acting as a persuader on the occasional stubborn goo gaw.

Anyway - about five minutes with a single edge razor blade stripped the handle quite nicely. A couple swipes of sandpaper later, she was ready for stain!

My favorite stain is Minwax's Gunstock. The only problem with it is, you have to be pretty particular what kind of wood it's used on. Pines and other white-ish woods just come out rather orange, but darker woods come out a beautiful brown that's reminiscent of the stock on my dad's 12-guage when I was a kid. That gun always fascinated me - the smell of gun-cleaning oils and solvents, the blued steel, and that beautifully colored wood!
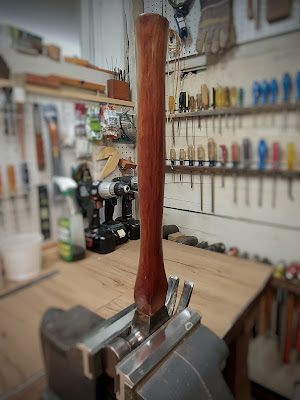
Okay, nothing like waxing poetic about the color of a chunk of wood! But...I gotta say, this handle came out so incredibly close to the color of dad's gunstock - at least to what I see in my mind's eye.
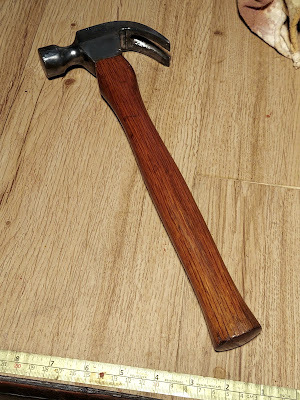
Its Natural Habitat
And, as you probably already know, I like to show a refurbished tool in its natural habitat. So here it is, hanging from the pegboard in the shed. And there it will stay - being pulled out and called upon to whatever necessary if undignified job for which it's needed.

Have fun and - see you next time!

I smiled when I realized this wasn't really about restoring a hammer, it was about recognizing the value of a dependable tool. Most of us have one. Mine has driven tent stakes, knocked ice off trailer hitches, tapped pavers into place, and probably done half a dozen jobs it was never designed for. It's ugly, and I wouldn't trade it.
What I appreciated most was that you didn't try to turn this into a museum restoration. You cleaned it, protected the handle while polishing the head, refreshed the wood, and then put it right back in the shed where it'll keep earning its keep. That's the kind of restoration I can get behind. A tool doesn't have to become a display piece to deserve a little respect. - The Practical DIYer
Frequently Asked Questions
Is it worth restoring an inexpensive hammer?
Absolutely. Not every restoration has to involve a rare or collectible tool. A basic hammer that's been serving faithfully for decades can often be cleaned up in less than an hour, making it more pleasant to use while extending its life. Sometimes the satisfaction comes from preserving a dependable tool rather than increasing its value.
Why scrape a wooden handle with a razor blade instead of sanding it first?
A sharp razor blade removes paint, dirt, and old finish quickly without grinding contaminants deeper into the wood. Once the surface is clean, light sanding smooths the grain while preserving the handle's original shape. It's a simple technique that often saves time and produces a cleaner result.
Why stain the handle instead of leaving it natural?
For me, the answer is partly practical and partly sentimental. The darker stain enriches the grain and gives the handle a finished appearance, but it also reminds me of the walnut-colored stock on my father's shotgun. Sometimes the colors and textures of a project carry memories that are just as meaningful as the restoration itself.
Why keep a separate "shed hammer" instead of using your best one?
Outdoor projects are hard on tools. Driving landscape stakes, tapping fence posts, opening paint cans, or persuading stubborn parts can quickly leave dents, scratches, and paint splatters. Having a dedicated shed hammer means those rough jobs get done without worrying about damaging a favorite or collectible tool.
Keywords
shed hammer, hammer restoration, restoring old tools, wooden hammer handle, tool restoration, workshop tools, DIY tool cleanup, Flitz polish, Minwax Gunstock stain, House 173