

Hand Tools
━━━━━━━━━━━━━━━━━━━━
Dad's saws need sharpening
Welcome Sargent #93
9 1/2" jaws saw vise
━━━━━━━━━━━━━━━━━━━━
Restoring a vintage Sargent No. 93 saw vise so Dad's old hand saws, and a few of my own, can cut like they should again.
Dad's Saws Deserve Better
This past summer I inherited some of dad's tools. Maybe one day I'll tell you some more stories about dad and his tools and what he did with them, but for now you can read a little about that at 812-The Home! Anyway, one of the tools that came back to 173 with me is dad's hand saw. I got to thinking, maybe I'd sharpen that saw, and my own need sharpening as well. So, of course I'd need the right tools!

Meet the Patients
I just wanted to take a minute and show dad's hand saw. It's a classic old Craftsman...
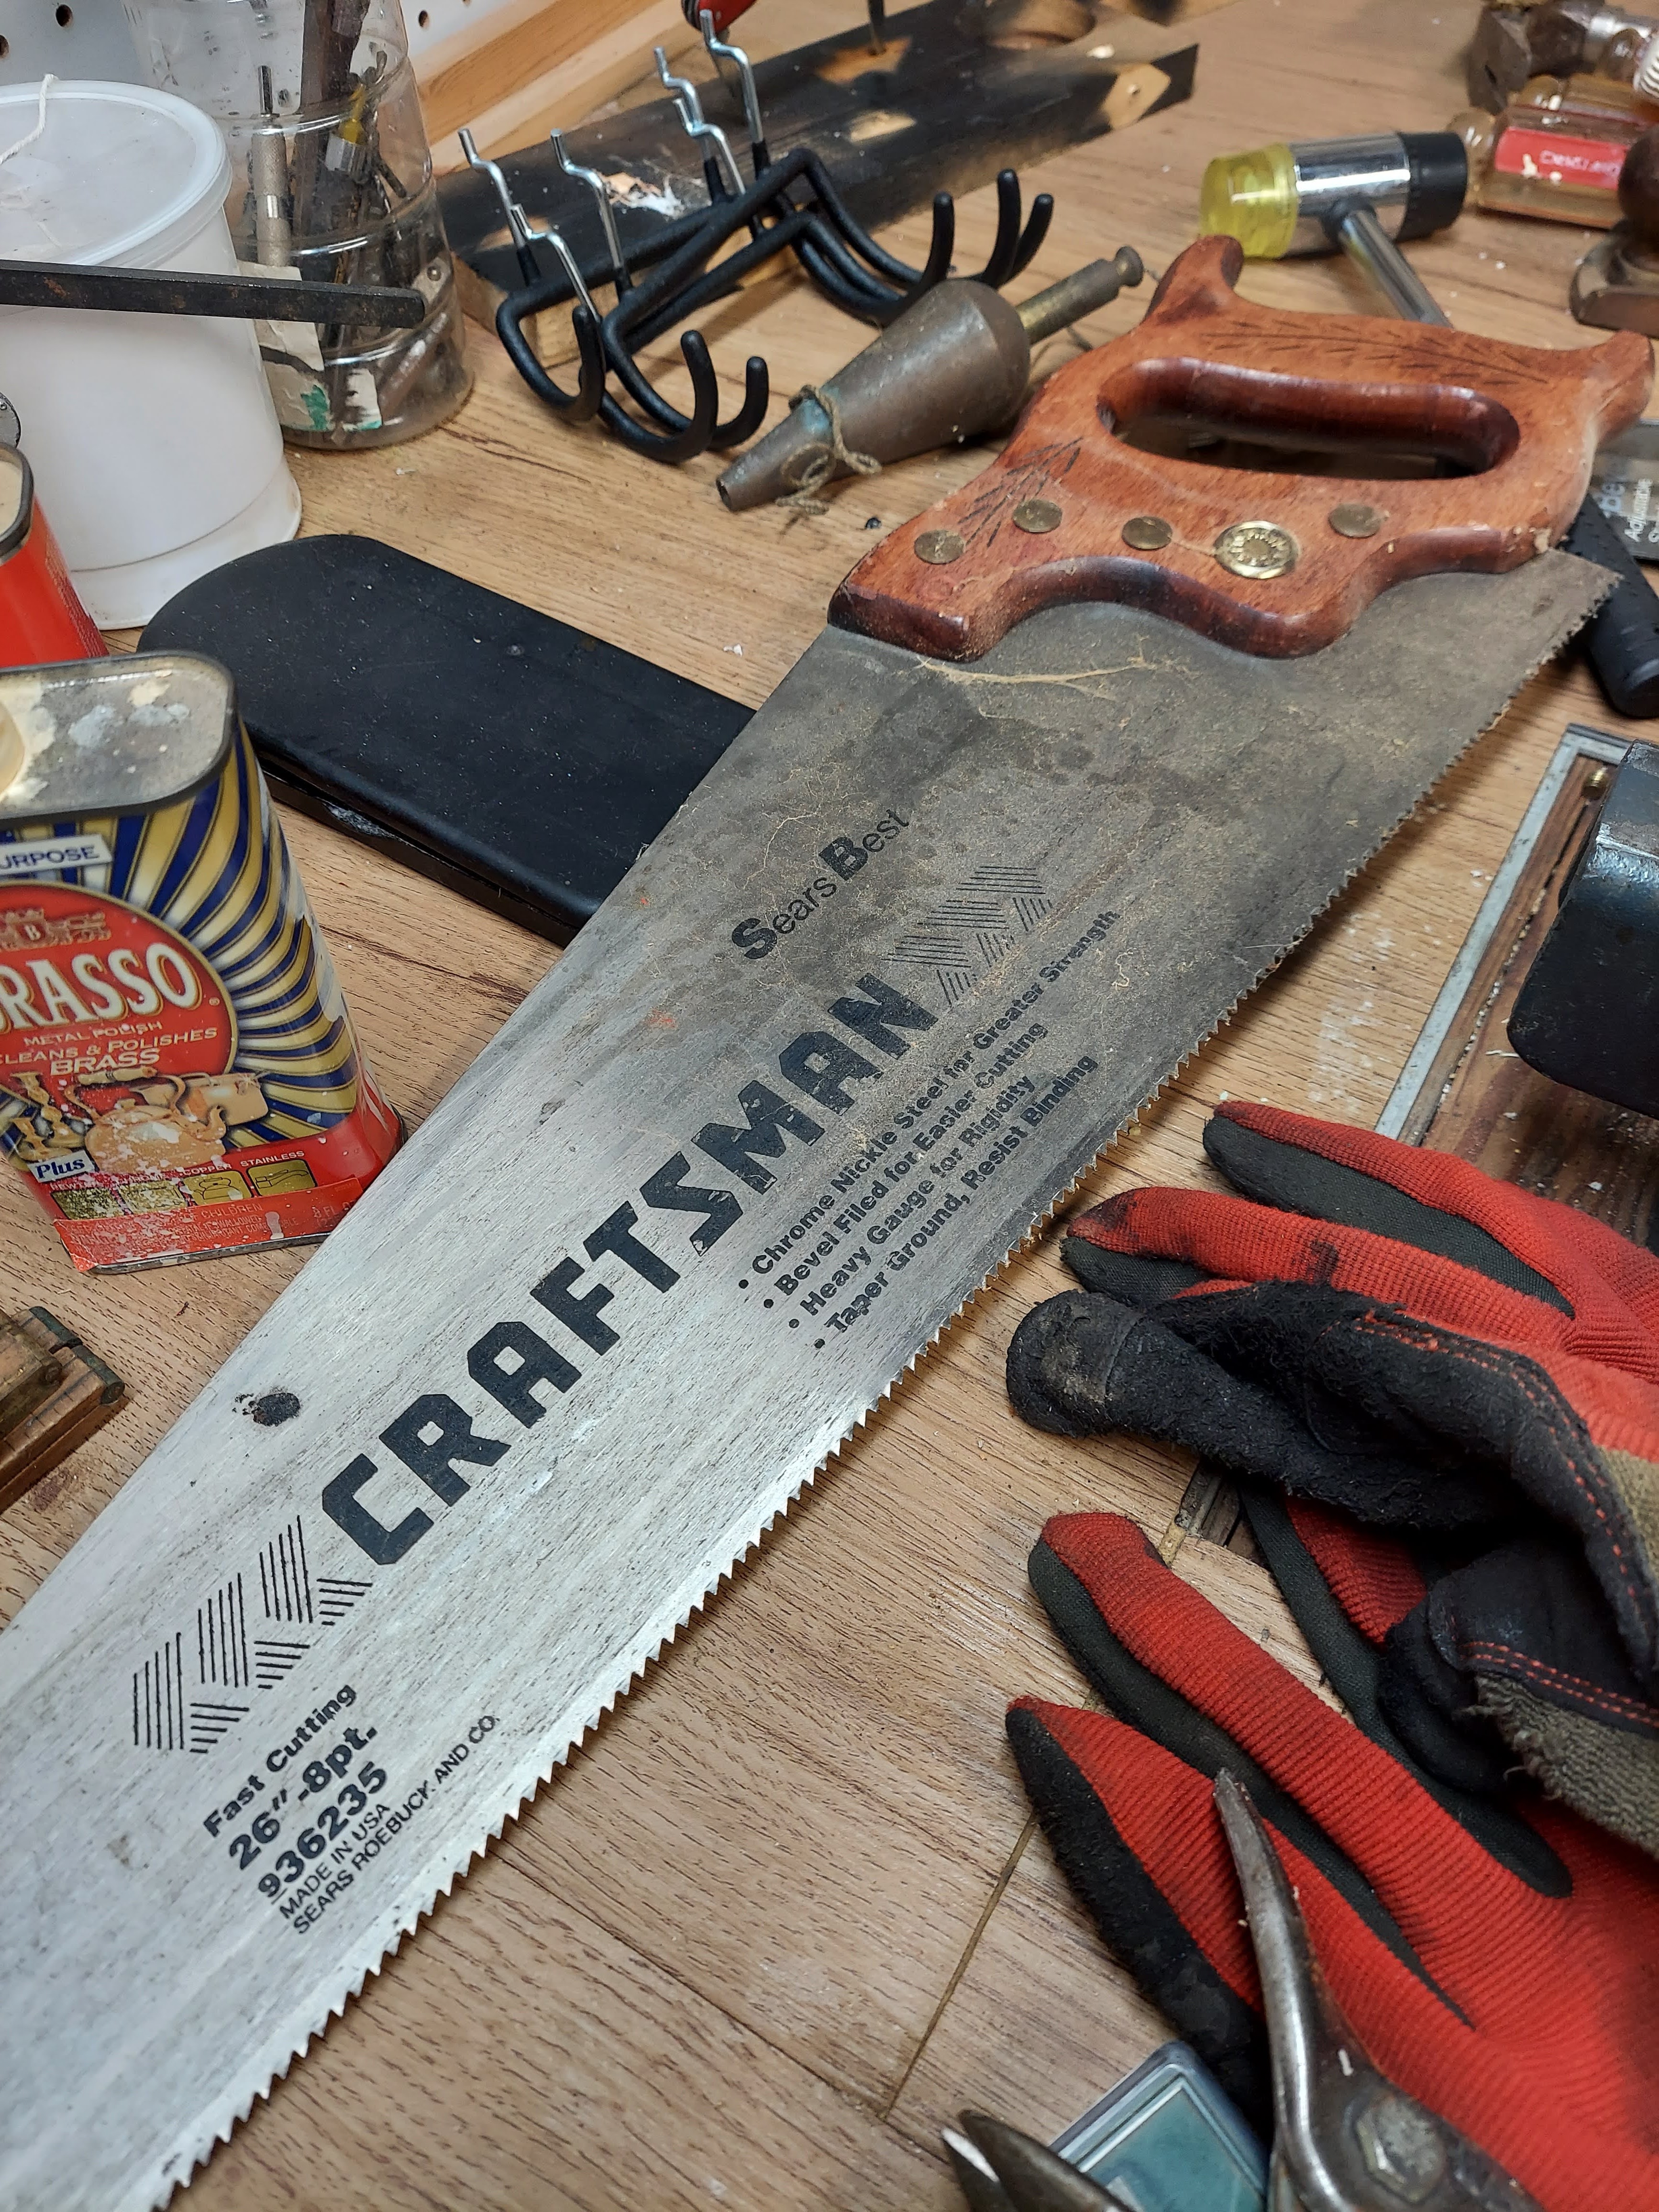
And, I presume incidentally, mine is also a Craftsman!

It was the first saw I bought, probably around 1997 or so, and has been my trusty favorite ever since. But this ol' boy is in need of a sharpening too! Oh, and and I have a few other saws I've picked up - all of which need sharpening too...

Hunting for the Right Tool
At last we come to it. I have all these saws, most of which - if not all, need sharpening. I don't know what made me think of it just now, but a couple weeks ago I found myself on eBay looking for a good saw vise to restore, and I found it. Oh - and I picked up a saw set too, but that's a story for another day.

Identifying the Sargent No. 93
What I got was a Sargent #93. The "93" is on one of the jaws, but there's no maker's mark. But a little research found that the 93s were made by Sargent and left unbranded to be sold by other outlets like Sears.

Another thing I learned in my research was that it could be hard to find a vintage saw vise with all the parts, and without cracks or breaks. Luckily, the one I found was complete and intact!
Imagine you are going for a walk in the forest when you come upon a man sawing down a tree.
“What are you doing?” you ask. “I’m sawing down a tree,” he says.
“How long have you been at it?” You ask. “Two or three hours so far,” he says, sweat dripping from his chin.
“Your saw looks dull,” you say. “Why don’t you take a break and sharpen it?” “I can’t. I’m too busy sawing,” is his reply.
As an outsider, we could see that the process of cutting was dulling the blade. And the duller the blade, the greater the effort that is required to keep sawing. The solution, of course, was for the woodcutter to stop periodically to sharpen the saw. He was so engrossed in the situation he couldn’t see the need to take a break and do what was necessary to make his job easier. - Tara West in Leaderinme.org
.jpg)
Assessing the Condition
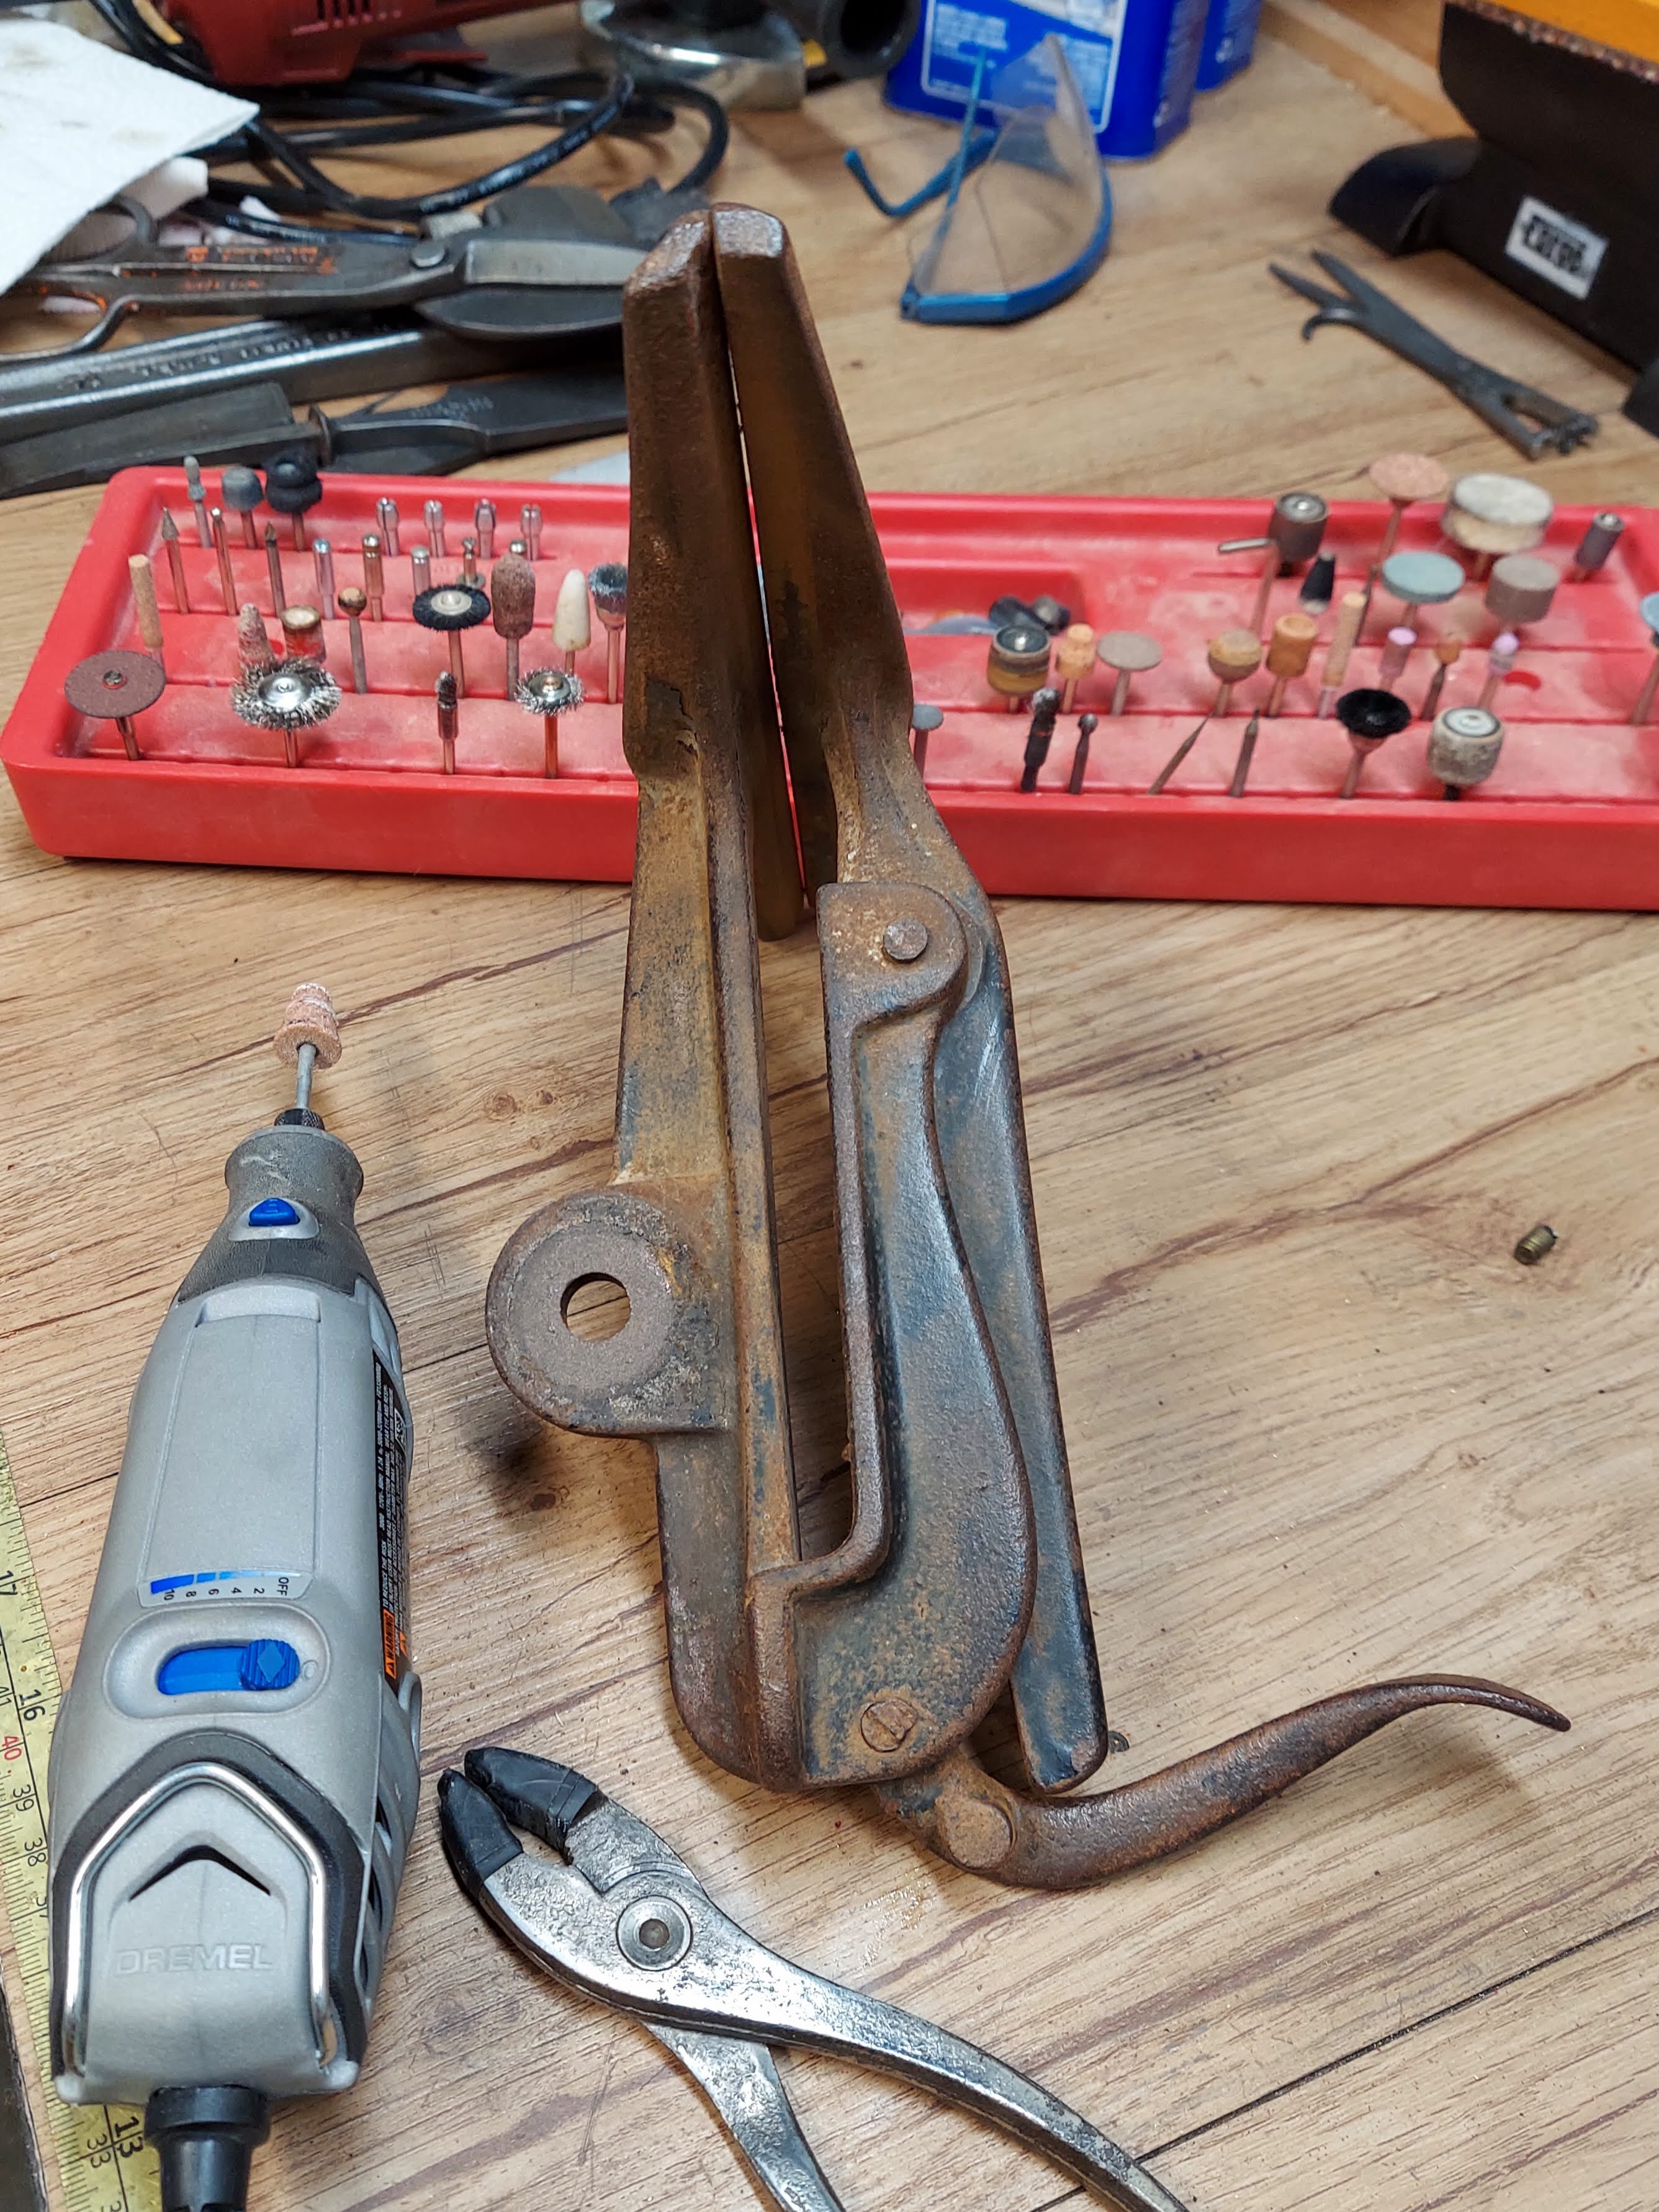
Once the vise arrived, a quick inspection showed it was not only complete - it was in really good condition!

As you can see, it just had some surface rust, needed a cleanup and fresh paint.
Cleaning and Rust Removal
After using the Dremel to grind the rivet peens, I removed some of the rust and put a little shine on the top and face of the jaws using the grinder I inherited from dad.


Prime and Paint
All cleaned up, rust and paint removed, it was time to pick a paint color. For a moment, I considered 173's signature red, but then I got to thinking this was such a unique vintage tool that it deserved to be back to its original color - black!

And of course, I had the supplies on hand!

I wanted to include this picture because it felt like some creepy scene from an even creepier movie. The scene that comes to mind is the one in Se7en where all the car deodorizer trees are hanging in that sloth's apartment. If you don't know what I'm talking about, check out the movie. But beware - if you're at all squeamish, or don't like thriller, highly dramatic movies - I'd give it a second thought.

Anyway, after a coat of primer, I applied two coats of Krylon's Satin Black.

Then the vise spent a couple days in the shop oven!

Putting It All Together
Painting and baking done, it was time to reassemble the vise. Back when I took this tool apart, I had ground down the peened side of the two rivets. I'd done this several times with other tools, but this was the first time I had done it and ended up with rivets too short to reuse them.

So I had to get new rivets. Now, this isn't really complicated, but being the first time buying rivets (other than the kind used on getters, etc) I decided to take a few minutes to learn about these little hunks of metal. And was I in for an education!

It really just came down to knowing the circumference and length of the rivet, and the shape of the head. That simple. So, to match the original rivets, I went with the "Button" style.

Then, I shined up the head of the bolt that connects the mounting clamp to the vise, and I think that turned out pretty nice too!

I think I mentioned that I cleaned up the jaws and the top of the jaws with my angle grinder. I wanted the top of the jaws to have a clean, shiny strip just for a point of interest. I think it turned out pretty nice:

Then I tested it out with my saw. It locked in very nicely and I ran my file over a few teeth...I think this little tool will work out quite nicely!

And here she is - all cleaned up, painted and ready for another hundred years!

A few posts involving my Craftsman tools
∙ My Craftsman Bench Vise - July 2021
∙ Miti-Mite Lamp - November 2022
∙ Tool Handle Bird Feeder - December 2020
∙ A Simple Shelf for the Kitchen -
⎯⎯⎯⎯⎯⎯⎯⎯⎯⎯⎯⎯⎯⎯⎯⎯⎯⎯⎯⎯⎯⎯
Some posts about my Montgomery Wards tools!
Its Natural Habitat
This saw vice is one of those odd tools with no easy way to display in a shop the size of the one here at 173. Sadly, this old tool will need to be stored out of sight. The upside is, its natural habitat will be in my brand new Craftsman tool chest!
Keep your teeth sharp!

Frequently Asked Questions
What is a saw vise used for?
A saw vise securely clamps a hand saw blade during sharpening, allowing the user to file the teeth accurately while minimizing vibration.
What is a Sargent No. 93 saw vise?
The Sargent No. 93 is a vintage cast-iron saw vise with 9½-inch jaws designed for sharpening hand saws. Many examples were sold unbranded through retailers such as Sears.
How do you identify a Sargent No. 93 saw vise?
Many examples have the number "93" cast into the jaws. Some lack a maker's mark because they were manufactured for private-label distribution.
Why use a saw vise instead of clamping a saw in a bench vise?
Saw vises provide broad support along the blade, reducing chatter and making filing more accurate and comfortable.
Can vintage saw vises be restored?
Yes. Most require little more than cleaning, rust removal, fresh paint, and occasionally replacing hardware such as rivets.
What paint is best for restoring cast-iron tools?
Many restorers use enamel spray paints such as satin black because they provide durability while preserving a traditional appearance.
Can angle grinders be used for rust removal?
Yes, with care. Wire wheels and polishing attachments can quickly remove surface rust, but aggressive grinding can permanently alter a tool's shape.
How do you replace rivets in vintage tools?
Measure the rivet diameter, length, and head style before ordering replacements. Button-head rivets are commonly used in older hand tools.
What other tools are needed to sharpen a hand saw?
In addition to a saw vise, you'll typically need saw files, a saw set, and sometimes a jointer for leveling the teeth.
How often should hand saws be sharpened?
It depends on use, but a saw should be sharpened whenever cutting becomes noticeably slower or requires additional effort.
Is hand saw sharpening difficult to learn?
It takes practice, but many woodworkers find it rewarding. The right tools make the learning process much easier.
Why restore old tools instead of buying new ones?
Older tools were often exceptionally well made. Restoring them preserves craftsmanship, saves money, and connects us to the people who used them before us.
Keywords
Sargent 93 saw vise, saw vise restoration, vintage saw vise, hand saw sharpening, Sargent No 93, saw sharpening vise, cast iron tool restoration, restoring vintage tools, hand tool woodworking, saw filing, House 173