

Planes
━━━━━━━━━━━━━━━━━━━━
Another Stanley plane
1884 Type 4 No. 7
A treasure inherited
━━━━━━━━━━━━━━━━━━━━
One of the oldest tools at House 173 proves that good craftsmanship never really goes out of style.
Here we are! Another inherited plane, one that I was a little intimidated by just because of its sheer size. It really wasn't much different than some of the smaller planes I've restored, but I needed to think a few things through.

An Inherited Treasure
This was another of the myriad of tools I inherited from my former boss's grandfather. This plane was at the bottom of the larger of these two toolboxes, and when I saw it I instantly knew I had a treasure!

Identifying the Plane
As you probably noticed in the subtitle, this is a Stanley Type 4, Number 7 Jointer plane made sometime between 1874 and 1884.

Assessing the Condition
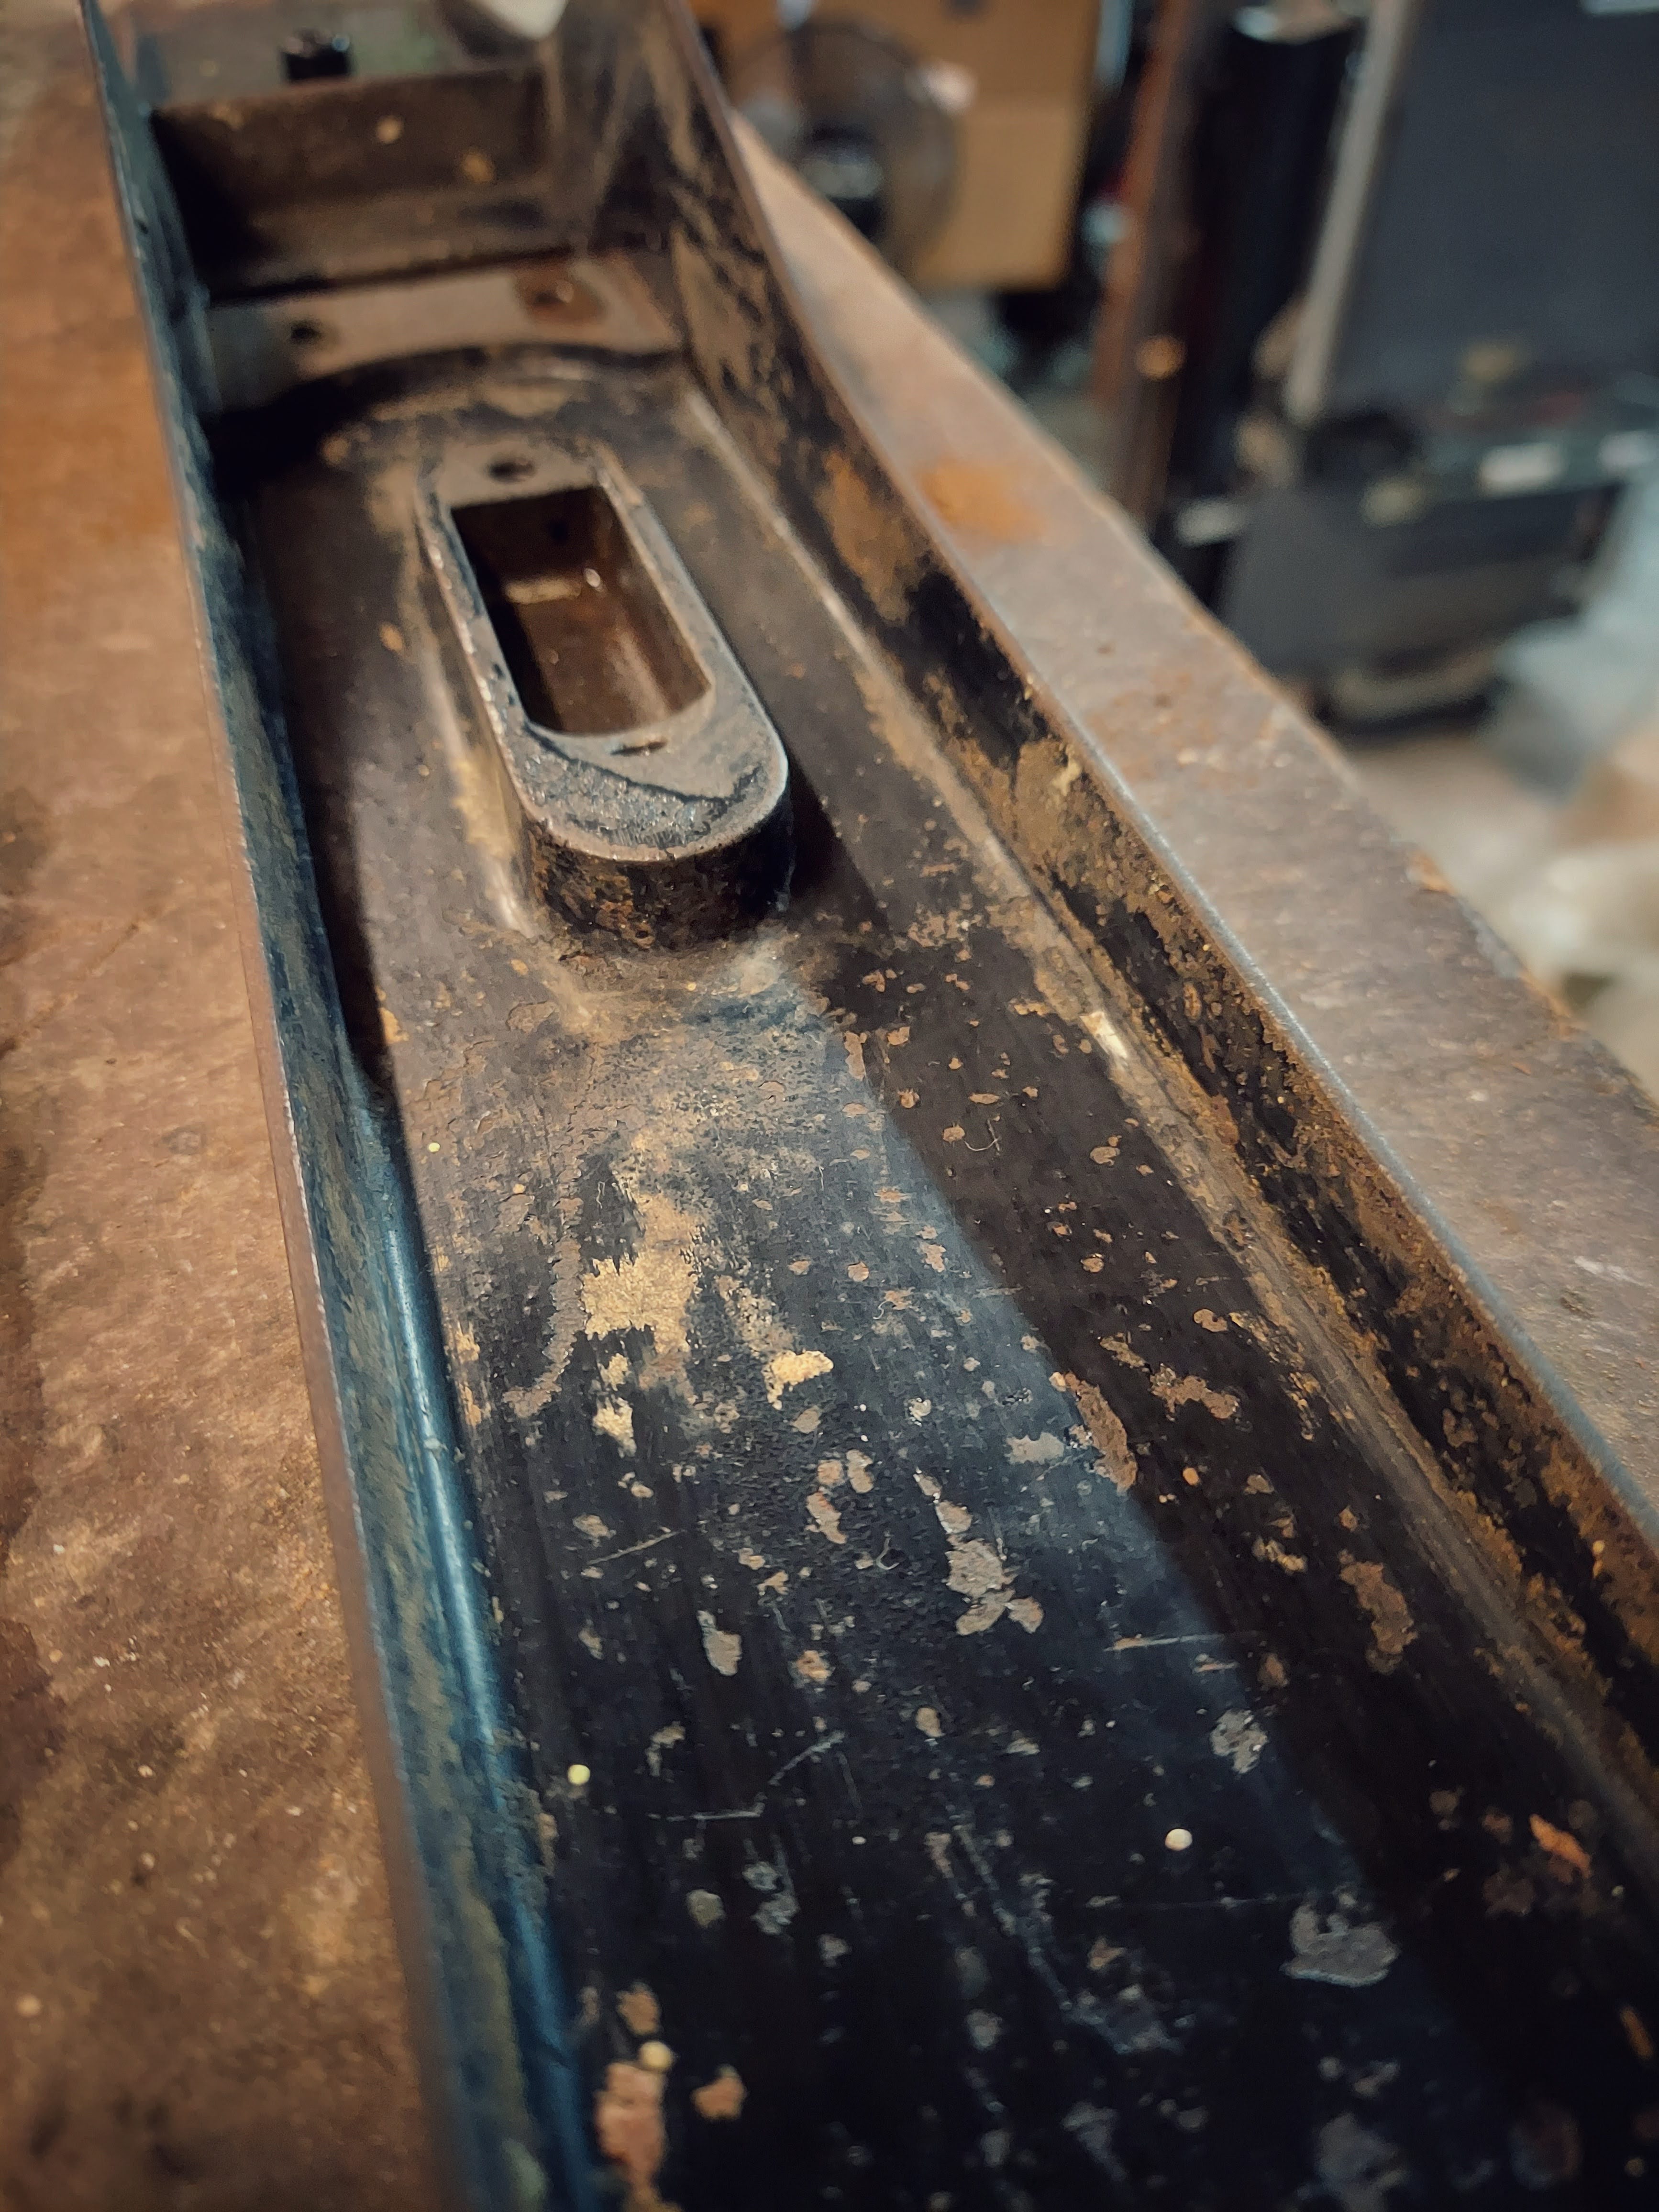
Here's how this plane looked when I first took it out of the tool box - really not bad at all!

It had a bit of surface rust, and some chips and sawdust, nearly a century old:

Clean Up and Repair
Clean up started with the body of the plane. The Japanning was in pretty rough shape...
So I put together a case to put the plane in a trash bag to let it soak in paint remover for a couple days. I won't tell you the name of the product but, I let the plane soak for three whole days and when I took it out of the remover, the Japanning was barely affected.

I don't know why I keep trying that specific paint remover, but once I switched to CitriStrip, things got better!

Overnight soaking and voila!

The #7 Jointer, 22"L, 2 3/8"W, 8 1/8lbs, 1869-1970. The jointer is used to true an edge (make it straight) or face (make it flat). This task is usually now done by finger-eatin' machinery, however, there are many de-evolutionists who delight in using these cast iron marvels. Show just how tightly wound you are when you wow your pals with the tightly wound shavings that these planes produce. - Patrick A. Leach, www.SuperTool.com
Repairing the Tote
The #7 Jointer, 22"L, 2 3/8"W, 8 1/8lbs, 1869-1970. The jointer is used to true an edge (make it straight) or face (make it flat). This task is usually now done by finger-eatin' machinery, however, there are many de-evolutionists who delight in using these cast iron marvels. Show just how tightly wound you are when you wow your pals with the tightly wound shavings that these planes produce. - Patrick A. Leach, www.SuperTool.com
The tote is the handle at the back of the plane. It takes a lot of stress, so it isn't surprising to see broken totes on older planes. Such was the case with this one...

So I cleaned up the surfaces where the tote had split, and glued them and clamped them together for a day or two (work really can get in the way sometimes!):

It came together pretty good, and I put some pretty good stress on the joint and it seems to be holding up - at least for now!

I took the tote to the 1x30 belt sander for a little shaping and old finish removal...

And I chucked the handle into the drill press for some sanding...

Then it was just a matter of a couple coats of Bombay Mahogany Stain to finish them off! You'll see the finished handles in just a minute.

Painting
Suddenly it was time to paint. I decided to paint the body to match the 1918 Stanley #5 that came with this plane. I painted the 1918 #5 with Rustoleum's Oil Rubbed Bronze, and so it would be for this 1884 #7!
I dried the tote, handle and frog on the lower-temperature shop oven. That was mostly because it was -15 degrees F outside and the workshop was a little cool at 56F.

And I cold blued the yoke for the adjustment wheel. Not sure why I chose to do that other than I like the look of cold bluing and I find myself looking for opportunities!

The Little Bits
One of the fun things about restoring a plane is that the prep work can take some time, waiting for paint strippers to do their work, gluing and fixing parts, wire wheeling, staining, etc., but then you get to this point where in an hour or so it's over!

Once you get going on the frog, chip breaker, blade, yoke, screws and pins...it's nearly over. Usually, this part happens for me on a Sunday morning.

And with a little polishing and ta-daaa - it's done!

Done! Fatto! Gjord!
So here are a few beauty shots. I love the textured look the Oil Rubbed Bronze paint gives the bed of the plane. It kin of gives it a bit of dimension.

Not that a 22" #7 plane lacks dimension!

I'm always so tickled with the way these planes turn out. I don't go crazy trying to make them look brand new, but I like fixing them up and paying a bit of tribute to the hard work and life of past generations.

Natural Habitat
And here we are...looking to spy the 1884 #7 in its natural habitat! Because of the sheer size of this plane, I decided to store this one on one of the new shelves in the workshop.

And a closer look in case you missed it!

I hope you enjoyed, and thanks for stopping by! See you next time...

I love the quiet restraint in your restoration philosophy. You don't chase perfection, you preserve usefulness. The repaired tote, refreshed finish, and carefully restored hardware don't erase the tool's history; they simply prepare it for another generation of work. That's reinforced beautifully by the final paragraph, where the plane isn't displayed under glass but placed on the workshop shelf, ready to be picked up whenever it's needed. That practical ending is quintessential House 173: honoring history not by freezing it in time, but by putting it back to work. - Anonymous Reviewer
Frequently Asked Questions
What is a Stanley No. 7 jointer plane?
The Stanley No. 7 is a long bench plane, commonly called a jointer plane, designed to flatten large boards and straighten edges before joining them together. Its 22-inch length allows it to bridge high spots in the wood, producing exceptionally flat surfaces.
What does "Type 4" mean on a Stanley plane?
Collectors divide Stanley bench planes into "types" based on changes made during production. A Type 4 plane was manufactured between approximately 1874 and 1884 and can be identified by several casting and hardware details. These type studies help date planes even when no manufacturing date appears on the tool itself.
What is japanning on an old plane?
Japanning is a durable black baked enamel finish that Stanley applied to the interior surfaces of its cast-iron planes. Besides giving the tool its classic appearance, japanning protected the iron from rust and wear. Restorers often preserve original japanning whenever possible, but badly damaged finishes sometimes require replacement.
Why are Stanley planes so collectible?
Stanley planes are admired for their quality, durability, and historical significance. Many were built during the late nineteenth and early twentieth centuries and remain fully functional today. Their long production history also allows collectors to identify specific manufacturing periods with remarkable accuracy.
Why is the tote often broken on antique planes?
The tote, or rear handle, absorbs much of the force applied while using the plane. Decades of heavy use, accidental drops, or changes in humidity can eventually cause cracks or complete breaks. Fortunately, many damaged totes can be successfully repaired with careful gluing and refinishing.
What is a jointer plane used for?
A jointer plane excels at flattening wide boards and creating perfectly straight edges for edge-gluing. Its long sole rides over low spots while trimming high spots, making it one of the most important planes in traditional woodworking.
Can an antique Stanley plane still be used?
Absolutely. Many Stanley planes that are more than a century old continue to perform exceptionally well after cleaning, sharpening, and proper adjustment. In many cases, they rival or exceed the performance of modern production planes.
Should antique tools be restored or preserved?
It depends on the tool's rarity and condition. Extremely rare or historically significant examples are often best preserved with as much originality as possible. Common working tools, however, can often be thoughtfully restored so they continue serving the purpose for which they were built.
Why restore inherited tools?
Inherited tools carry more than practical value—they carry family history. Restoring them preserves the craftsmanship of previous generations while allowing today's woodworkers to continue using the very same tools that helped build furniture, homes, and livelihoods decades ago.
What is this story really about?
On its surface, this is the restoration of an 1884 Stanley No. 7 plane. But underneath, it's about stewardship. This jointer has already served generations of craftsmen, survived well over a century of work, and now begins another chapter at House 173. Rather than becoming a display piece, it remains what it has always been: a tool built to make wood flatter, edges straighter, and work a little more satisfying.
Keywords
1884 Stanley No 7 plane, Stanley No 7 restoration, Stanley Type 4 plane, antique Stanley plane, jointer plane restoration, inherited woodworking tools, vintage hand plane, Stanley bench plane, japanning restoration, plane tote repair, antique tool restoration, woodworking hand tools, vintage woodworking tools, House 173, Stanley plane collection