

━━━━━━━━━━━━━━━━━━━━
STANLEY BAILEY NO. 5 TYPE 11
MADE BETWEEN 1910 AND 1918
THE JACK OF ALL TRADES PLANE
━━━━━━━━━━━━━━━━━━━━
This is exciting! I mentioned yesterday that in my recent tool haul I found two planes. They both need extensive restoration, and this #5 will probably be my most challenging restoration so far! My two previous plane restorations were Dad's #4 which was more a cleanup, and a Stanley Defiance #4 which was a pretty simple restoration. This'll be fun - let's get started!

Plane Anatomy
Just to make sense of this post, here's a plane anatomy chart:

That'll help as we go through this and subsequent posts about this restoration. I'm guess that'll be a total of 2 maybe 3 posts.
What Are we Dealing With Here?
First, as you can see in the first picture of this post, this is a Bailey plane. I knew it had to be a Stanley because the Stanley Rule & Level purchased the patent rights to Leonard Bailey’s plane design. Their relationship broke up in 1875 and Stanley won the right to the patents as well as the ability to maintain the Bailey name on the planes.

Virginia Toolworks has a great history of Stanley and their planes, it's worth checking out! Just to show the Stanley piece, I found the maker's mark on the plane iron:

As soon as I could, I gathered what I knew about this plane such as:
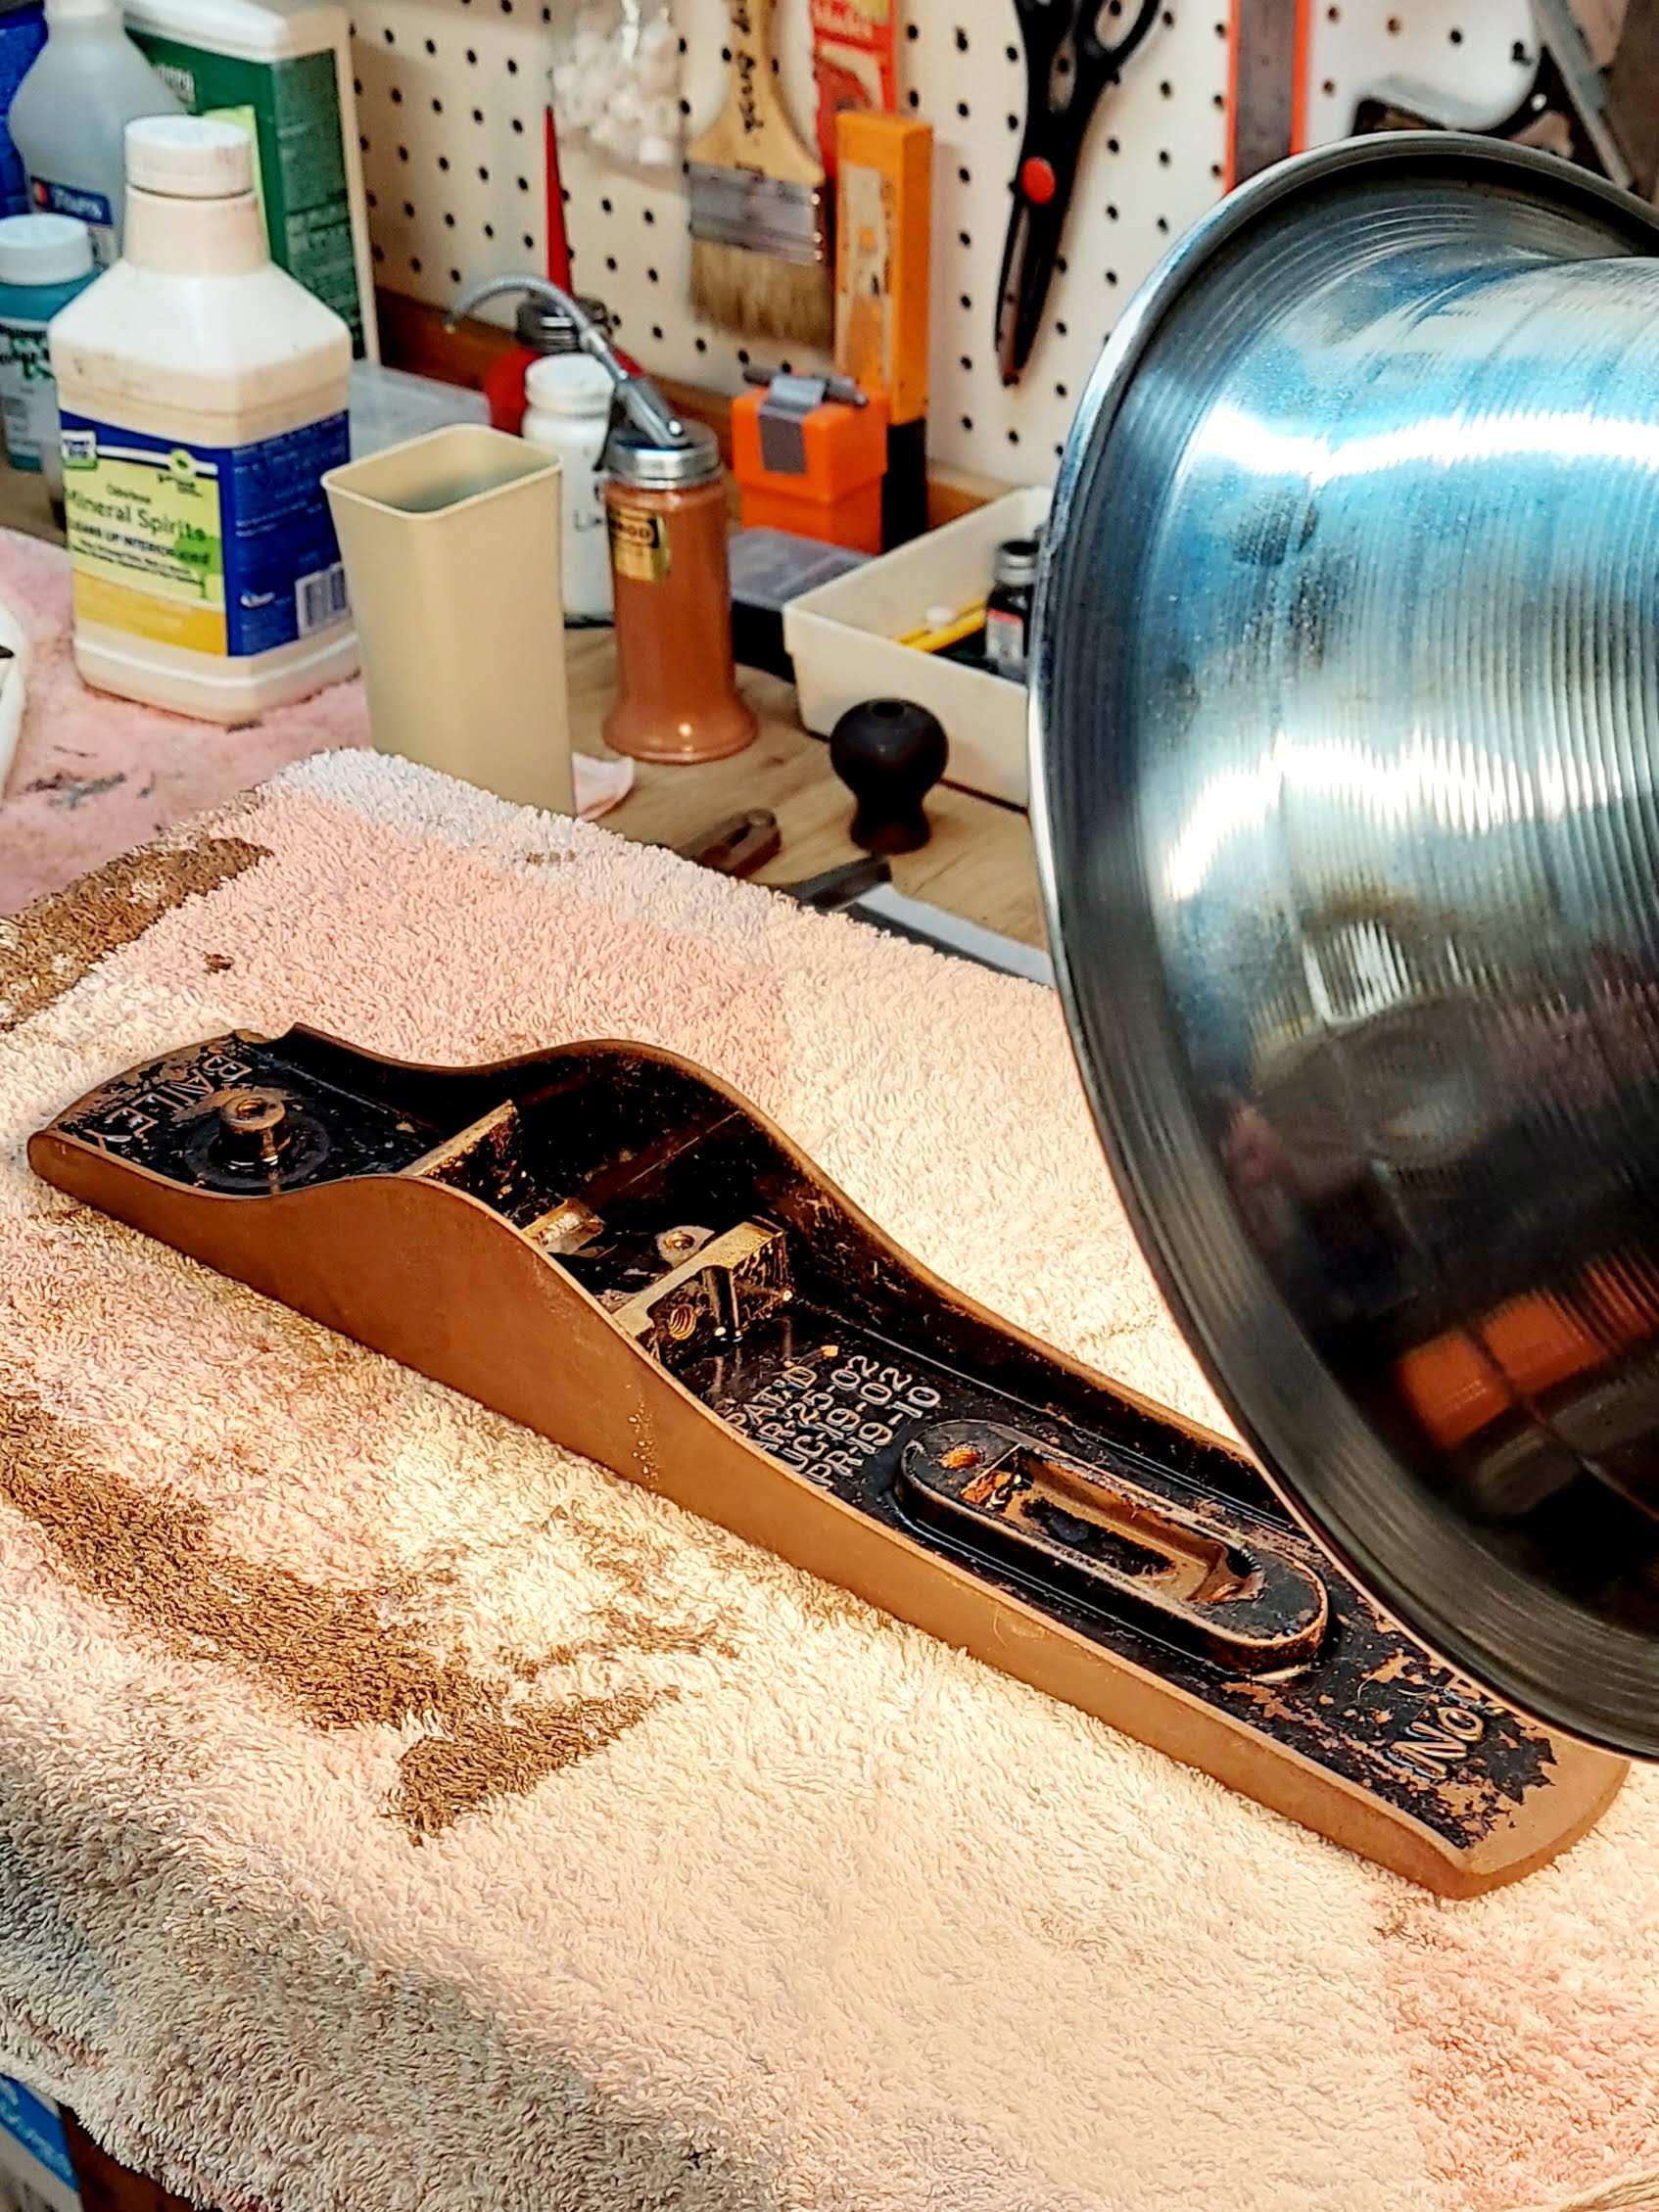
- It has 3 patent dates on the plane body
- The depth adjustment wheel was 1" (new versions have 1.25" wheels
and ran that info through an algorithm and found out that I have a Type 11, and that this plane had been build no later than 1918!

The Assessment
Before we get started, let me give you a tour of the condition of this plane. First, there are very few major malfunctions. Sure it's grimy and rusty, but overall, this beauty is in great condition!

But all was not perfect. The tote clearly had issues...


But it does have the most unique lever cap I've ever seen on a plane. All I've ever seen has been smooth caps with the maker's name or logo. I have a plan for this!

The only other real "problem", which has absolutely zero impact on the functioning of the plane, is that the right front and rear edge of the body side are chipped. No problem, I'll just file those smooth.

My Planes
∙ Block Planes - (I have 2) cutting through end grain, rabbeting and trimming joints
∙ Stanley 12-904 - very inexpensive, I plan to convert this to a scrub plane
∙ Surform planes - for sheetrock
∙ Stanley Bailey No.4 - simply does it all! (I have 2: Dad's and a Stanley Defiance)
⎯⎯⎯⎯⎯⎯⎯⎯⎯⎯⎯⎯⎯⎯⎯⎯⎯⎯⎯⎯⎯⎯⎯⎯⎯⎯⎯⎯⎯⎯⎯⎯⎯⎯⎯⎯⎯⎯
You might like some other House 173 tool posts!
Time for Cleanup
This plane is dirty. It's not just the dust and dirt of sitting in a toolbox for some 40 years. This plane shows the buildup of sweat and grime from a whole career of carpentry. It even had a nice little collection of shavings...

After dusting and wiping, it was clear there was so much grime a simple soak wasn't going to do the trick. So I soaked the parts in some degreaser. It worked like a charm!

The #5 Jack plane, measuring 14"L, 2"W, and weighing 4 3/4lbs, was made by Stanley from 1869 to 1984, and was the standard jack plane that Stanley sold by the boatload. This is the most useful of all the bench planes, and it is a very good plane on which to learn technique. It is the first plane used on rough stock to prepare the surface prior to use of the jointer and smoother. Practically every John Q. Handyman had one of these planes, of one make or another, for household uses such as trimming a door or sash.
Its iron is often ground slightly convex so that a heavy cut can be taken; the edges of it are rounded off so that it doesn't dig into the wood. Each and every woodworker, including the 'lectrical toolers of the world, should have this plane.
The plane can serve several roles when one doesn't have all the other planes in his kit. It can do the surface preparation with its mouth set wide and a deep set to the iron, it can do smoothing with its mouth set narrow and a shallow set to the iron, and it can do jointing, although not as easily as the true jointers, the #7 and #8. - Patrick A. Leach in Supertool.com
And here's where I left off for today. Most of the plane parts are soaking in rust remover...

And I have some paint stripper on the plane body. The problem is in the original manufacturing process, the body was japanned. That stuff is tough and I think it's going to take some time for paint remover to lift it, so I wrapped the plane in plastic wrap to keep the remover from drying out overnight - we'll see how that works out.

Some Bonus Pics Before We Go
The frog is in pretty decent condition:

Here are the patent dates that were helpful in entering info into the algorithm...

And here's the body drying in the oven after coming out of the degreaser...
And there we have it. I'm anxious to see how things look tomorrow, in the meantime...
NOTE: The finished product can be viewed in this post!
Happy Columbus Day!
