

The Workshop
━━━━━━━━━━━━━━━━━━━━A Couple New Shelves
Two New Tool Boards
Time to Reorganize
━━━━━━━━━━━━━━━━━━━━
Back in October I darn near waxed poetic about the tool board on the south wall of the workshop. I had filled the old holes, sanded, stained and shellacked, the old board and it came out pretty nice. Since then, I've inherited a number of tools from my old boss, and my father has gifted a beautiful selection of tools also. I mean, the collection grew significantly enough that I've had to reconsider how I store tools. Great problem to have!

Wood vs. Pegboard - a minor debate
This time around, I gave some thought to adding more pegboard to the workshop, and I still might at some point, but for now - tool boards rule the day!

I just love the look of old-school wood bolted to a wall and nails and screws used to hold tools and supplies. Sure, there are some drawbacks, but I can live with them all!
A Tool Board for the Annex
Okay, "Annex" is a bit of embellishment, what I'm talking about here is really just the main part of the basement where I have a secondary workshop and where I so most of the woodworking takes place. There's a window above that bench so I thought - let's just add another tool board - right there! So I grabbed a 2"x10" plank (dang - now I think of it - next time I need a plank...).

Then a little measuring, cutting and laying out of the bolt holes...

And some good ol' Mahogany stain and clear shellac...

I used my hammer drill (one of my favorite tools, just don't have enough occasion to warrant its use) to drill pilot holes and drove in some Tapcon screws - that board ain't never coming down!

Just like that - it was done. So far I've only hung some scissors, small adjustable wrenches and the breast drill I restored back in October.

But that'll change as I sort things out.

A New Pliers Rack for the Workshop Board
It didn't take long to fill up the pliers racks and the rest of the tool board after October's tool board refurb...

So I made a couple more. One of these days I'll have to do a short post on how I make them, you know - for posterity.

It's funny, with all the nice planes I'm starting to accumulate, one of my favorites is still my simple, inexpensive block plane. Probably has something to do with what I'm using it for at the moment.

And of course, Mahogany stain is the color I've been using on these little works of art!

Because I wanted to hang this rack on the shop tool board, I moved a couple things around to make space. New rack hung - it filled up pretty quick!

We are all old houses, altered by time and circumstances. Our lives are shaped by the good and the bad, and we take it all in and make it a part of us. ― Erin Napier, Make Something Good Today: A Memoir
Then there's the New Board for the East Wall
As it turns out, even with the new tool board for the annex, and a new pliers rack for the south tool board - I still needed more space. So I grabbed another plank, this one a 2"x8", and went to work on it. First I repaired a split at one end...

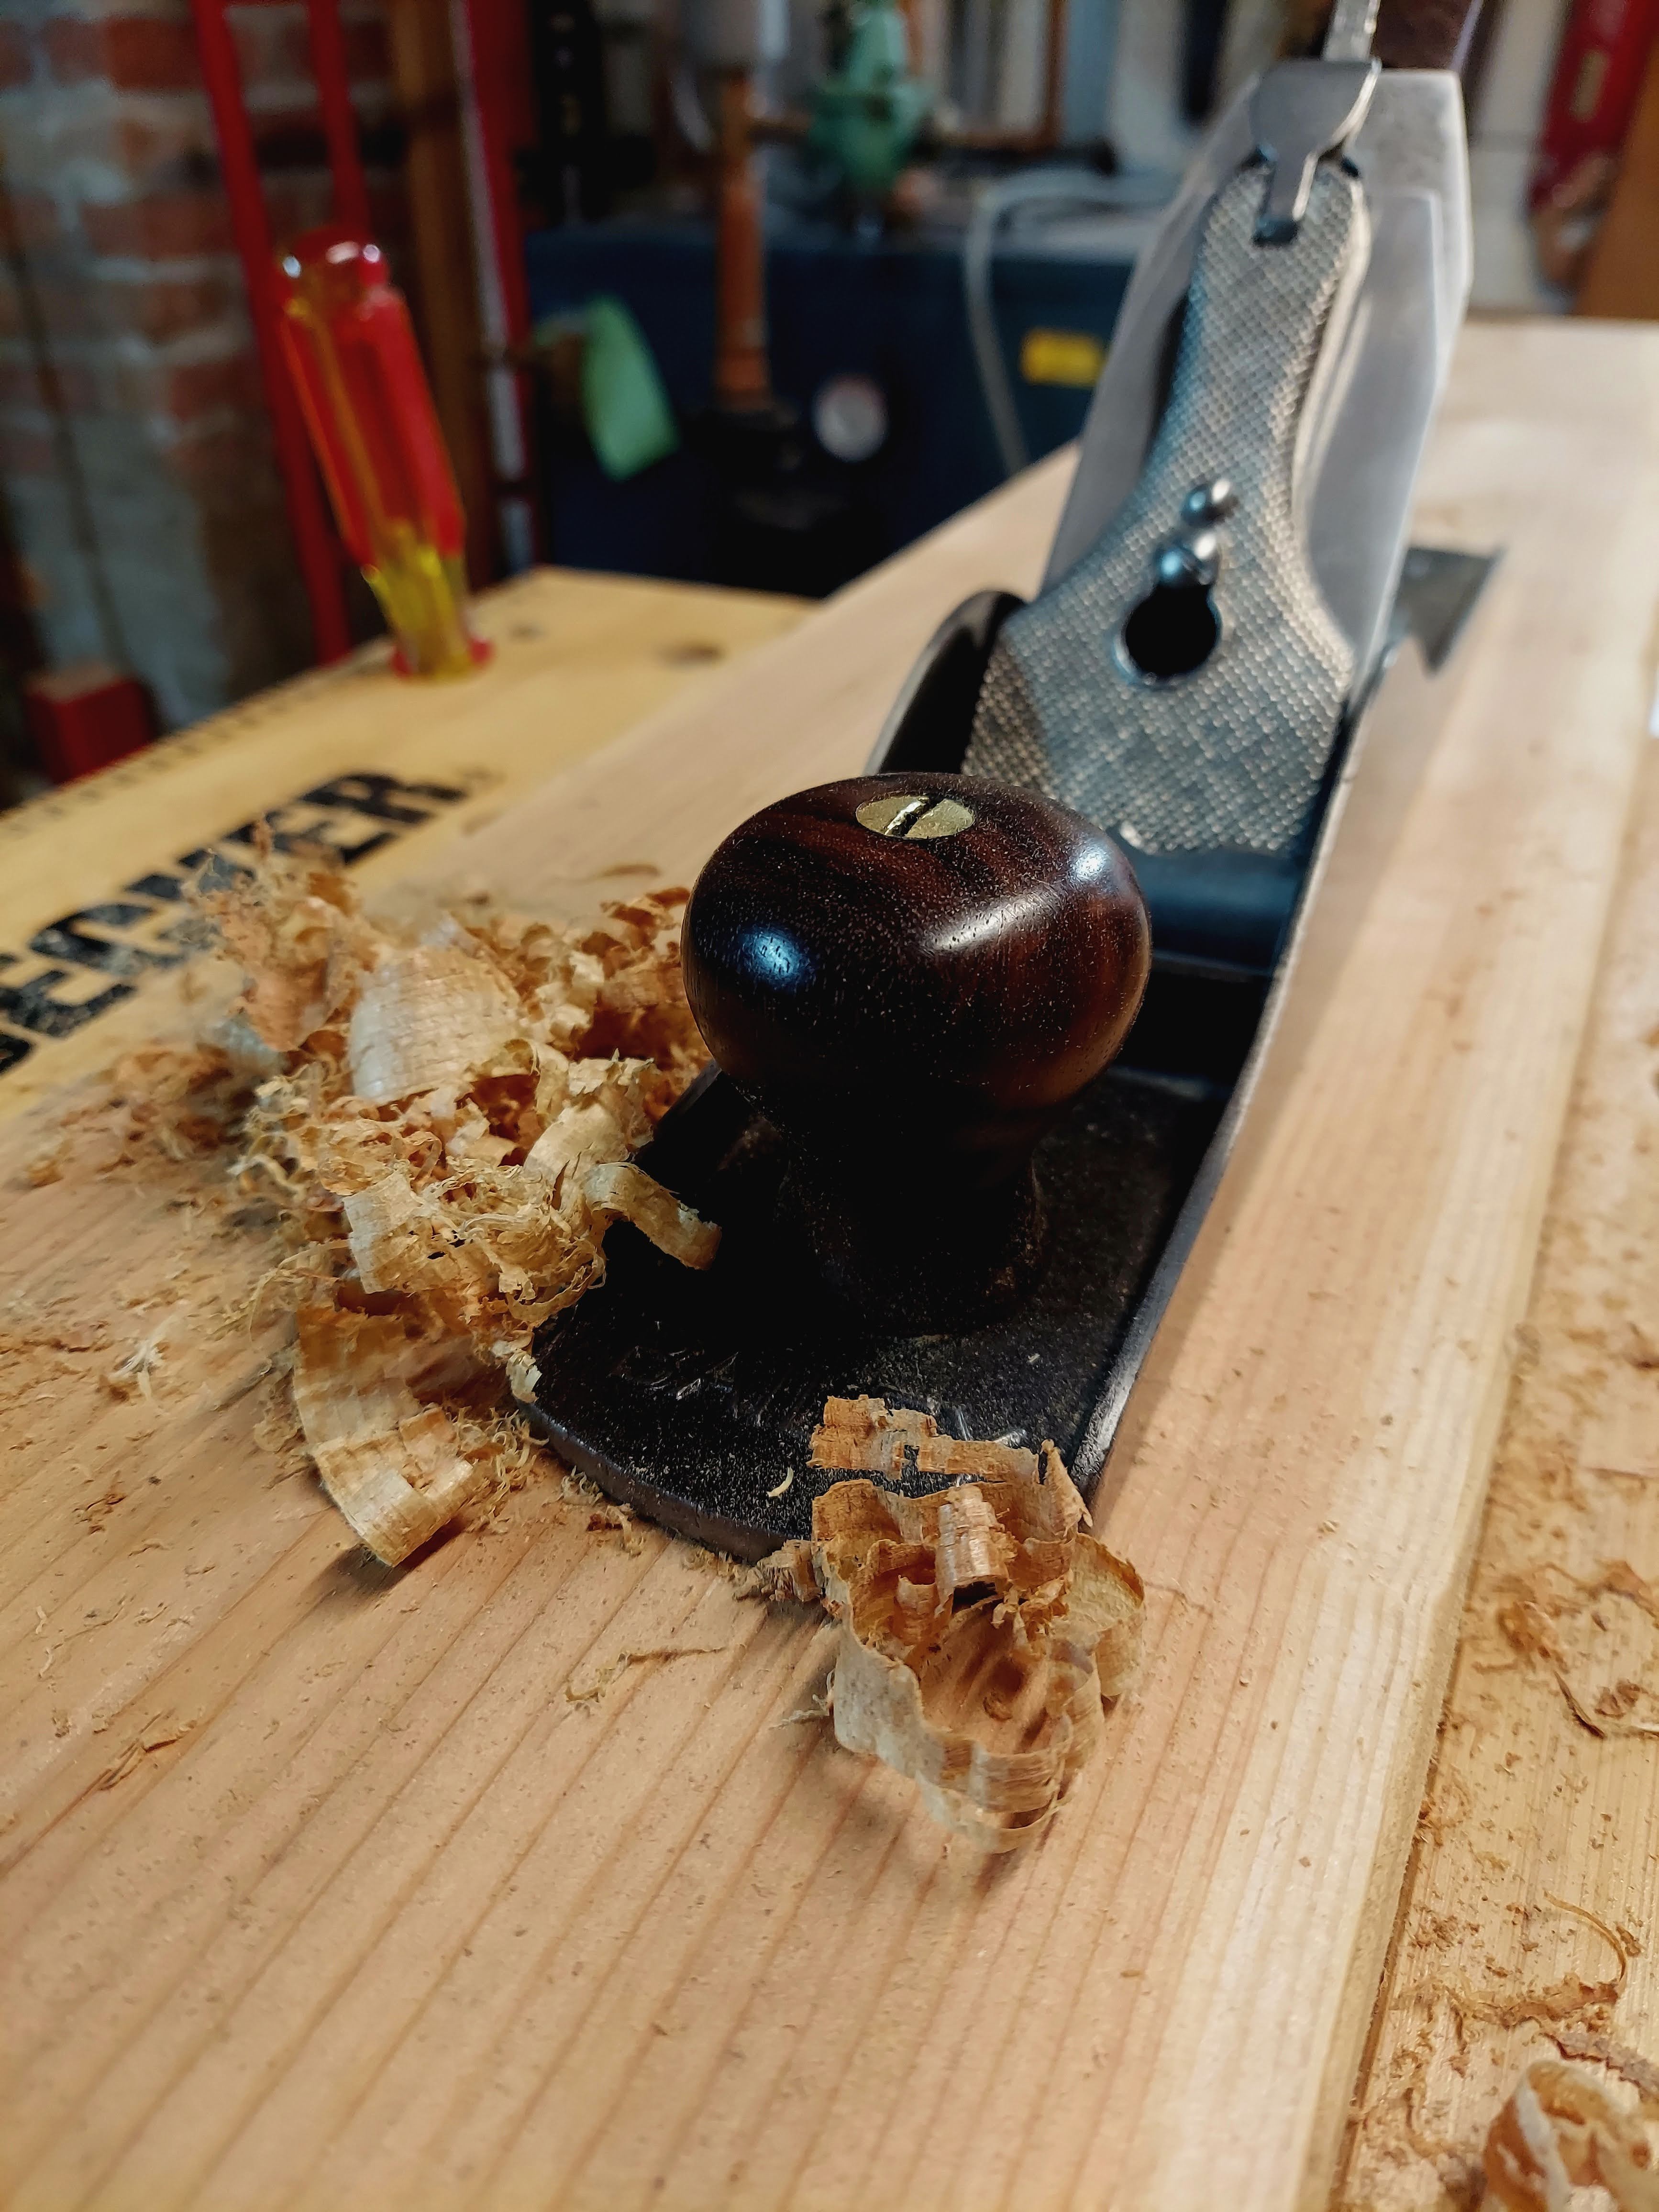
There was a fairly significant twist in the board, so I used my restored 1918 Stanley #5 for flatten both sides of the plank.
Then I used my Forstner bits to lay out the bolt locations. I mention the Forstner bits because, well, I don't get to use them very often, so whenever I have the chance!

This board had been a working plank for a long time. It's primary role was as scaffolding for the hall and stairwell wallpapering and painting.

So it had a lot of nicks and dents and gouges and - it was just a little beat up. So I used quite a bit of wood filler and sanding to smooth it out pretty good. I mean, it's a tool board not a table top so, it didn't need to be perfect. Probably didn't even need to be smoothed at all, but there we have it!

Because of where the board would be hung, there wouldn't really be room for tools to hang past the bottom, so I decided to add a shelf to the getup...

To help the staining come out at least a little even, I gave it a couple coats of pre-stain:

And you guessed it - Mahogany stain...

Ha! I forgot to mention, I also installed a shelf on the wall above my Popular Mechanics tool chest. You can see here why tools wouldn't be able to hang below the bottom of the new board, I needed room for the tool box to open at the top.

And the fact of the matter is, the board's really going to hold things like packets of screws and other hardware, making room on the pegboards for more tools.

And the shelf would hold a bunch of odd tools like the drill bit sharpening jig and the Bunsen burner I inherited from the Moshers.


And that's that - some more tool stage space for the workshop at 173!

Thanks for stopping by and have a Merry Christmas and a Happy New Year!
