

My Inherited 1918 Stanley
When last we met, the Stanley Bailey #5 plane had been cleaned (it was an incredible mess) and paint (japaning) removal had begun. It's taken quite some time, I mean it's been nearly two weeks since the first post, so I'm guessing this plane restoration has taken a good 3 to 4 weeks! Fair warning, this post is going to be heavy-laden with pictures.
Finishing the Paint Removal
We left off with the plane having ben wrapped up in plastic wrap to soak in paint remover and was then drying in the shop oven:
Because japaning is so tough, the Citrustrip didn't even touch it. I knew instantly that it would need to soak - for a long time. I started thinking about containers to soak it in, when I remembered John over at Scoutcrafter used PVC pipe to make a soaking station. As it turns out, I've had this length of pipe stored for nearly 30 years, always holding onto it because hey, you just never know when you might need a piece of PVC pipe. And this piece's day had arrived!

I cemented a cap onto one end, used a couple clamps to stabilize it in an empty container just in case it leaked, tied some wire to the plane to make retrieval easier and voila - the plane was soaking!

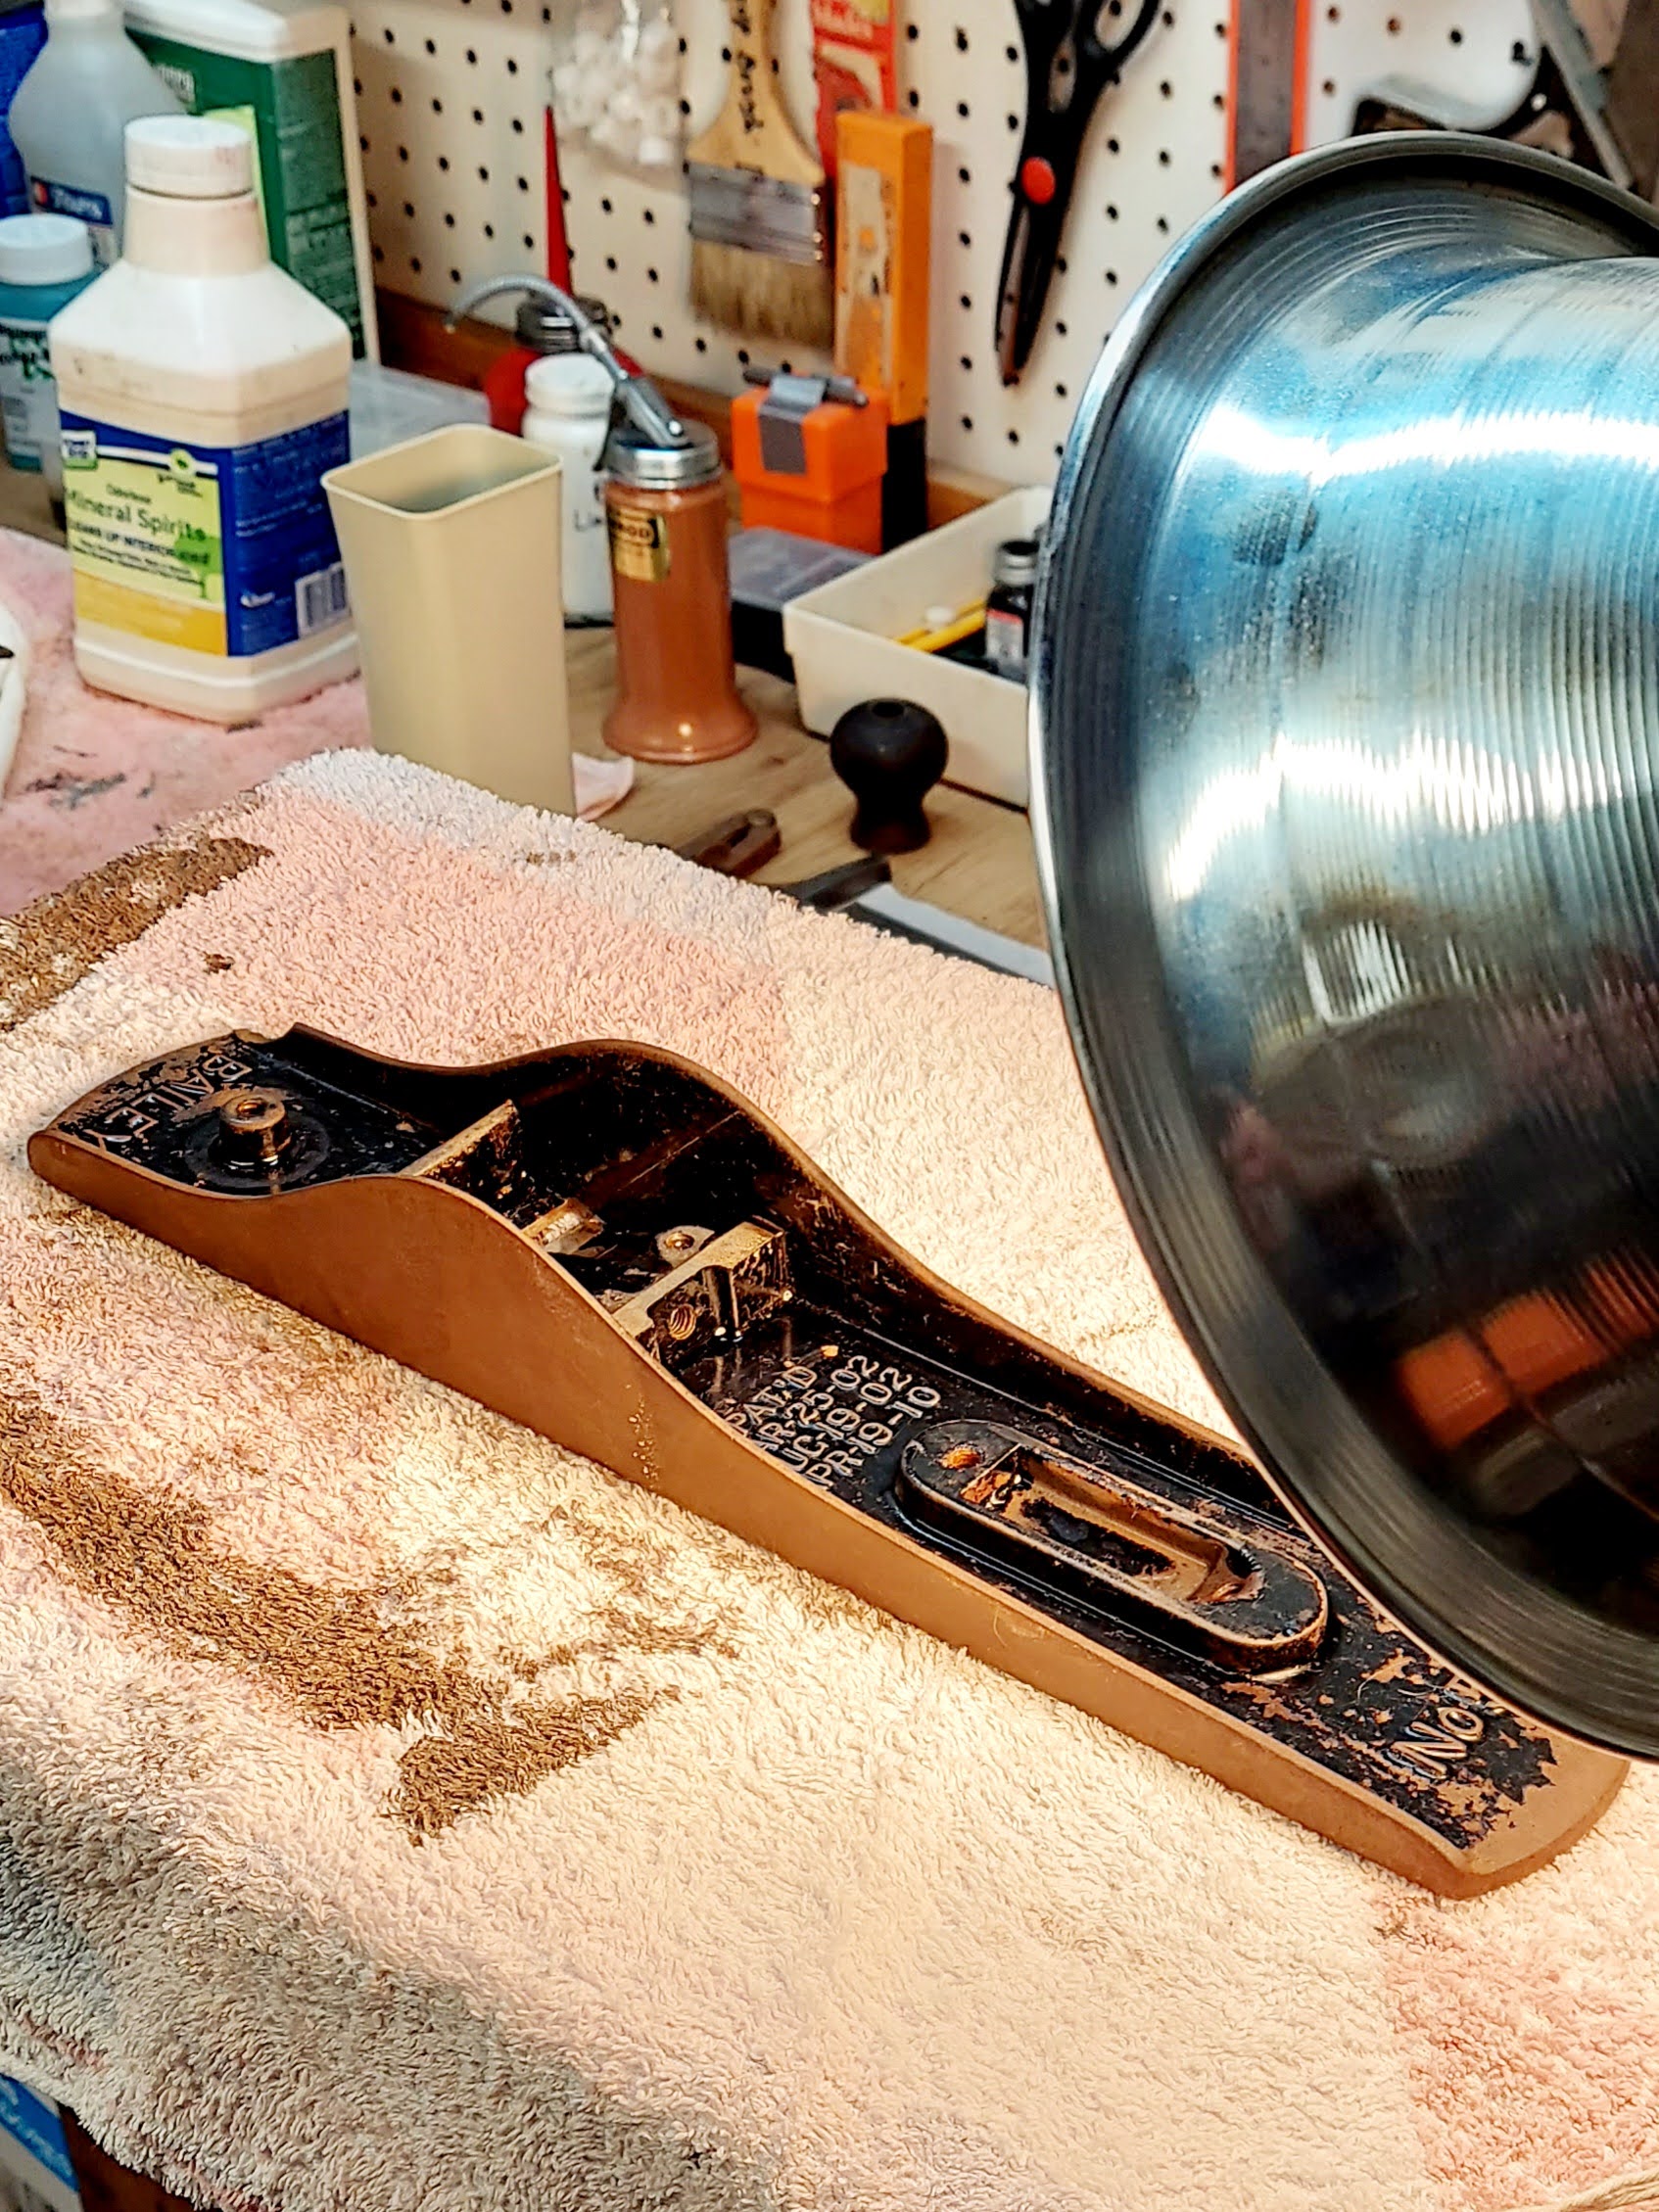
I had to soak the plane for, I think, three days before anything really happened. As you can see, it did a pretty good job removing the japaning:

But I still had to spend about an hour chipping awey at some stubborn spots...

I also soaked the lever cap in paint stripper for a day, Here's a before and after:


Taping and Painting
It seems it took forever to get to this point but on Saturday, like out of the blue, it was time to paint! Of course some parts needed to be taped first. And let me just say...for years I struggled with taping because I always just used whatever box cutter was at hand. But recently, I got a hobby knife and that changed everything, making trimming the tape almost enjoyable. And by-the-way, I was today years old when I leaned an exacto knife is a brand name: X-Acto, who knew?

And of course, I had the struggle with what color to paint the plane. I was originally going to go with red like I did with the Stanley Defiance #4, but then I saw Restoration by Alabama Creeks restore a plane and painted it using Rustoleum's Oil Rubbed Bronze and it looked fantastic. Not above glomming onto a good idea...I did likewise with this #5!

An once again following Scoutcrafter's practice, I wiped the raised lettering with acetone for a really nice look:

And here's the other end. That bare metal look on the black background just has that, that, je ne said quoi!

Parts and Pieces
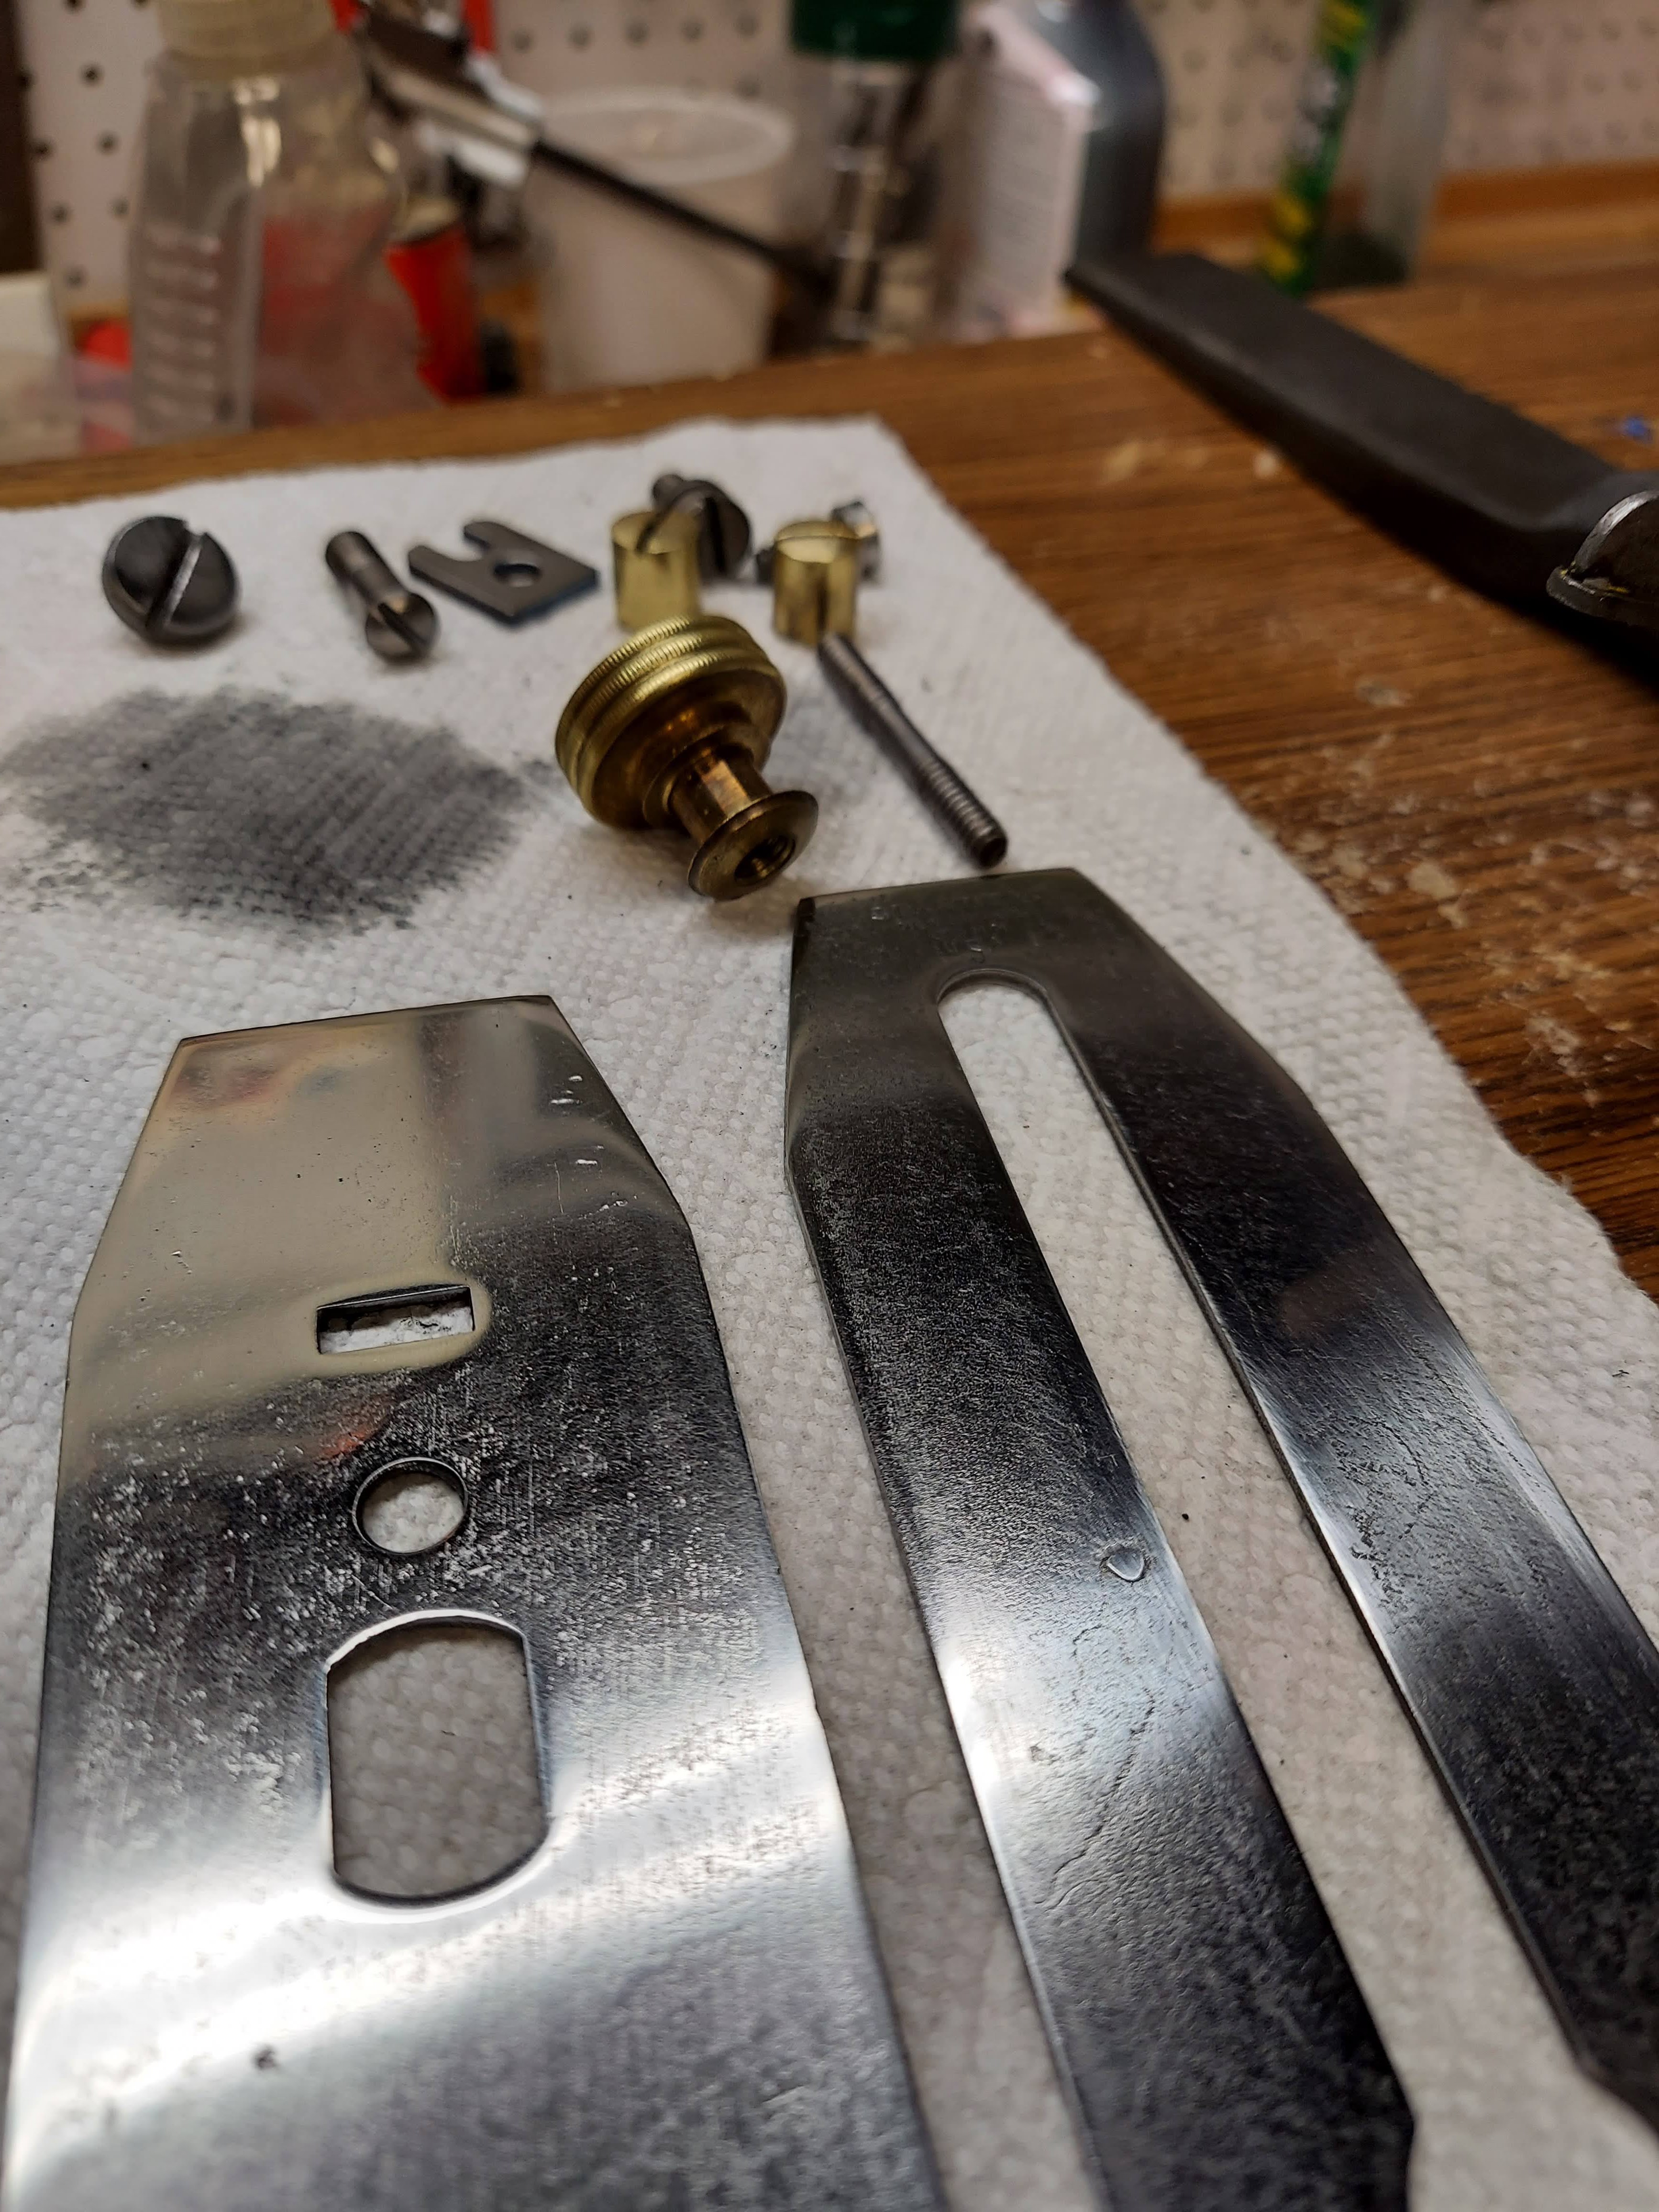
Once the body was painted, it was time to get after the parts and pieces. For the last few weeks they'd been sitting in a bowl with the occasional WD40 spritz.

And just for fun, mid-project, this is what things start looking like around the bench. It's projects like this where my bench vise earns its keep!

This part of plane restoration is really fun. All these little pieces look so nice, and it usually happens over the course of an hour or so.

And I love it when the time comes to work on the brass parts. Any opportunity to use Brasso is welcome. It always takes me back to my Army days.

You'll also notce that throughout this restoration, I didn't take everything down to a "like new" finish. It may be a bit sentimental but I don't like to remove all evidence of those who came before. There's a kind of homage in these tools, a history worth passing on. I know - near maudlin.
Today I want to talk to you about a very well-known manual woodworking tool that tests the skill of a craftsman: the planer. It is an instrument that has its origins in ancient Egypt, and to use it to the best one must have excellent manual skills.
The world of planes is really varied: even a carpenter can get confused when it comes to distinguishing with confidence between a top rail, a roughing or a finishing plane. It is therefore a world in which it is very easy, but also pleasant, to get lost. - Mister Worker
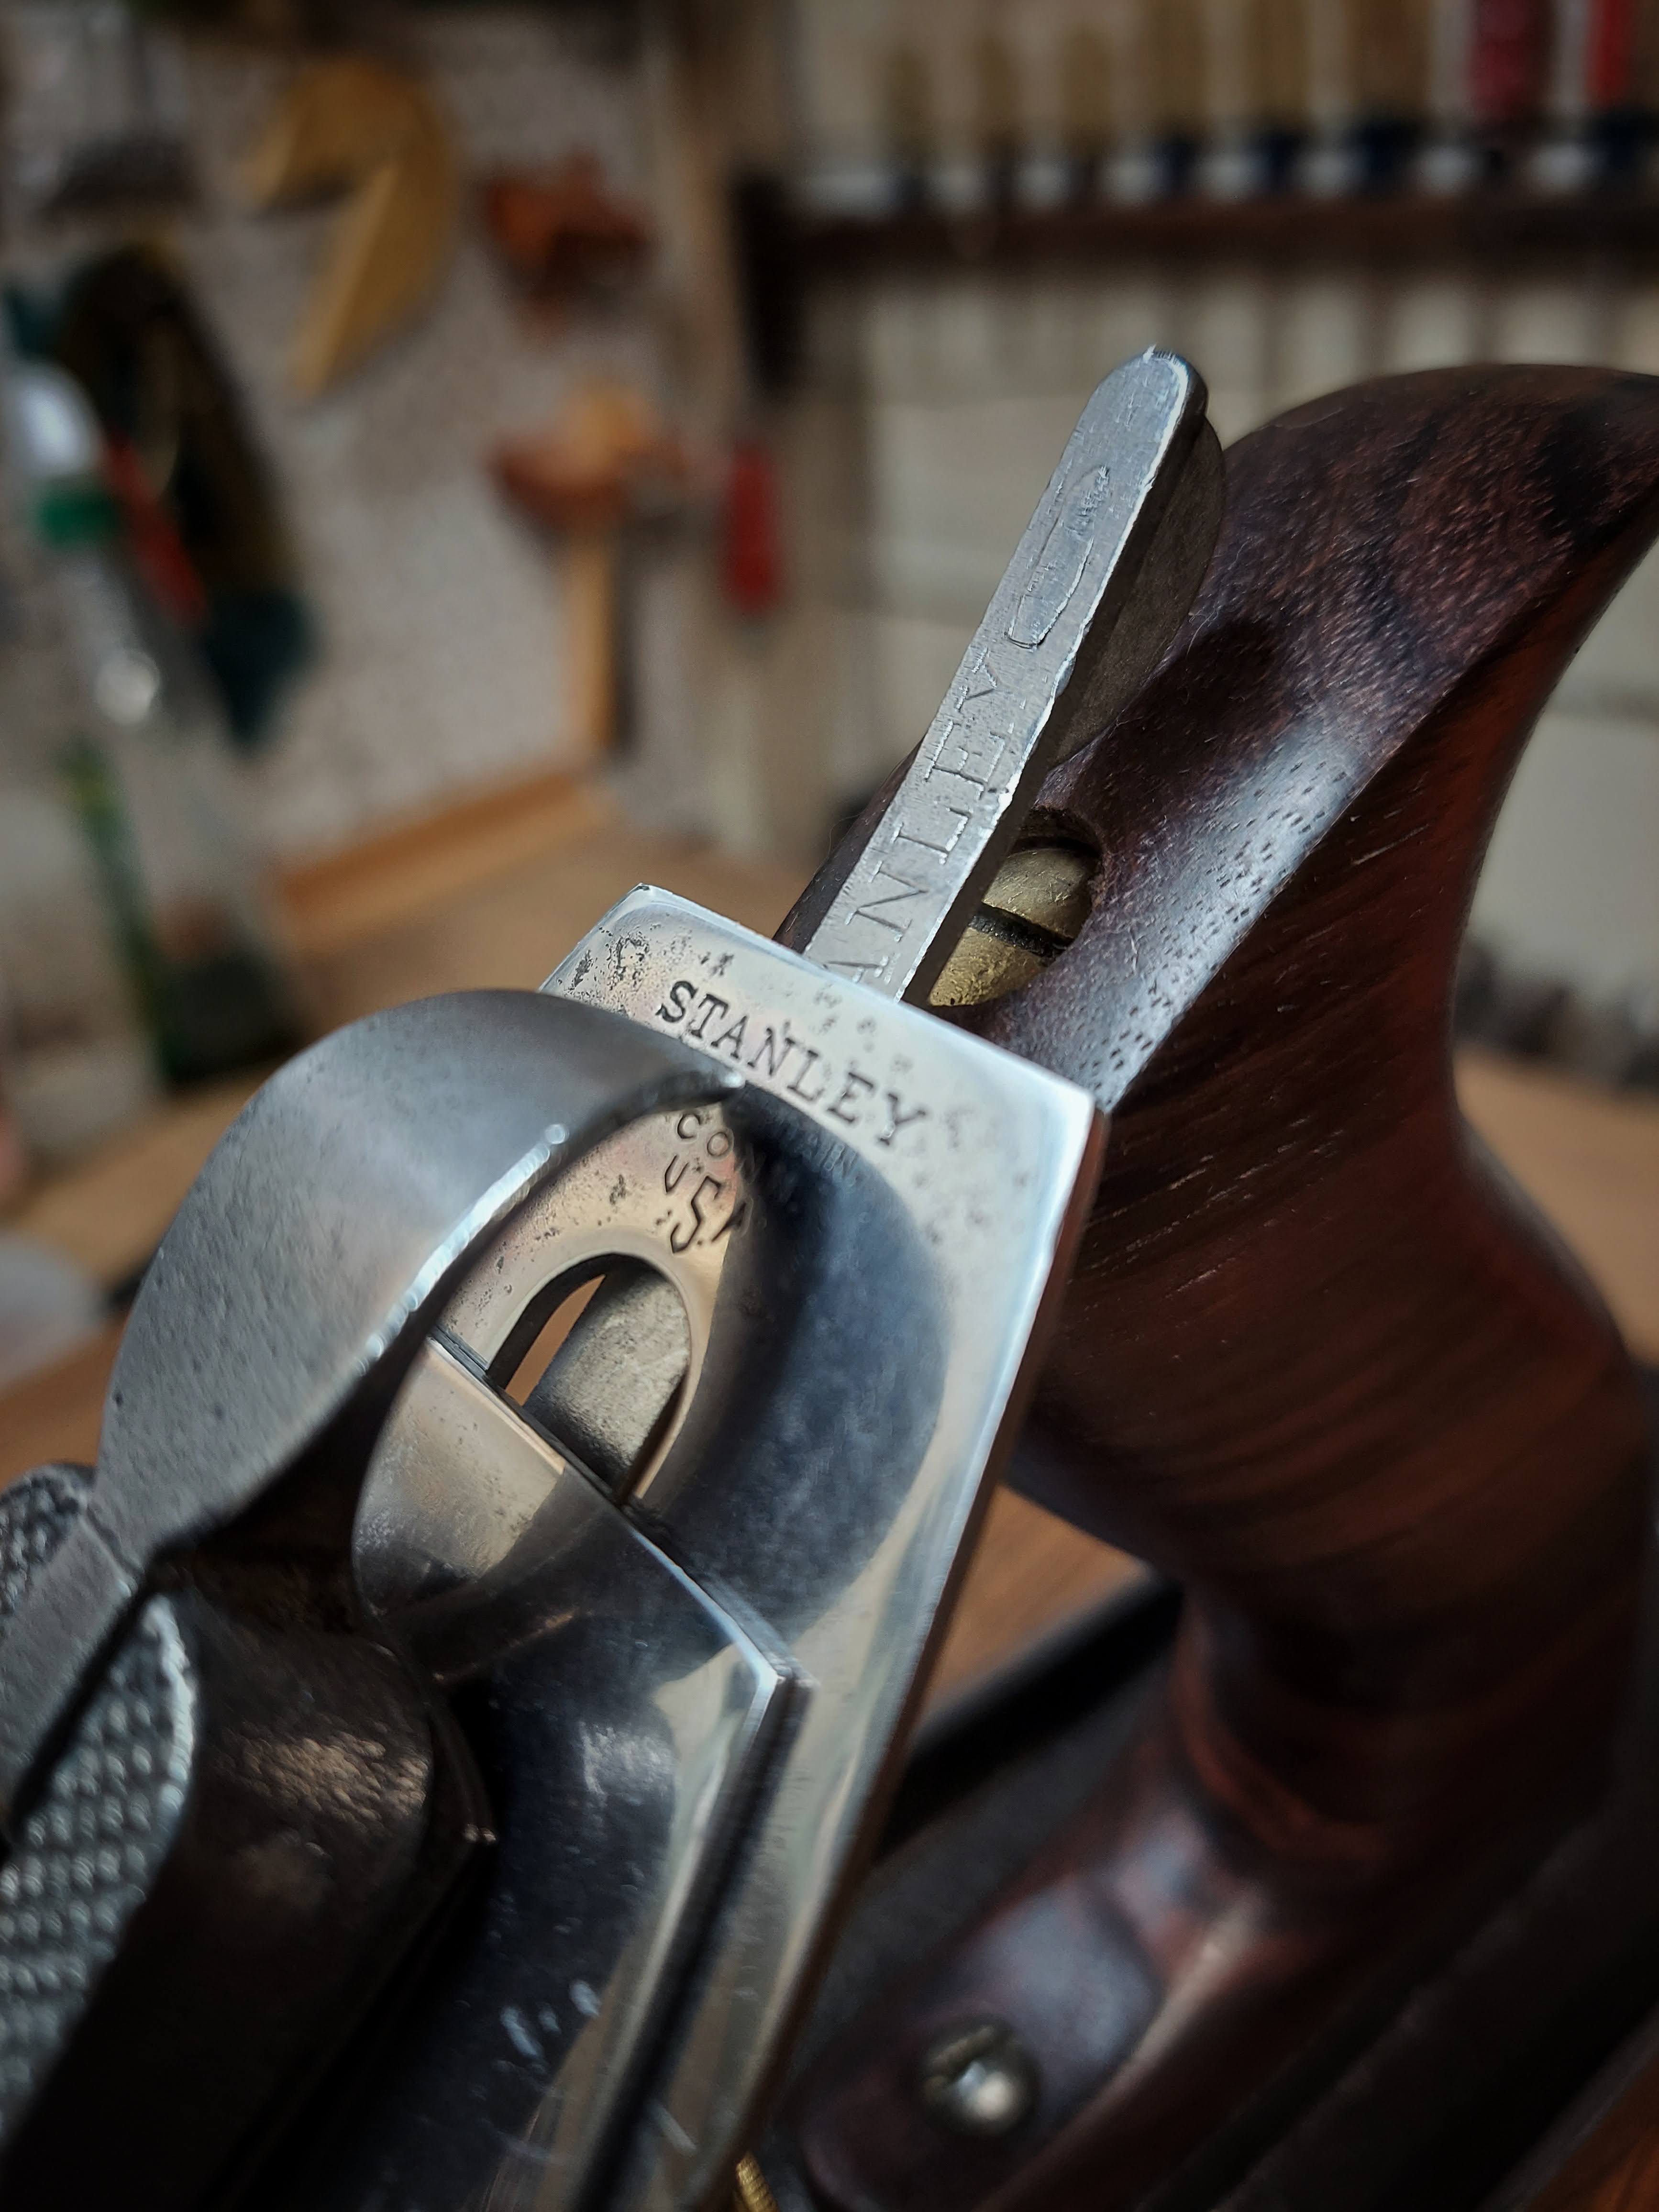
The Handle and Tote
Back when I first took this plane apart, the tote immediately broke into two pieces. A quick look at this picture makes thing kind of self-explanatory:

I didn't even spend a second considering a repair. After a quick search I found Michael K Woodworks and ordered a new handle and tote. They weren't cheap, but they're beautiful and a perfect fit!

When installing the tote I noticed the front screw really didn't cinch down on the body. I swear I must have gone through every screw in the workshop (which isn't inconsiderable) but couldn't find one with the right thread pitch and the right length.

Interestingly, I inherited a can of brass screws when 173 was bought from the Mosher's. So I cut a screw to length, re-tapped that front screw hole, and ran a die over one of those brass screws!

About a minute of shining later, and the screw really complemented the brass of the depth adjustment wheel!

Some Beauty Shots!
And finally a little photo gallery. I told you there'd be a lot of pictures in this post. Just a note, I used two different cameras and changed lighting in these pictures because I like the look of the plane in different lighting. I don't know - it's like a sickness!


Natural Habitat
If you're reall quiet now, we just might get a glimpse of the 1918 Stanley Bailey Type 11 Number 5 Jack plain in its natural habitat. And looky there!

It's almost like that spot was planned for the #5...hmm.
Thanks for stopping by!
