

A Stanley Classic Since 1936
Not quite a restoration, not quite a modification - just a little unnecessary fun with one of Stanley's most enduring tools.
Is It Really a Restoration?
I'm not sure this can be called a restoration. After all, Meriam-Webster defines restoration as, "bringing back to a former position or condition" and this tool is brand new. It's also not an "upcycle" type of project either. No sir, when it comes down to it what we have here is a totally unnecessary fancying-up situation.

Yeah, it might be unnecessary, but we don't always do just necessary things, no - sometimes we do things because we want to, sometimes we do things just for the fun of it - something to keep us active and out of prison or something! And, as it turns out, because I don't really know what else to call this, I'm calling a restoration! So say I!
The Stanley No. 199 Legacy
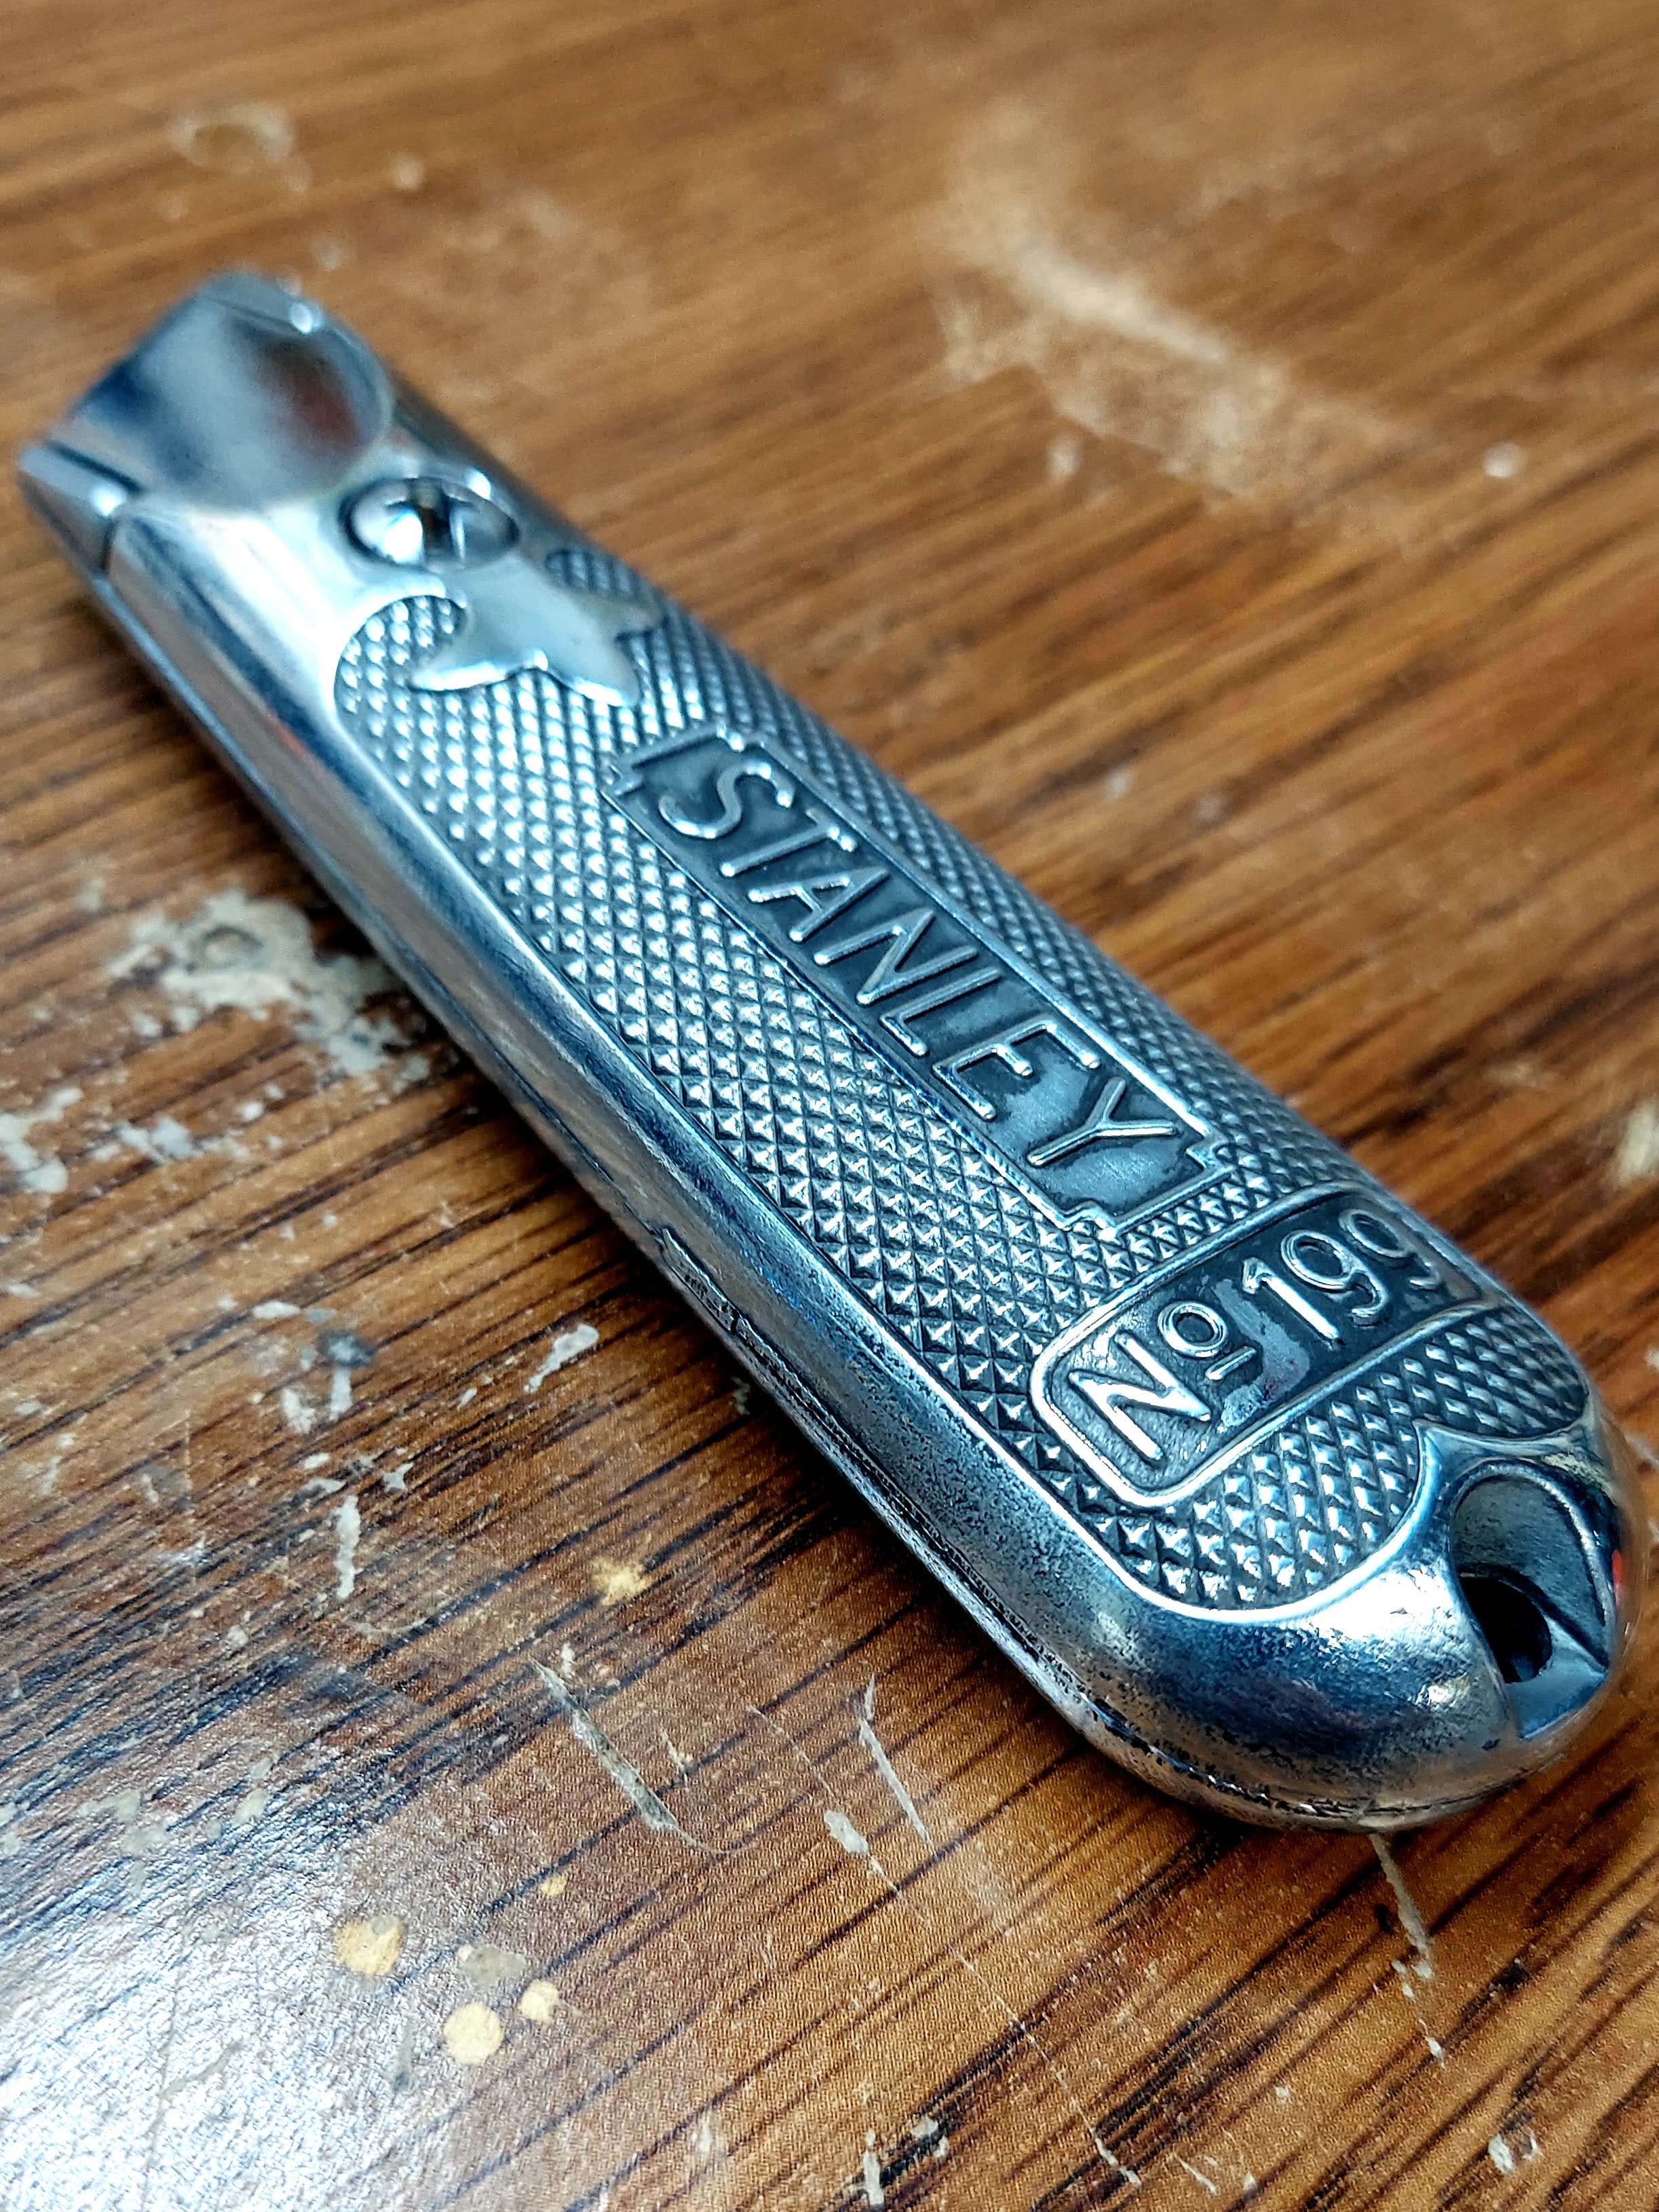
Apparently this cutter has been essentially unchanged since its introduction in the 1930s. So, I saw a few guys on YouTube like Scoutcrafter and 357MagDad fancying up the classic Stanley no. 199. Thus inspired I picked up a 199 for about $8 on Amazon.-picsay.jpg)
I guess I didn't pay very close attention to the videos because I was surprised that the cutter came painted a light gray...

Stripping Away the Factory Finish
So, as 357MagDad did, I soaked the 199 in a sandwich bag with some Citristrip stripping gel. After sitting for about 24 hours, the paint came off with nothing more than an old toothbrush.

Preparing the Knife for Its New Look
After some cleanup and an initial polishing with the rotary tool and some Flitz metal polish, the cutter was ready for some fancying-up!
Choosing the Right Color
I considered a few different colors to make the knurling and writing stand out. Because several tools I've restored over the last couple years ended up red, I almost went with 173's signature red. For a few minutes, and, just for fun I considered green.
Own a little piece of history, with a modern classic from STANLEY®.
The № 199 has been STANLEY’s original utility knife since 1936.
The first ever STANLEY utility knife, originally launched in 1936, and virtually unchanged to this day. Sold here with additional specialist saw blades.
Classic handle design, unchanged since 1936, featuring the unique Fleur-de-lis pattern. - Stanley Tools Advertisement
But in the end, because I wanted the color to reflect the classic simplicity of this tool, I decided on black.

A Little Paint and a Little Heat
I used one of my model paints, Testor's black enamel, then baked it in my shop oven (you know, my 100 watt light bulb!)...
Done!
With a total work time, not counting the Citristrip soak and drying times, the whole "restoration" took a half hour, maybe 45 minutes to complete. The last step was to clean the cutter with some acetone, then a final polish with Flitz. And voila! - Just like that, it's done! Let's head on over to the catwalk for a little modeling:

I really like the way the black paint makes the writing and the knurling really pop!

Natural Habitat
And here's the Stanley No.199 in its natural habitat above the work bench....

Thanks for indulging me with my little "restoration" and thanks for stopping by!

Frequently Asked Questions
What is a Stanley No. 199 utility knife?
The Stanley No. 199 is one of Stanley's most recognizable utility knives. Introduced in 1936, its simple stamped-steel design has remained largely unchanged for decades.
Why is the Stanley No. 199 so popular?
Its popularity comes from simplicity, durability, low cost, and a design that has proven itself in workshops, job sites, and toolboxes for generations.
Can the factory paint be removed from a Stanley No. 199?
Yes. Many hobbyists remove the factory finish using paint strippers such as Citristrip before polishing or customizing the knife.
What polish works well on bare steel utility knives?
Products such as Flitz, Simichrome, and Mother's Metal Polish are commonly used to brighten and protect bare steel surfaces.
Can model paint be used on tool restorations?
Yes. Enamel model paints are often used for lettering, logos, knurling, and decorative accents because they flow into small recesses and cure to a durable finish.
Why bake enamel paint after application?
Gentle heat can help accelerate curing and improve durability, although temperatures should always remain within the paint manufacturer's recommendations.
What is the Fleur-de-lis pattern on the Stanley No. 199?
The textured handle pattern is one of the knife's signature design elements and has been part of the tool's identity for decades.
Are Stanley No. 199 knives collectible?
Yes. Vintage examples, especially those with early markings or unusual variations, are popular among tool collectors and Stanley enthusiasts.
Is customizing a tool worth the effort?
Sometimes the project isn't about improving performance - it's about personalizing a tool, learning a new technique, and enjoying time in the workshop.
Why do woodworkers and tool collectors enjoy projects like this?
Small projects provide a chance to experiment, practice finishing techniques, and connect with the history of classic tools without committing to a major restoration.
Keywords
Stanley No. 199, Stanley utility knife, utility knife customization, Stanley tools, tool restoration, workshop project, hand tool collection, Flitz polish, vintage Stanley tools, utility knife restoration