

Made at 173
━━━━━━━━━━━━━━━━━━━━
ANA WHITE DESIGN
TWO FEET BY FOUR FEET
ABOUT A HUNDRED BUCKS
━━━━━━━━━━━━━━━━━━━━
A simple new potting bench brings a little more function and character to the backyard garden at House 173.
Things wear out, it's just a fact of life. It seems that since the moment we're born, or the moment an axe is laid to a tree for the lumber that ends in a project, all is in a state of entropy. Such is the case of the original potting bench here at 173.

The Original Potting Bench
Back in 2011 I built the original potting bench out of scrap wood. Mr. Mosher, who owned 173 before us, worked for an electric and gas company. Every now and then I find some strange artifact or DIY project from 50 years ago that in some way relates to the previous owner's vocation! One is example is that I have these huge timbers under my porch. See the board the falcon (eagle?) is sitting on?

It was from those boards and a $5 length of 1x8 that the original bench was made right here at 173...

It was from those boards and a $5 length of 1x8 that the original bench was made right here at 173...

The original potting bench, while simple in construction, lasted about 11 years! But, alas, that old piece, much like its partner the old fence, had fallen into disrepair...

Here's a materials list with costs for the original bench:
4x4 (4).....free (the old telephone pole boards that came with the house)
3/4 x 12.....$0 (leftover from another project) *I ripped them on my table saw to make the top of the bench.
1x6.....$0 (leftover from another project) *Used for the bottom "shelf"
3/4 x 8.....$5 (again, ripped on my table saw to make the skirts)
Lattice.....$0 (leftover from another project)
Stain....$0 (who doesn't have cans of deck stain laying around?)
TOTAL COST: $5
Introducing the Ana White 2x4 Potting Bench
Once the new fences started going up, it was immediately clear that 173 would need a new potting bench. I suppose I could have worked on the old one, restored it, beefed it up, but it just seemed kind of old and stodgy - new potting bench it would be! After a pretty quick search and recruiting process, the Ana White 2x4 bench was chosen!

- 8 – 1x4 @ 8 feet long
- 2 – 1x4 @ 10 feet long
- 4 – 2x4 @ 8 feet long
- 2-1/2” and 2” exterior self tapping screws
- Wood glue

And the cut list:
- 2 – 2x4 @ 61-1/2” (back legs)
- 2 – 2x4 @ 35-1/4” (front legs)
- 4 – 2x4 @ 22” (side aprons)
- 10 – 1x4 @ 39” (front aprons, short shelf boards, back shelf)
- 10 – 1x4 @ 42” (long shelf boards, back boards)
- 2 – 1x4 @ 24” both ends cut at 45 degrees, long point to short point measurement (cross support)
And Away We Go
The choice of bench decided upon, it didn't take long to jump into the project. A handful of 2x4s and some stain (we'll talk about that in a few minutes) and it was time to build! It was a beautiful weekend, if not just a bit hot outside, but I took advantage of the fact that the miter saw was still in the shed from the fence project:

In case you didn't notice, I used one of the carport posts as a stop to make the repetitive cuts called for in the cut list. And it started to look like a like a little factory in the back yard!
Assembly (Missed Opportunities)
For eleven and a half years, more than a decade, for almost a dozen years I've been writing this blog about ol' 173. Some 300 posts, all of them with pictures, and with all that - I still sometimes forget to take progress pictures! And this is another one of those times. I prepared the wood, cut the wood to the various sizes for the different parts of the bench - then totally forgot to take a single picture of the bench being assembled.

However, in the picture above can be spied one of the ends of the bench being assembled on the saw horses. And that's it - that's the sum-total of assembly pictures!

While there aren't assembly pictures, I did want to point out a couple features of the potting bench. One of them is the little shelf at the top of the butch portion...
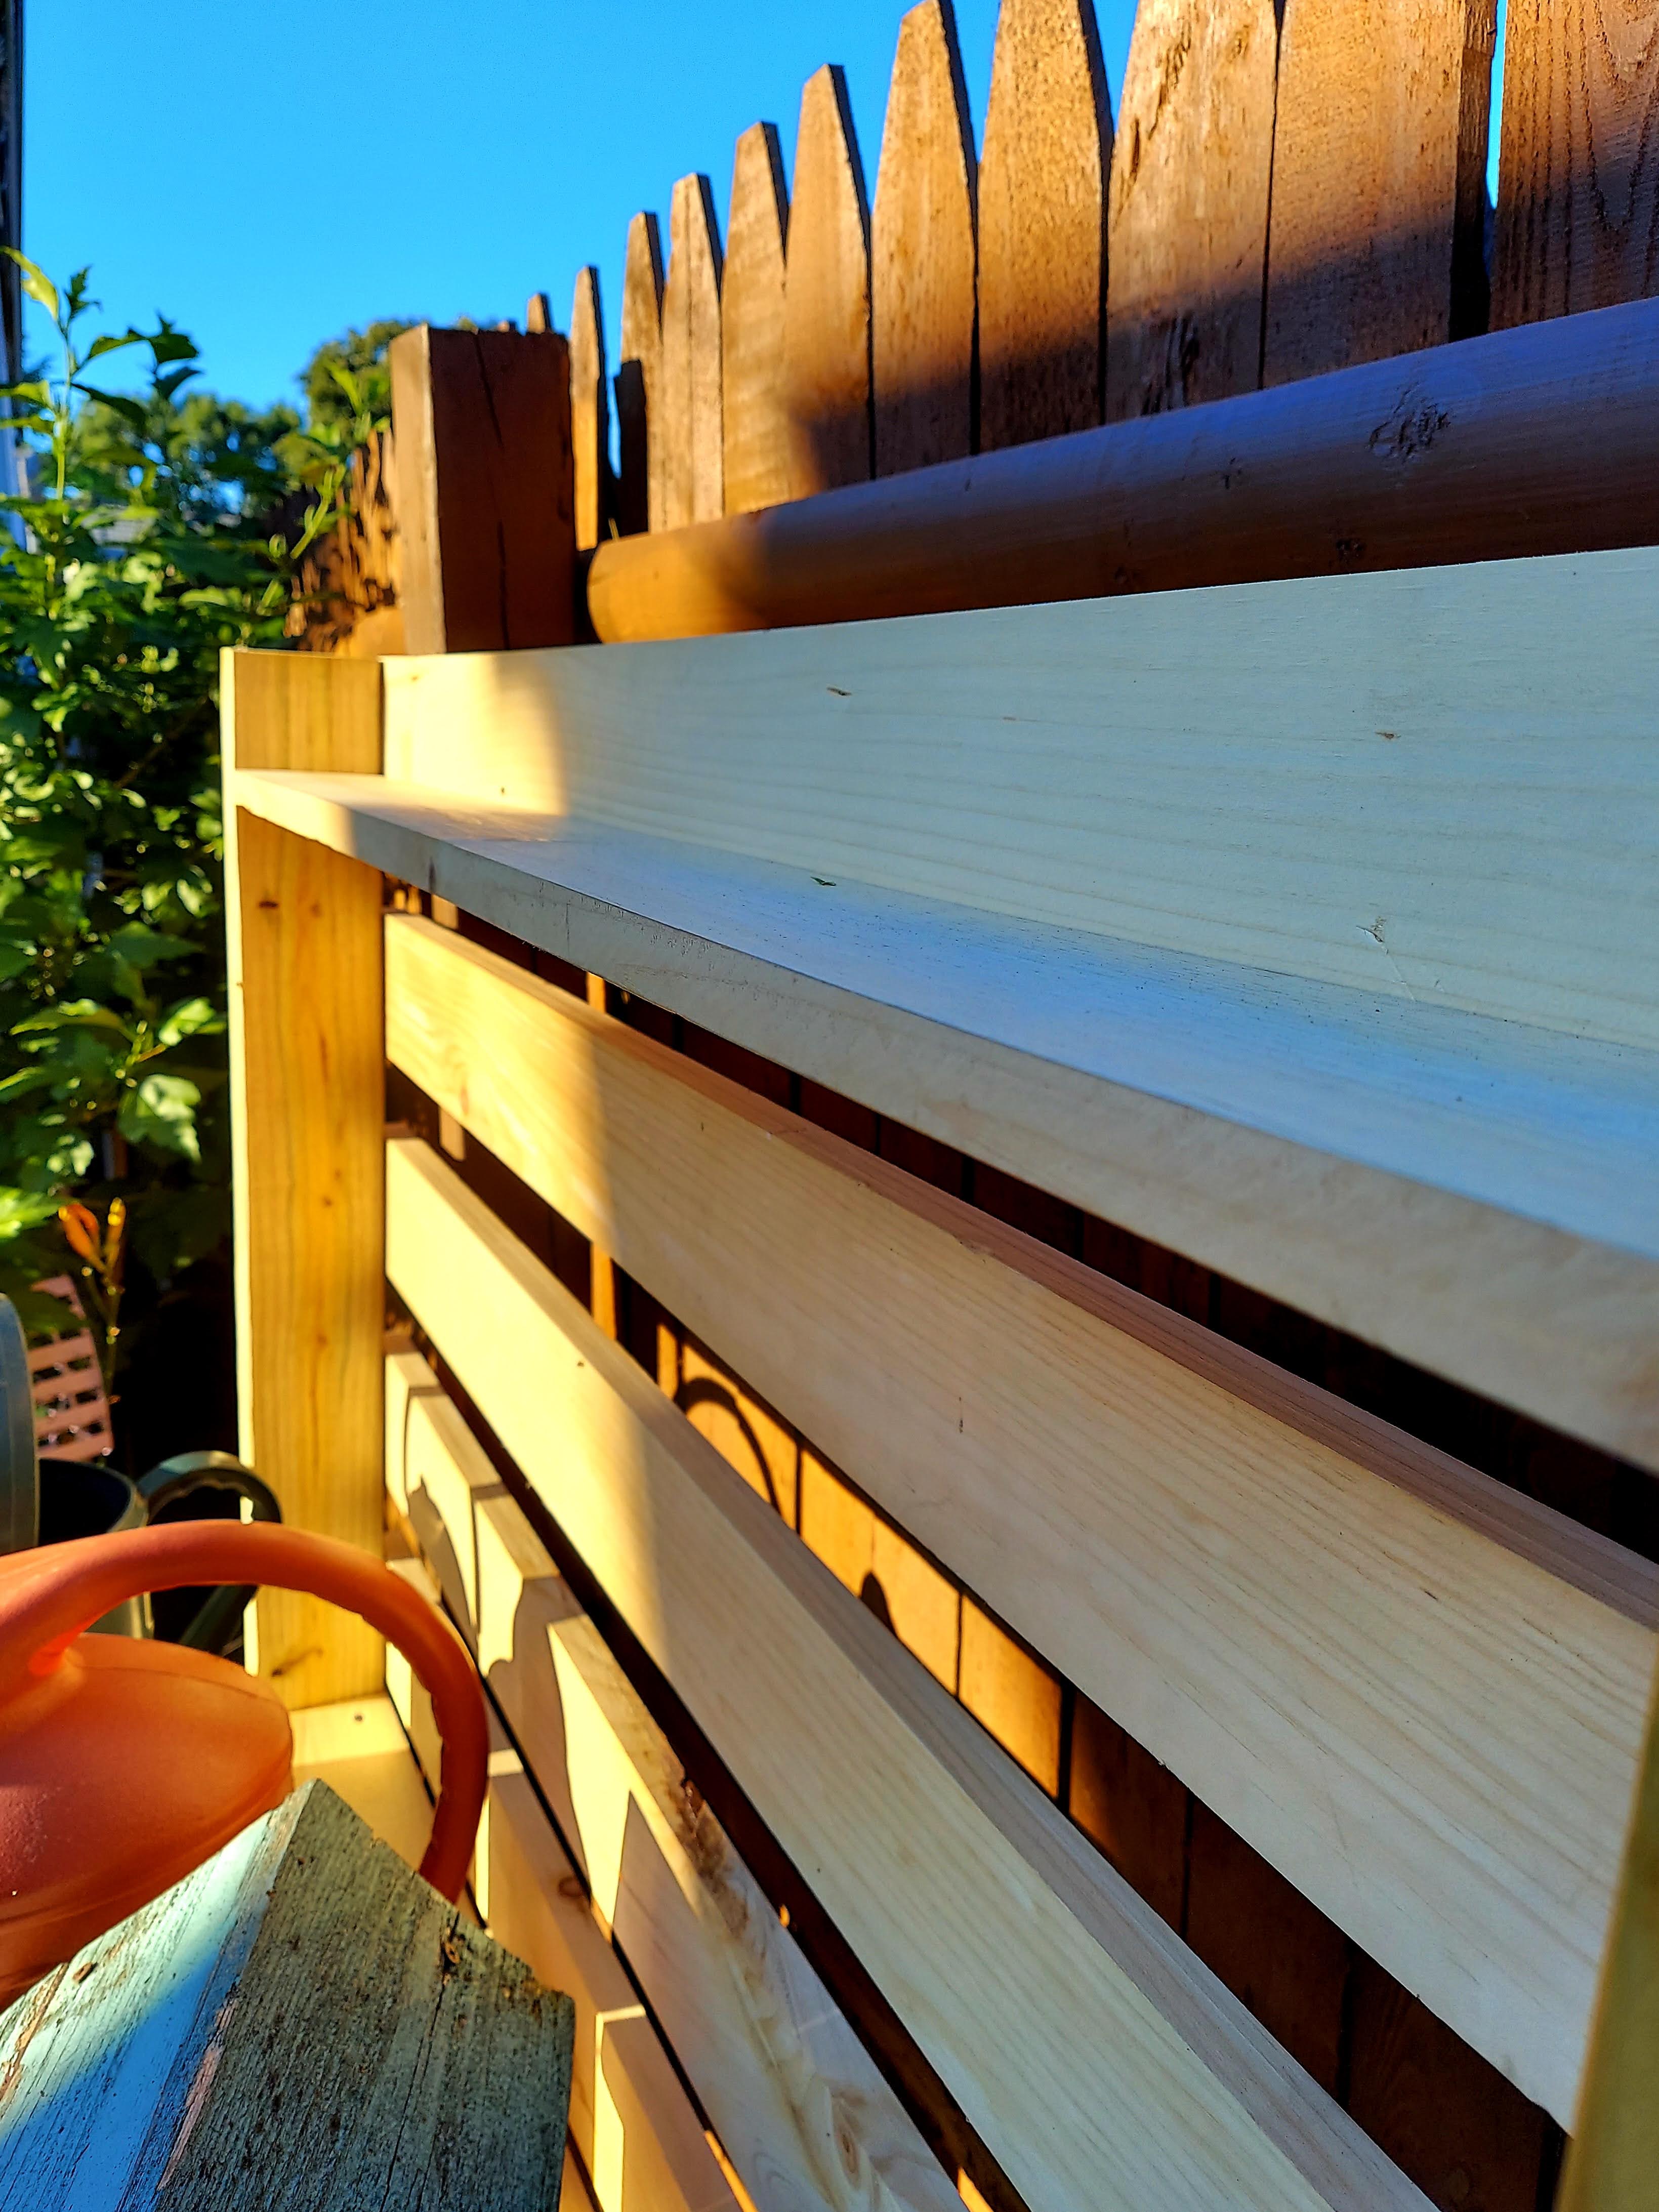
Another feature I like is the back slats of the hutch. Now all I need to do is figure the best mechanism to hand stuff from the boards! I have a few ideas, we'll see where they lead!

The "Little Patio(?)"
After standing back and admiring for a few minutes, it dawned on me that the bench needed one of those mini patios (for crying out loud, one of these days I'll figure out what to call them) that's been put in a couple spots around the yard. No clue what I'm talking about? Well, here's an example of what's under the garden bench (also made at 173):

Yeah, it's just a couple pavers, but it for me it really gives a nice finished look. And if you look to the left of the composter below, you can see another little area with pavers, that's where the grill stands though the summer!

Anyway, the spot for the potting bench was just screaming for its own little patio. So, the plot was laid out (all fancy-like - a few stakes and some string)...

Then the spot was dug out a little, a bit of leveling sand was spread, and about $40 worth of pavers later, the potting bench had its new home...

The Stain
But before the bench was put in place, it had to have a finish applied. For a couple seconds paint was considered, but that thought went the way of laser disc players - forgotten! No, this bench was to be stained! The first, probably most obvious choice was to just use the new fence color - Pinebark:

But it quickly dawned that this bench was a blank slate - any color was on the table. Looking for an interesting color, and one that would stand out against the backdrop of the Pinebark fence, Valspar's Forestland became the near-immediate winner!

Forestland turned out to be an absolutely stunning color! I know it sounds goofy, but I thought it kind of cheered up an already naturally cheerful back yard.

Its Natural Habitat
Finally, as is my wont, I offer a picture of the 2022 potting bench in its natural habitat!

Thanks for stopping by!

Frequently Asked Questions
What is a potting bench used for?
A potting bench provides a dedicated outdoor workspace for planting, repotting, seed starting, storing garden tools, and organizing gardening supplies.
What wood is best for a DIY potting bench?
Cedar, redwood, pressure-treated lumber, and painted exterior-grade wood are popular choices because they hold up well outdoors.
Does a potting bench need to be weatherproof?
Outdoor potting benches benefit from weather-resistant materials, exterior finishes, and protection from standing moisture to improve longevity.
How tall should a potting bench be?
Most potting benches are built around waist height to create a comfortable standing workspace for gardening tasks.
Can a potting bench be built from reclaimed wood?
Yes. Reclaimed lumber and salvaged materials are commonly used for potting benches and add character to backyard garden spaces.
What should be stored on a potting bench?
Potting soil, hand tools, seed trays, gloves, small pots, watering cans, and frequently used garden supplies are often stored on or beneath potting benches.
Are potting benches worth it for small gardens?
Yes. Even in small yards, a compact potting bench can improve organization and create a more functional gardening workspace.
Can a potting bench double as outdoor decor?
Absolutely. Potting benches often become decorative focal points in cottage gardens, patios, and backyard spaces.