

Interior
A Cedar Lining!
Sometimes the most satisfying projects are the ones nobody notices, until they use them every day.
About a year ago we went down to Pennsylvania and spend about a week with my brother. While we were there, we noticed that he had a Cedar-lined closet. I didn't think much of it, but a comment was made that it was nice. So I put that little comment in my pocket, and waited for the right opportunity. Well, the opportunity finally came! Let's get into it.

The Closet
The project is the coat closet at the landing of the stairway inside the front door. It's funny because I looked through all the photos we have of the hallway and stairs, and of different projects we've done over the years, and I have no photos of the inside of this closet with everything still hanging. Fortunately, I at least thought about getting a picture shortly after taking all the coats down and got a shot showing what was still left in there, with hats and scarves on the shelf, and a few things we stored on the floor.

And of course, once it was all cleared out, this is what we have to start with - your standard small coat closet with a shelf, a bar to hang clothes from, and that's pretty much it.

One thing to know is that none of the wood trim here at 173, except the trim in the kitchen (and the bathroom, but we fixed that) had ever been painted. At least that's what we thought all these years, until I discovered the baseboards in the closet were painted. But that's okay - I had an idea.

Stripping
My idea was to strip all the paint off the baseboards, clean them up and re-stain them so they looked like the rest of the house.

So after a couple of days using Citrus Strip I had the all the paint off and was just about ready to start staining. But I realized that the rest of this project would get a bit messy, so I figured I'd come back to the staining. We'll come back to that in a minute.

The Ceiling
With the stripping done, I figured I'd get started on the ceiling. It's a small ceiling and still plaster and lath, so I considered taking all the plaster and lath out, but I figured, after all these years might as well just leave that stuff in, go over it.
.jpg)
I had a scrap piece of sheet rock left over from the 2023 bathroom project, so I measured that all out... you know...all four sides. But just like the rest of the house, there isn't a square corner in that closet either on the ceiling or on the walls, so I had to do a good bit of tailoring.

Including a few swipes with the old sheet rock plane.

But all in all, it turned out pretty good. It didn't take more than gosh, maybe 45 minutes to an hour to get that one, small piece of sheet rock installed and mudded. I know that sounds like a long time but you try to make it fit at least close to perfect in a completely out of a square space! Of course that's (sincerely) part of the charm of 173!

The scent of cedar in closets is often described as fresh, woody, and slightly camphoraceous, with a touch of a natural, clean aroma. It's a distinctive scent, often perceived as slightly cooling and less musky than other woody scents like patchouli. Some people also describe it as having a faint, mothball-like quality. - The Laurentian
Hooks!
Next is the one of the nice things about this closet - at some point, the Moshers put in some extra wall hooks to hang little things here and there. There's not a lot of space in there, but I know they did come in handy a couple times.

But I had to take those boards out just because if I was gonna line it with Cedar, I wasn't gonna try to work around those boards. This left a few relatively large holes, not really huge holes , but they had to be patched.

As I write this, I'm not sure why I'm getting into this level of detail but, as you can imagine, I patched them up!

When we bought 173 back in '97, there were a number of things that we inherited from the Moshers, an oil can, chairs, a few tools, and a bunch of odds and ends - mostly small things here and there. One was a bunch of those old school wire coat hangers. And even though they're not fancy, we've made use of quite a few.
.jpg)
And you can see in the following picture, there were some on the boards affixed to the wall, giving a little more opportunity for storage I suppose.

Paint?
If you remember towards the beginning of this post, I had stripped the paint off the baseboards with a plan to re-staining them. However, as I progressed through each step of this project I came to the realization that the baseboards just weren't worth the lift of staining and sealing them. So I went to Lowe's and found a nice brown paint to put on the baseboards and the trim on the inside of the closet.
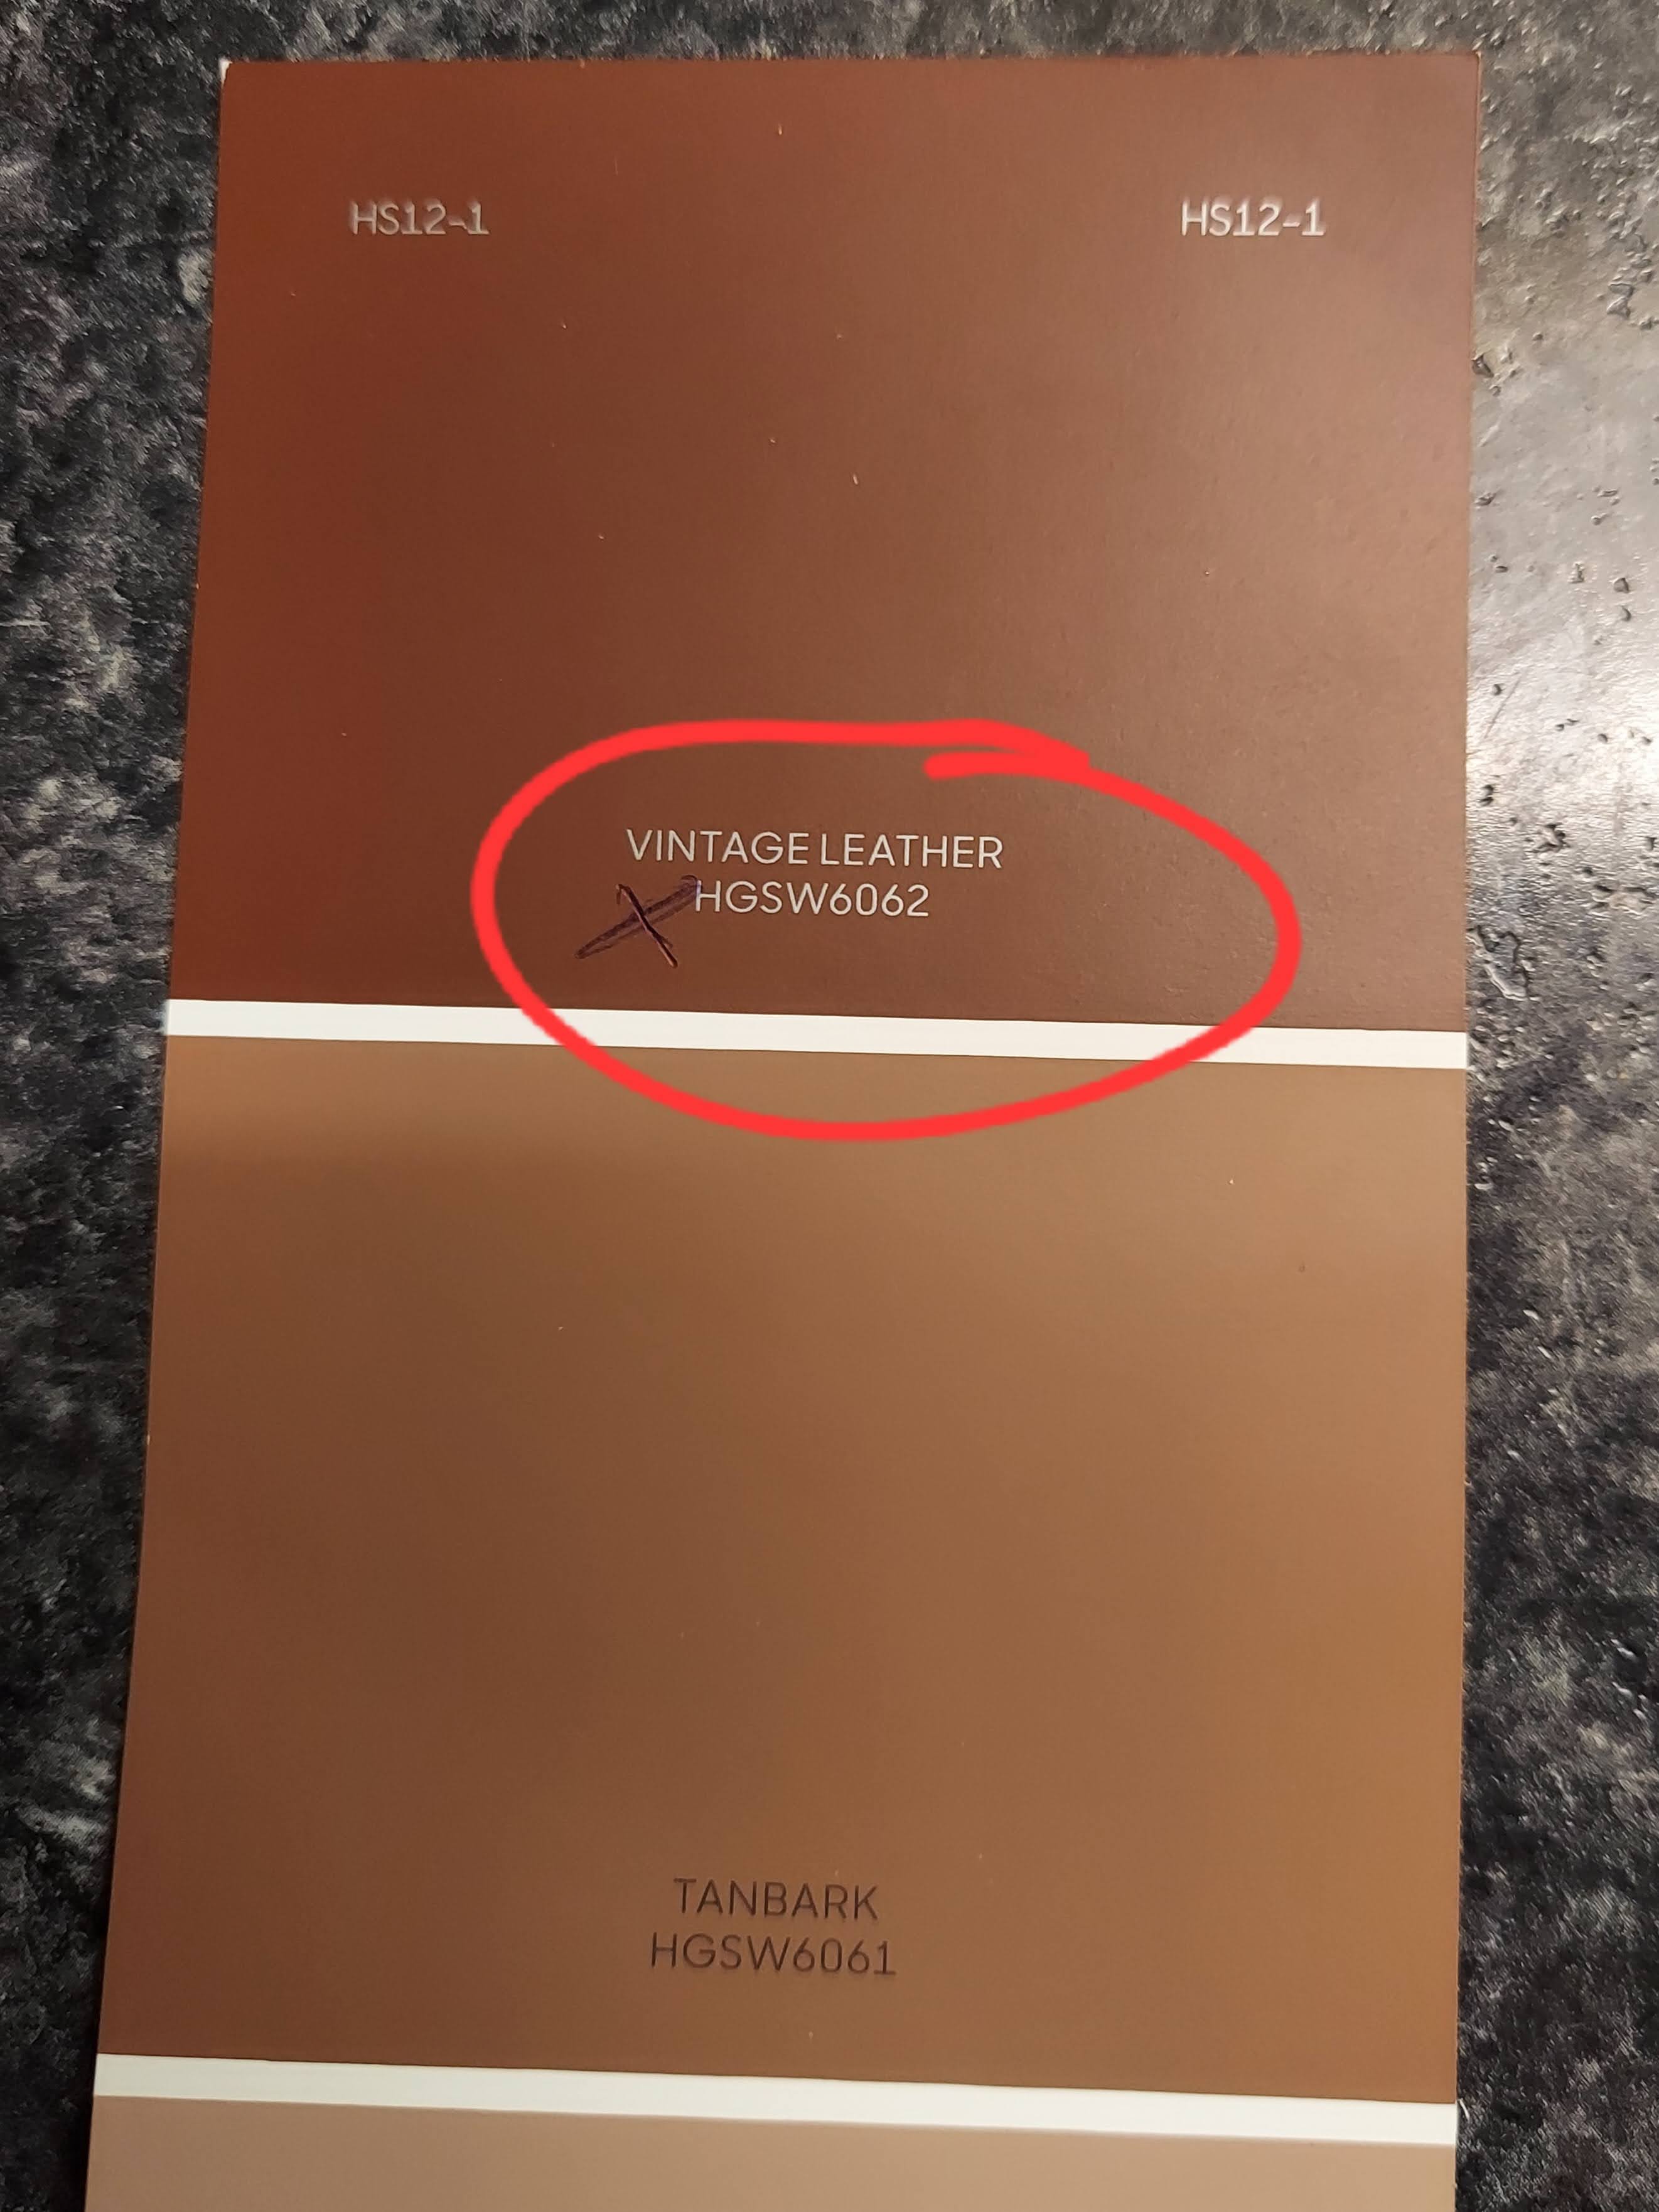
And while it's not really a perfect match at all, it's close enough in the light that we have in and around the closet that you don't even notice a change in the color. Although, looking at sample strip, the Tanbark may have been even closer!

It also dawned on me that it's likely we, or anyone else for that matter, will see or look that closely to the trim and baseboards for years - if ever!

Cedar-ing!
Finally - it was time to put in some cedar! Here's the first two boards - for posterity!

It really became a nice little production - I had everything set up in the hallway and the landing,

Including my compressor, nail gun, and a number of hand tools - levels, etc., because you know, every project ends up taking more than what was planned!

And Charlie! Such a good pup - he followed me up and down to the workshop throughout the project. Many of those trips were to cut the boards. Because I didn't want to use a power saw, and also because I wanted to keep the hallway as dust-free as possible, I hand cut each piece using my little trim saw in the workshop. And each and every time - Charlie went with me!

A Little Wiring
A few years ago, tired of always looking into a dark coat closet, I drilled through the closet floor into the basement to run a line for a light. It took no time at all, and within an hour, maybe less, the coat closet had a light!

But with this project, I decided I wanted to reposition the lamp just a few inches higher in the closet. The problem was that when I originally put the lamp in, I didn't leave enough wire to position it where I wanted to now. So, because I had to take it down to put the Cedar up, I figured I might as well put a junction box in so i could add some length to the wire. Then, like an absolute novice I went down to the basement below the closet and pulled the wire out so that I could reposition the original wire to gain about 4" in length.

You would have thought that I had learned from the many other electrical projects that I've done here at 173 or even from the year I worked for an electrician, that before I pull a wire out, I should tie string or something to it so that I could easily pull a wire back through. Well, I didn't do that and two...hours...later, I finally had the wire back through the floor from underneath and into the closet.

New wire pulled, I put a junction box. Then, using some wire I had laying around from some other project, I tied in some extra wire. In so doing, I was able to put the lamp where I wanted it!

Of course, after that picture was taken, I've since straightened up the wire to make it look neater, adverb though in reality, nobody will see that corner again for a long time. After that, it was just a matter of finishing off all of the Cedar, then working on the details.

One of the decisions I made was to use unfinished. Unstained beer stained bare wood for all the detail pieces inside the closet, such as the rails that support the clothes bar. And because I wasn't going to put any kind of finish on the shelf, I decided to put contact paper on the side that scarves, hats and any other clothing articles would be lying on. I did this to prevent any sap from knots getting on anything.

I was going to re-use the original metal bar, but after seeing how the quarter round in the corners, and the shelf being bare wood perfectly matched the light parts of the Cedar, I decided to go with a brand new bare wood bar.

All of which I think really made for a very nice, clean look in the coat closet!

Done!
It's funny sometimes, when you finish a job it feels like it was out of the blue and you forget how many hours you put into it. You get the final details and touches in place and you put another final nail in and suddenly you realize that's it! And, if you're anything like me... you'll step back and take a look... for awhile!

And that's exactly what I did here - I stood and I looked and I smelled the Cedar and enjoyed the view for probably a few minutes longer than necessary. And I beheld my work and it was good!

Hey, hope you enjoyed this as much as I did...thanks for stopping by - see ya' next time!

Frequently Asked Questions
Is cedar lining good for a coat closet?
Yes. Cedar lining helps absorb moisture, adds a clean wood scent, and naturally discourages moths and insects. It has been used in closets for generations because it performs well in enclosed storage spaces.
What kind of cedar is typically used in closets?
Aromatic eastern red cedar is the most common choice for closet lining because of its strong scent, natural oils, and resistance to insects and moisture.
Should cedar closet boards be glued or nailed?
Most cedar closet boards are installed with finish nails or brad nails rather than glue so the wood can expand and contract naturally with seasonal humidity changes.
Can cedar be installed over existing closet walls?
Yes. Thin cedar planks or tongue-and-groove cedar panels are often installed directly over drywall or plaster if the underlying wall surface is stable and reasonably flat.
Does cedar lose its smell over time?
Yes, but lightly sanding the surface usually refreshes the cedar oils and brings back much of the natural aroma.
What type of light works best in a coat closet?
LED fixtures are usually the safest and best choice because they produce very little heat, use less electricity, and fit well in small enclosed spaces.
Are there building code rules for closet lighting?
Yes. Building codes generally require enclosed fixtures or LED lighting in closets to reduce fire risk near clothing and stored materials. Bare incandescent bulbs are usually not recommended.
Is a flush-mount light better than a hanging fixture in a closet?
Usually yes. Flush-mount or low-profile fixtures are safer and more practical in smaller closets where hanging fixtures can interfere with storage or clothing.
Should closet walls be painted before installing cedar?
Yes. Painting or sealing the wall surface first can help protect older plaster or drywall behind the cedar lining, especially in older homes where moisture fluctuations are common.
What finish should be used on cedar closet boards?
Usually none. Cedar is typically left unfinished because paint or heavy sealers can reduce the natural aroma and moisture-absorbing qualities that make cedar useful in closets.
Why does cedar feel especially appropriate in older homes?
Cedar-lined closets have a traditional warmth and practicality that fits naturally with older houses. The scent, texture, and aging of the wood often feel more timeless than modern synthetic storage materials.
Keywords
coat closet makeover, coat closet organization, small closet storage, entryway storage, old house organization, closet makeover ideas, small space storage, closet shelving, home organization, mudroom storage