

Tool Restoration
A Thoughtful Gift
Over the last year or two I've restored a few pairs of tin snips, and just so you know as you read this - sometimes I call them metal shears or just shears, I never could make up my mind. Anyway, I've restored these snips from various levels of rust and decay to a near-new condition. Unlike the others, this pair of snips have a bit of sentimental value. The tool itself doesn't have an inherent sentimental value, no - the sentimentality stems from the fact that they were given to me as a gift from my Uncle.

One day out of the blue, my uncle sent me a picture of a couple pairs of snips. I believe he asked which ones I liked or something like that, and as you can see in the picture below, I made my choice pretty obvious.

And of course my uncle, being one of those very giving and sharing type of people, picked them up for me. If you ever read this Mikey - thank you!

Assessment
So let's take a look at these guys. They're 18" Wiss brand and in pretty decent shape with some surface rust but not beat up at all.


Once they were apart, there didn't seem to be much of anything that needed any particular attention. It was just a matter to rust removal.

Rust Removal
What I learned from some of my past projects is that rather than taking a rusty tool straight to the wire wheel on the bench grinder, it was worth the time investment to soak the tools in a rust remover. My rust remover of choice has been Evaporust. I have no interest in, nor am I sponsored by this product, but it's been the absolute best rust remover I've ever used.

After soaking overnight, it was time to take them to the wire wheel. The wire wheel really cleaned them up. Because there was going to be a day or two before I'd get back to them, I put a think coat of lite oil on them to stave off flash rusting.


Removing the Pitting
After removing the rust and running the parts through the wire wheel it really became clear that the rust had done some damage to the steel. There was a bit of pitting in a few spots, but the shears weren't terribly damages. Nonetheless, the pitting needed to be addressed. After all, these were a gift so I wanted to do 'em right!

It was a beautiful day so I decided to take the shears outside to grind out the pitting. I was going to use my Black and Decker Workmate, of which I have two!


We all should give what we have decided in our hearts to give, not reluctantly or under compulsion, for God loves a cheerful giver. - 2 Corinthians 9:7
Fixing Threads
One evening after work I was tinkering in the shop and picked up the pivot bolt and the nut. Remember at the beginning of this post I mentioned the nut had a moment of stubbornness? Well, in removing it I boogered up the threads on the bolt a little bit. But maybe 15 minutes with dad's old Swiss Files,

And maybe another 5 or 10 more minutes with some lapping compound, and the nut and bolt fit like new!

J. Wiss & Sons Company was founded in 1848 by Jacob Wiss, a thirty-one year old immigrant from Switzerland who was an experienced cutler and gunsmith. The company was based in Newark, NJ and relocated three times between 1848 and 1887, when they moved to Littleton Avenue , where they remained until they were bought out and the factory closed in the late 1970’s. - Newark's Attic
Polishing, Priming, Painting
The next step was to polish the business end of the shears. I worked my way up from 220 grit to 1,000 grit sandpaper by hand, which really shined them up!

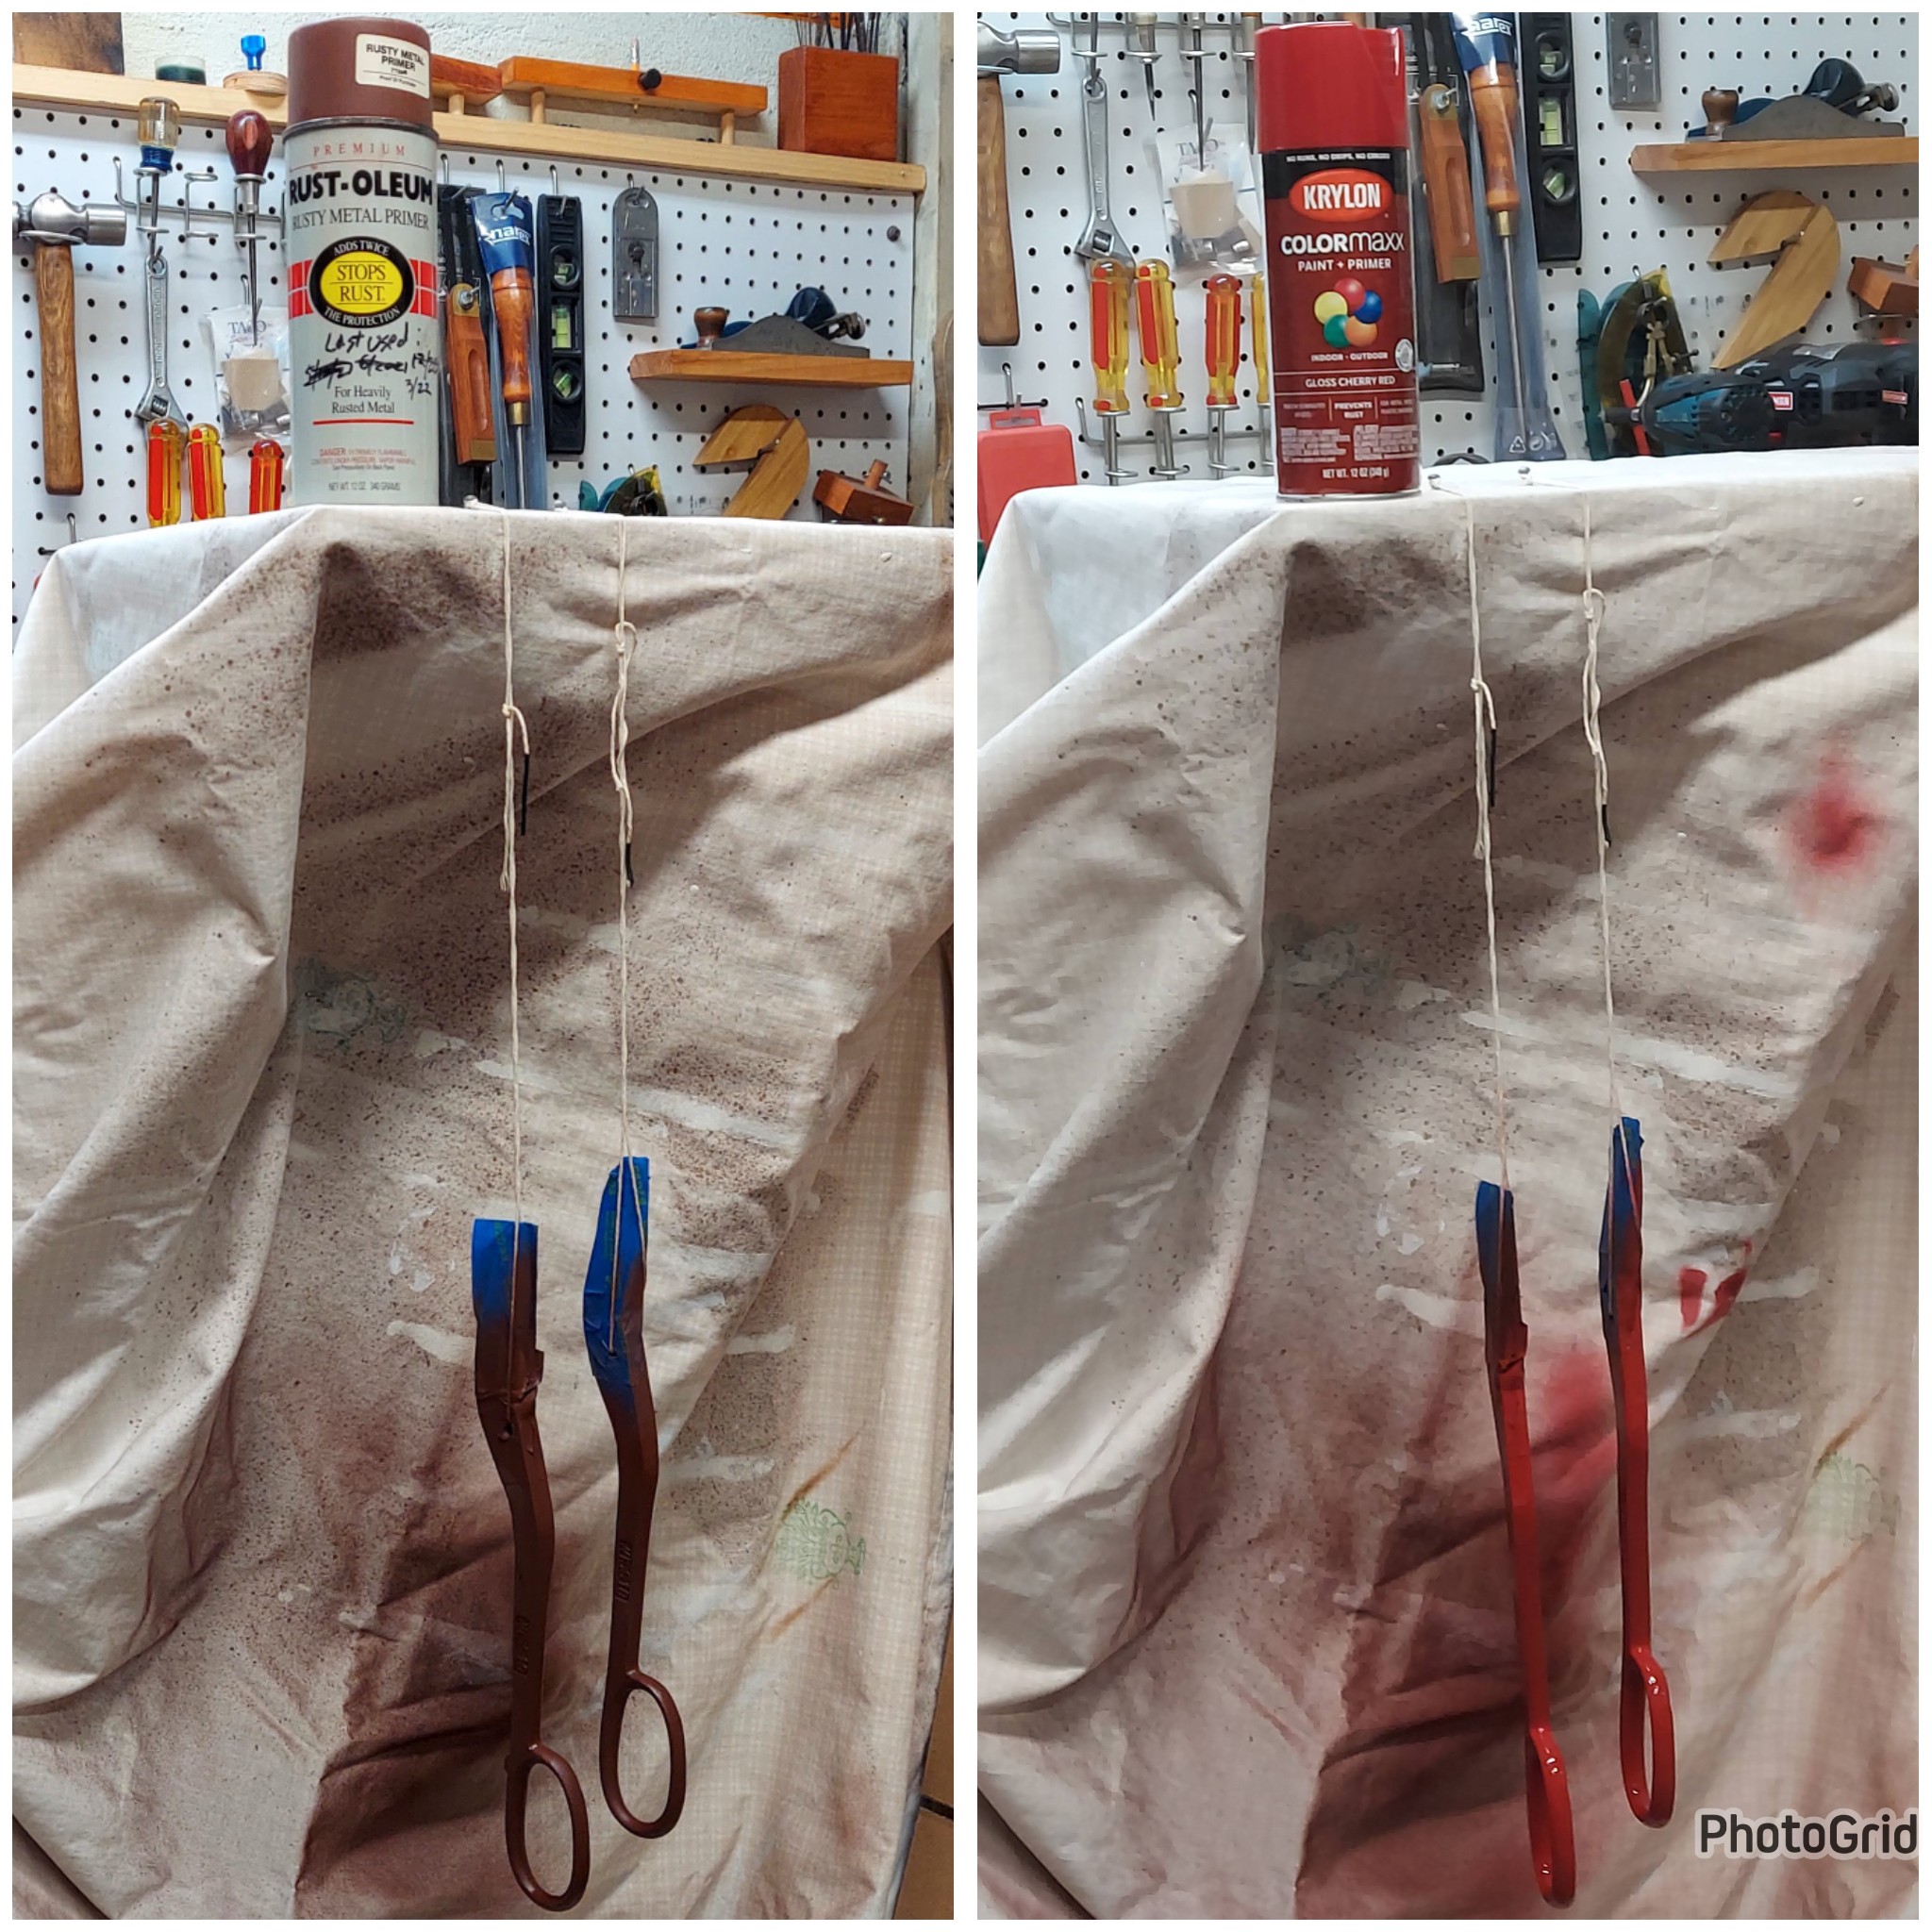
Suddenly it was time to paint. Because shears like this take a bit of a beating, I decided to start out with some Rust oleum primer. Then is was 173's signature color - Krylon's Cherry Red.
Done!
And et voila! 173 has some 18" metal shears courtesy of my Uncle Mike. I think they turned out quite nice and complete(?) the set of 173 Signature Red metal shears and snips!

I love the contrast between the red and the shiny bare steel!

And here's a quick look at the before and after!

And that settles that! Thanks so much for stopping by and, as always - see ya' next time!
