

Significant Progress!
When we left off a couple weeks ago, the front yard fence was up and a lot of staining and prep had been done. Since then, with an hour here, two there, a good bit of the back yard fencing is done. Let's have a look - but forewarning - this post is photo-laden and kinda rambles a little. But let's have fun!

Stepping Back - The Stain
Before we get too far into this edition, I do want to step back to the first post about the fence replacement. I think I was so excited about actually doing a house project that I forgot at least one basic - the stain and color selection. It wasn't a difficult process, and really only took a few minutes to choose, but it was important. You see, way back in the day, when I built the first fences, Cedar-colored stain was the choice. Oh, it looked nece enough, but it took a few years. When it was first applied to that white pine fencing, it was orange!

When I say orange I mean ORANGE! When giving directions to the house, the last steps were: turn left, and when you come to the second stop sign look left, we're the white house with the bright orange fence. Sure, after a couple years with a fresh coat and exposure to the weather, the fence took on a rich brown hue - exactly what was wanted!

Now these 20-some years later, there's no desire to be patient enough to let a stain color age to a desired color. So, through a double blind stain color selection process, the choice was...drumroll please...

Valspar semi-transparent, and the chosen color was:

Pinebark was one of 2 commonly blind-voted colors. The final selling point for Pinebark was that it had a slight orange tint to it, and was a very close facsimile to the color the original fence had matured to. Another benefit to this particular color - It's a very close match to the current color of the old fencing and the posts!
A good neighbor is a fellow who smiles at you over the back fence, but doesn't climb over it. - Arthur Baer

The South Side
Probably the most important portion of the fences here at 173 is the south side. This is so for two reasons: the entire southside faces the sidewalk and the street, making it the most visible portion of fence. The other is, the south side fence also incorporates the gates to the driveway. That'll come into play a bit more as we go on. There's really not much more to say about the south side right now, but there will be much more in a post or two!

The North Side
This is the fence that borders a neighbor, so it was important to get it pretty right. For the most part, the north side fence is pretty straight forward...umm, well, not really. While it's not complicated in the rocket science sense, but there were a couple little twists, but you'll see that in a couple minutes.

A couple sections came out and and were replaced in the blink of an eye.

But the first complication quickly came to the fore. You see, back in 2019 when the shed rehab was completed, only the west and south sides were painted...

And that's because those sides butted against the north and east fences. The fences were already getting rough, so it wouldn't be long 'til they'd come down and those sides of the shed would be painted during the change of fence. Of course, back in '19 I had no idea it'd be three more years. But the time had come, and here you can see that the back of the shed has been painted and the new fence panels are in:

The Gate
So the next obstacle on the north side is the gate that makes a shortcut to that side of the house without having to walk all the way around the house (although I could benefit from the exercise these days!).In this next picture you can see the gate - it's taller than the newly installed panels...

The original gate I put in some 20 years ago had performed fairly well, although it was kind of cobbled together. When I bilt the main garden gate and the driveway gates back then, I used a bracket/hinge

system by Homax that made these perfectly square, incredibly strong gates. The problem was, back then the budget was pretty tight and I had already bought 3 of these kits at about $25 each - a handsome sum back then.

So for this gate, I just freehanded it from scrap 2x4s and leftover stockade...
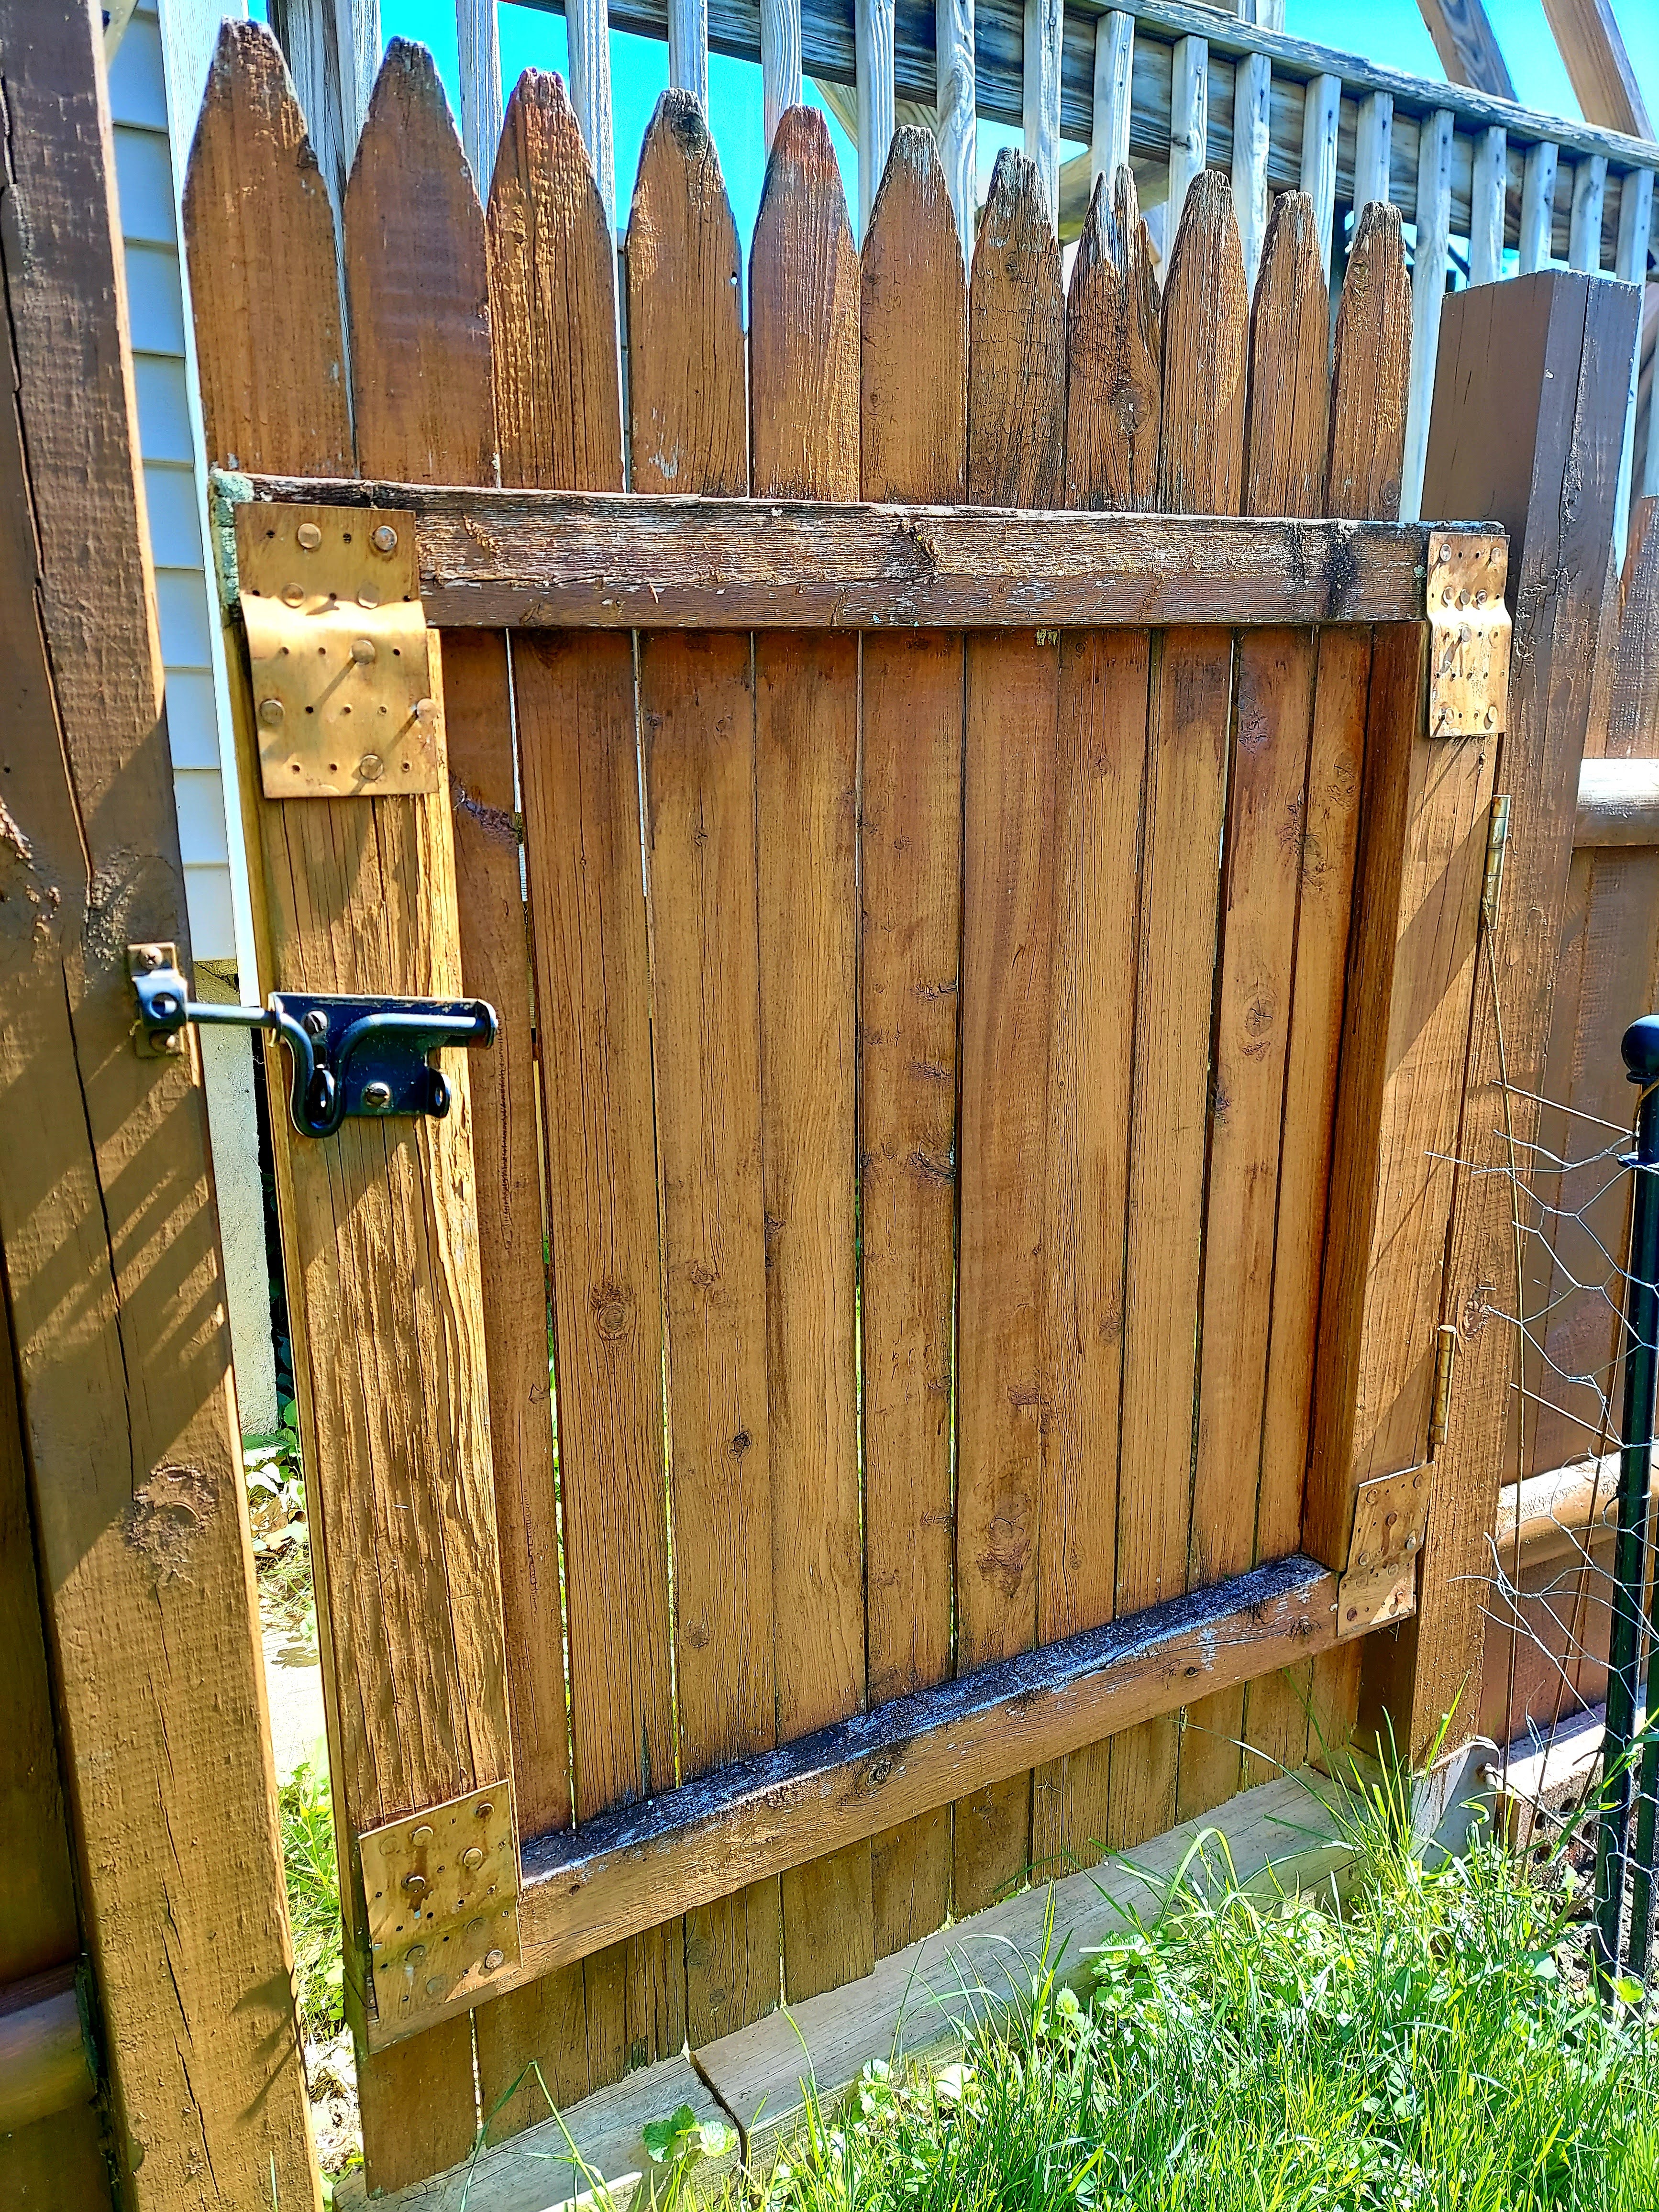
But it was time to do it right! Here's a peak at the brackets before adding wood, just trying to figure out placement and dimensions:
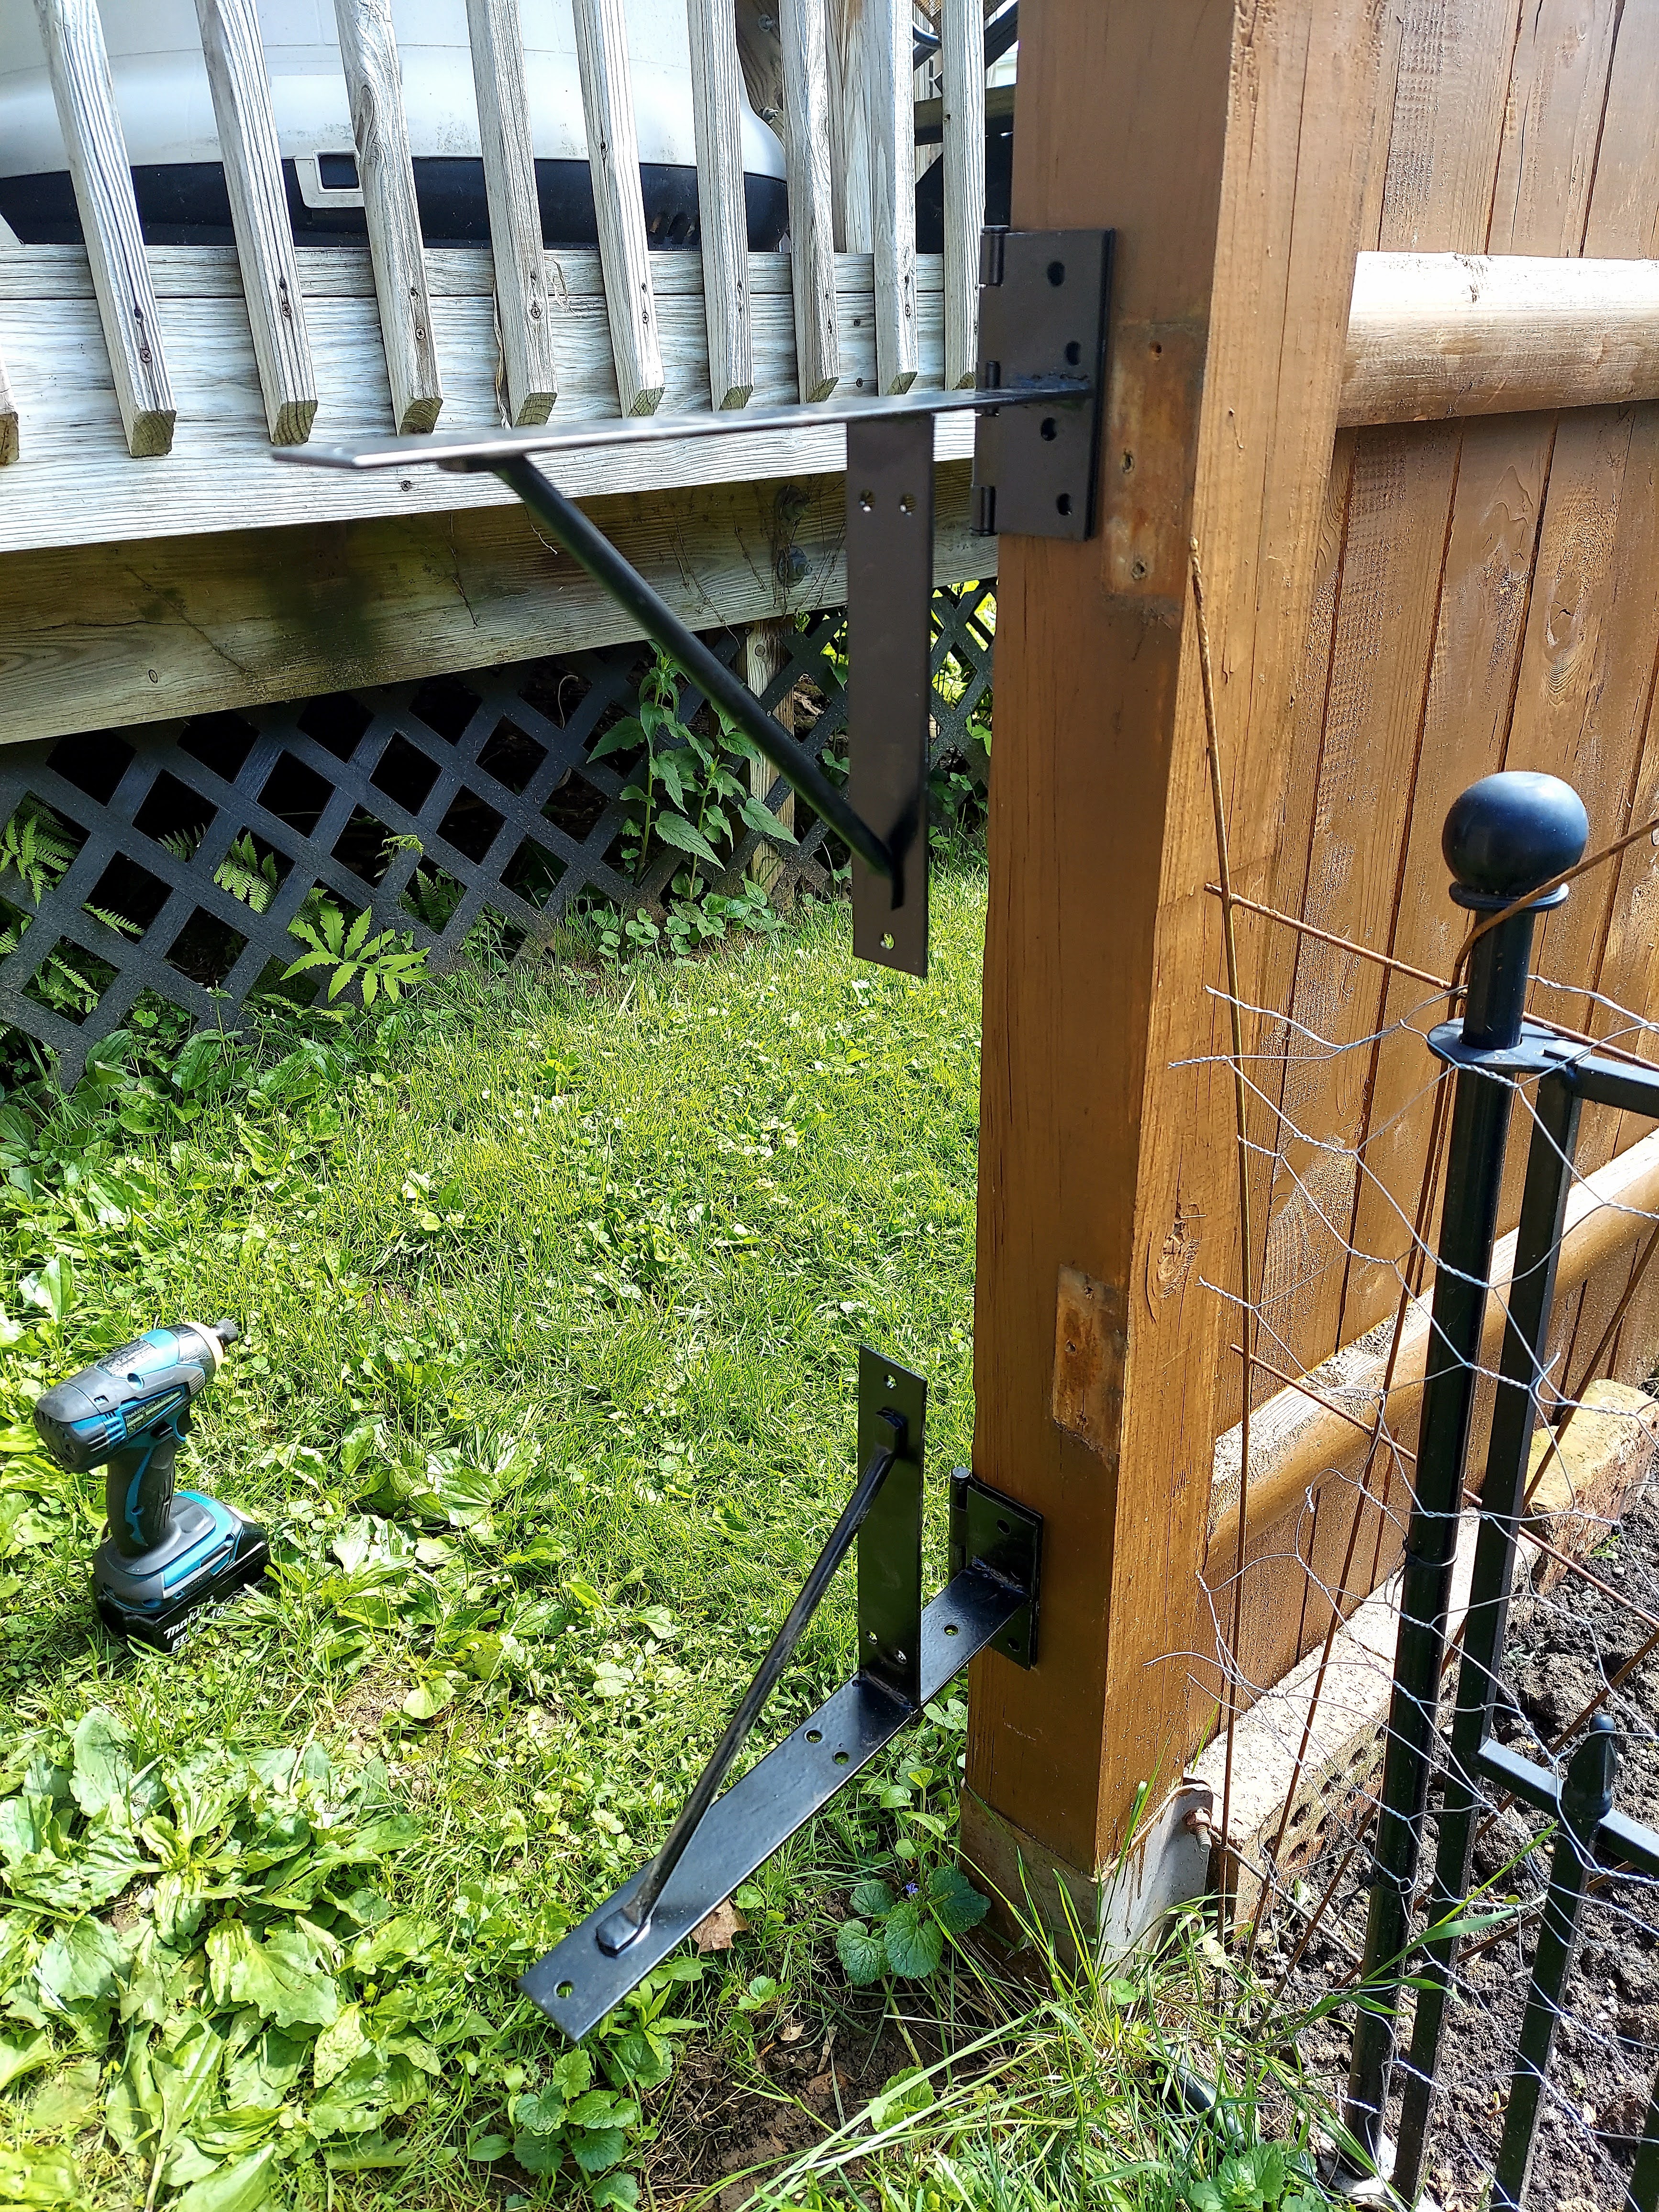
And here's the frame before the slats were installed.

You won't believe this, (although if you've followed House 173 for any time at all, you know what takes a pro and hour to, takes me at least twice as long) but it took about four hours to build this gate. FOUR HOURS! Don't ask...

And the final shot:

Almost Forgot - The West Side
Well! In all my excitement at the progress, I almost forgot about the little length of fence on the north side of the house. Before the wood fences were put in about 20 years ago, the south side of the house had a hedge of spirea that closed off the side yard from the back yard. Look to the left of the house and you can see the hedge:

When the new fence went in, I cut the spirea down to about 12 inches (it's a hardy hedge - no worries). For a couple years that side looked a bit bare, but the compost bin was there! Sorry for the picture quality, it was from an old film photo:

And here's a shot of the spirea growing again, and the newly added shade garden:

And here is the new fence - notice the size of the spirea!

And a closer look:

Okay, I should wrap this one up, there's still a good it to come!
Good to be outside again!
