

Nephew is on a tear, knocking out one project after another! Oh to be young again! First let me say, putting a roof on a German house is nothing like the typical american house with thin asphalt shingles tacked to the roof. Not at all!

The Germans have a system - a serious system, and while I can't explain it all in this post, I'll do my best through the pictures and brief explanations nephew sent. Let's get started... This is the before picture taken August 6, 2019 -

I dunno, looks pretty good to me! The first step is obviously to take off the old tiles...

I think that would be my least favorite, albeit the easiest part of the job, you know - with gravity helping and all! Then, once it's all cleared off, here's what's left...

The horizontal bars are called "Dachlatte". You have to built a grid out of the Dachlatten, and the Dachlatten are nailed into the rafter (Dachsparren). The Dachlatten made from spruce, and are 3cm x 5cm and a length of 5 meters. They have to be dry before they are put on the roof, so here in Germany. they put them in high frequency dry ovens, like a huge microwave to dry them very fast. We call the tiles "Bieberschwanzziegel".

Bieberschwanzziegel translates into English as a beaver tail, so it's probably fairly obvious why the tiles are called beaver tails!

The tiles are made of clay. They are pressed into a mould then they are baked in an oven for a long time like a brick. After that they get their color, which is also baked into the material. Each tile weighs 1.8 kilograms! The old tiles were more brown, but the new have a little touch of red in it called "rosso". We took the red touch because it would fit much better to the new colour of the house and garage. There are 41 pieces of them needed to cover one Quadratmeter. We took 2600 of the old tiles down, and after that the same number of the new tiles back on the roof. The tiles have two noses on the back to hang them onto the Dachlatte...

Like so...

And they're secured to the Dachlatte with 90 mm long galvanized nails... The tiles have to be screwed into the Dachlatten with 90 mm long galvanized nails...

Not every tile gets nailed down, but certain areas on the roof must be so as to meet code - one meter on each side and a half meter at the bottom and the highest point down...

That should cover them against strong wind to blow them down. If you didn't screw them down, the insurance wouldn't pay your damage. There are online calculators where you have to put your address, the size of the roof and which tiles are used... and then the calculator says how many screws or "Halteklammer" have to be used to get proof of insurance. (😅 Germany). Here's a shot of a Halteklammer...

And of course, the tiles being clay, there are pre-drilled holes...


A little closer view of the setup...

And here's the other side of the garage...

Here's the finished back side of the garage...
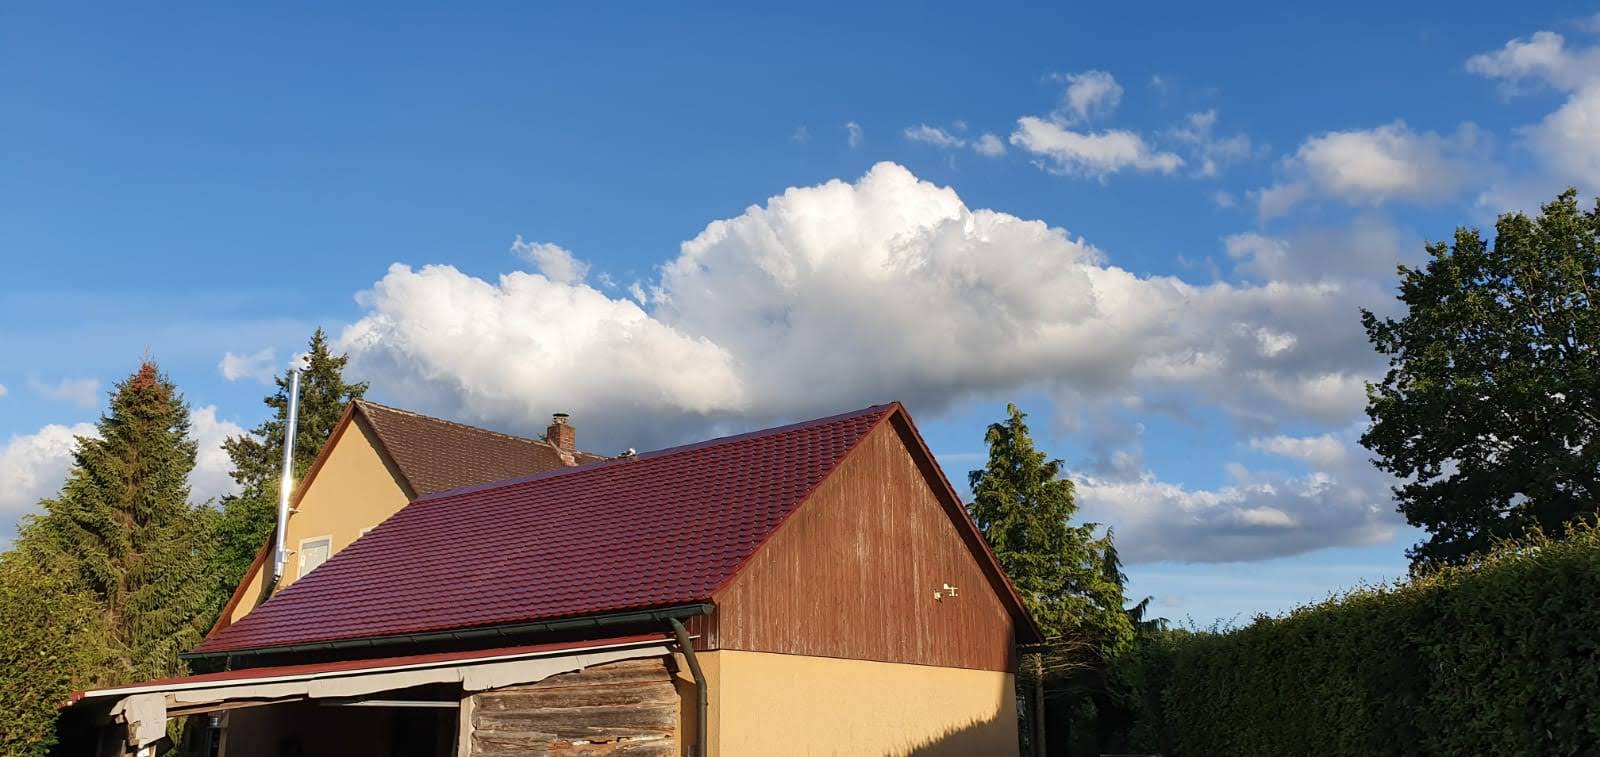
And the front!

I'm tired just thinking about all those tiles!! It's always impressive to see the quality (let alone the quantity) of work nephew does! I think there's a blogger in the works!