

Tool Restoration
More of a Cleanup I Suppose
A rusty little crate tool inherited from an old toolbox gets cleaned up and returns to work nearly a century later.
What Is a Crate Tool?
Back in the day (don't ask - I don't know what day) most packages that were sent to your house came in a crate - you know - no boxes back then. I can't find much on them, but the way I understand it is the warehouse version of this tool was larger than the Tomahawk Jr., and were used in the shipping warehouses. This version was usually provided gratis at hardware stores as an ad giveaway, and were mostly used at home for opening smaller boxes.

It's funny how every generation thinks it invented the all-purpose tool. Long before today's pocket multi-tools and utility knives, people reached for little gadgets like the Tomahawk Jr. to pry, scrape, pull nails, and open whatever needed opening. It may not look like much today, but in its day this little tool earned its keep in workshops and garages all over America.
I think I should point out that this isn't the only style of crate tool that was out there, it's just the one I have. I should also mention that several companies are making crate tools (usually called multi-tools today) so new versions of this beauty can be got! Here's one of the few things I could find on this tool, although this ad is for the full-size version:

Another Tool From the Treasure Chest
This is another one of the tools that I inherited from my former boss - two huge toolboxes full of vintage tools! They're all in pretty good shape except rust had set in on many of them. This Bridgeport Tomahawk Jr. Here you can see it circled in the upper right. Another of those occasions when I didn't get a before picture..jpg)
Do not wait; the time will never be 'just right.' Start where you stand, and work with whatever tools you may have at your command, and better tools will be found as you go along. ~ George Herbert
A Simple Cleanup
What with all the rust, the obvious first step was removing said rust. An overnight Evaporust bath did the trick! Here's the Tomahawk with some of the other tools that were in the bath:

And here's the ol' Tomahawk after running it through the wire wheel:

Adding a Little House 173 Red
So, this idea really isn't mine, I've seen a few YouTubers do this - just giving credit where due. I wanted to give this tool a little pop of color, and I decided on 173's signature color - red. Unfortunately, I didn't get a picture of me painting that either, but I used Rustoleum Regal Red enamel, thinned with a little acetone. And here's the painted version in the oven:

Highlighting the Details
After the paint baked for about 24 hours, I took a small acetone swatch of cloth and ran it over the raised letters. I also tried to dab them with Q-tips and acetone. And it really turned out nice!

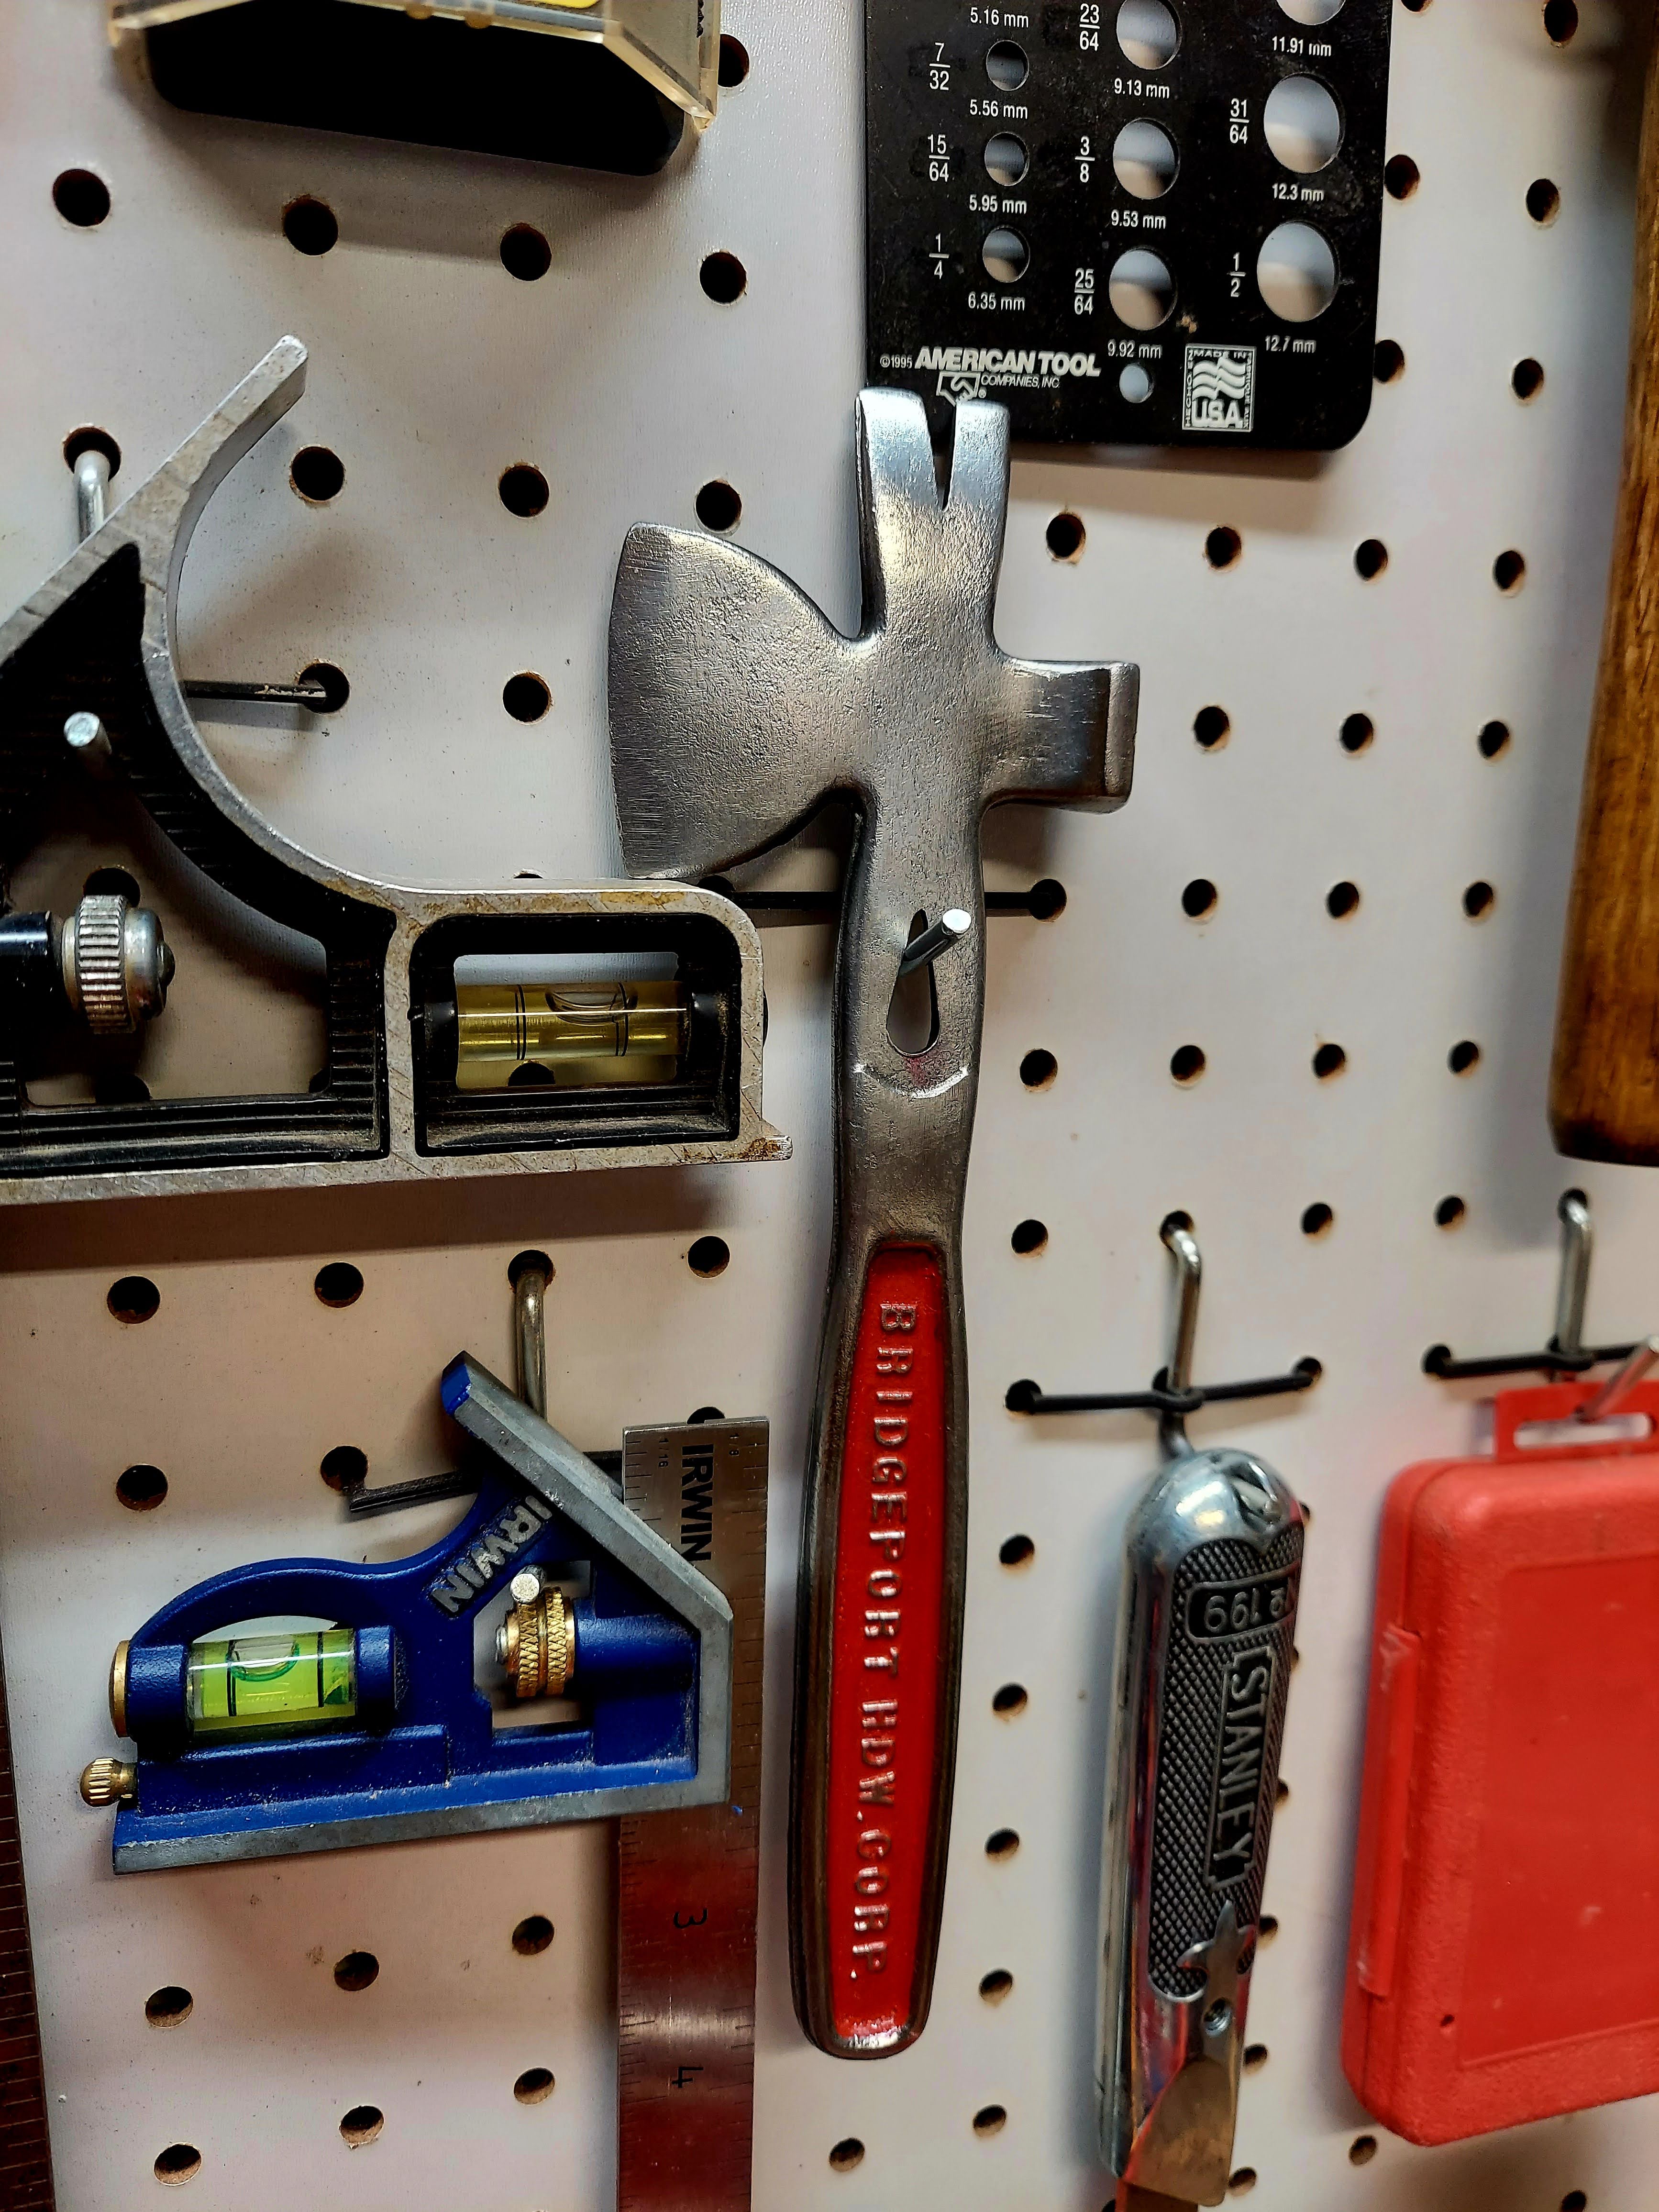
Its Natural Habitat
Not just for the looks, of which I'm nuts about, but because of its versatility, I decided to put it on the peg board over the workbench. That's prime real estate, so it's kind of a high compliment to a tool! And here she is in her natural habitat:

Thanks for stopping by for this simple little cleanup - see ya next time!

I had never even heard of a crate tool before reading this, which made the post really interesting. I like that you explained what it was used for before showing how you cleaned it up. It wasn't a big restoration, but it didn't need to be. Sometimes just bringing an old tool back to life is enough.
One thing I always enjoy about House 173 is that even the smallest projects have a story behind them. This little tool came from an old toolbox, got cleaned up, and now hangs where it'll be used again instead of forgotten in a drawer. I think that's a nice way to honor the people who owned these tools before us. - Anonymous Reviewer
Frequently Asked Questions
What is a crate tool?
A crate tool is a compact hand tool originally designed to open wooden shipping crates by pulling nails, prying boards apart, and cutting straps. Many also included features that made them useful for opening boxes and performing small everyday tasks.
What is the Bridgeport Tomahawk Jr.?
The Bridgeport Tomahawk Jr. was a smaller version of the larger Tomahawk crate tool. It was often distributed through hardware stores as a promotional giveaway and served as a handy multi-purpose tool for homeowners and small shops.
Why were crate tools so common?
Before cardboard shipping boxes became the norm, many goods were transported in wooden crates. Crate tools made opening those crates faster and safer than using a hammer or pry bar alone.
Can vintage crate tools still be used today?
Absolutely. While wooden crates are less common today, these tools still work well for opening boxes, pulling nails, scraping, prying, and many other small workshop tasks.
Why soak rusty tools in Evapo-Rust?
Evapo-Rust removes oxidation without aggressive grinding or harsh acids, helping preserve original markings and minimizing damage to the underlying steel.
Why paint only the recessed areas?
Painting the recessed portions while polishing the raised lettering creates contrast that highlights the tool's original markings. It's a simple technique that gives vintage tools a distinctive appearance without hiding their age.
Is baking enamel paint effective?
Many hobbyists gently warm freshly painted tools to help the enamel cure more completely. While it isn't required, allowing paint to harden thoroughly before use can improve durability.
Are old promotional tools collectible?
Yes. Hardware store giveaways, advertising tools, and specialty hand tools are increasingly popular with collectors because they represent everyday working history that often wasn't preserved.
Why restore small tools?
Not every restoration has to involve an expensive or rare tool. Sometimes cleaning up a simple, well-made tool is enough to preserve a little piece of history while putting something useful back into service.
Why keep inherited tools?
Inherited tools often carry stories that can't be purchased. Even when their monetary value is modest, they connect us to the people who used them and remind us that good tools are meant to be cared for and passed along.
Keywords
Bridgeport Tomahawk Jr., crate tool, vintage crate tool, antique multi-tool, tool cleanup, vintage tool restoration, inherited tools, Evapo-Rust, restoring old tools, workshop tools, House 173, antique hand tools