

This Part's Fun!

Now it's time to get going on the details! The first step was to drill the shelf-pin holes. I gotta say, the Kreg shelf-pin jig was awesome, and as simple to use as advertised!

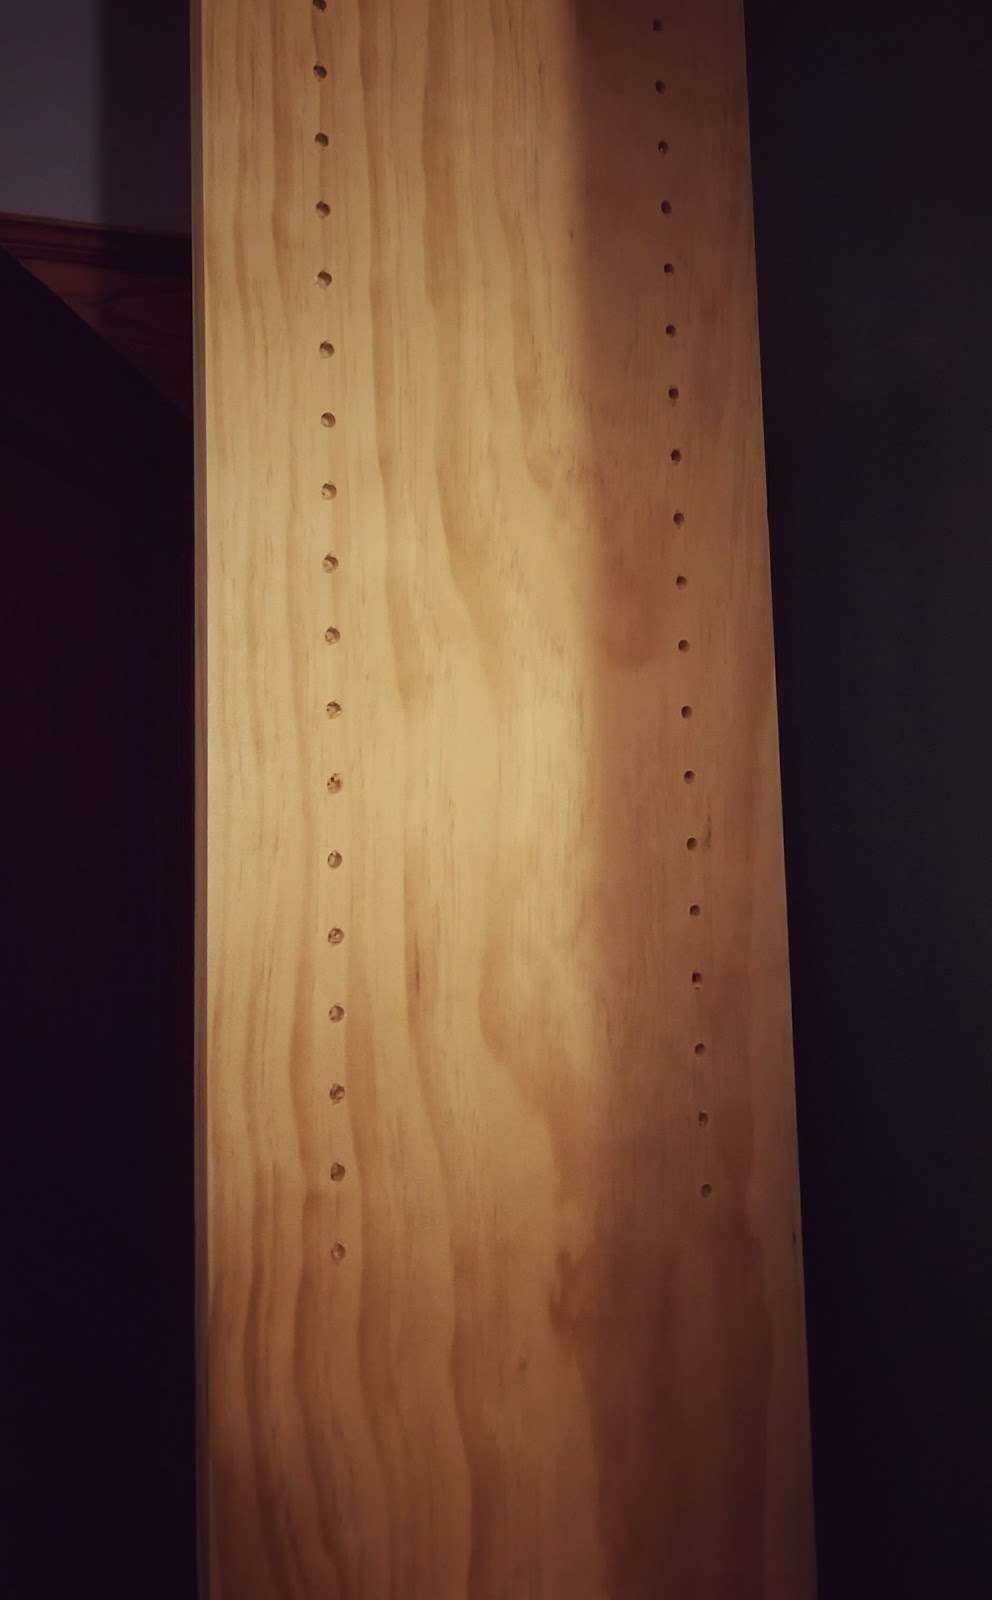
I tried to get a picture of how the holes all lined up, but unlike my father, I'm not much of a photographer, and the holes look crooked in all the pictures, but I can tell you - they're straight and level as can be!
The reality is that old houses that were built a hundred years ago were built by actual craftsmen, people who were the best in the world at what they did. The little nuances in the woodwork, the framing of the doors, the built-in nooks, the windows—all had been done by smart, talented people, and I quickly found that uncovering those details and all of that character made the house more inviting and more attractive and more alive. - Joanna Gaines, The Magnolia Story
Once that was done, I got the face frame done. This part went surprisingly well with very little hassle. If you know me at all, you know that anything here at 173 that goes up easily is a rarity! But I took my time, and with the laser on my chop saw, got some pretty precise cuts. As a matter of fact, this is probably the loosest joint I had!

All-in-all I'm pretty happy with the way it turned out:

Oh! And there's the fireplace in it's future habitat! Very satisfying that after all the planning, measuring and assembling, the fireplace fit perfectly with maybe a quarter inch or so play all the way around! It kinda reminds me of when I was a kid. Dad tore off the entire front porch of the house and built a front entry-room to make it so the front door faced south instead of west, where the winter winds come from. I don't think he drew a single plan for that room, but he framed it up perfectly. So much so that when we put the big picture window in, it practically snapped into place with almost no shimming whatsoever!

See the double window on the right? That's the one - perfect fit! Anyway, by comparison, my tiny little electric fireplace fir perfectly! LOL. So, the next step back here at 173 was the tops for the bookcases. Here's a sneak peak:

I got started after work tonight, and finished the front for ONE of the bookcases. Yeah, a couple hours on just the front of one! I've never been great at mitering, so I'm really taking my time with this. Obviously - more to come!